
TRIP REPORT: Whiteface and Esther – Adirondacks, NY 3-26-16
Hiking stats at a glance:
Trailhead: Atmospheric Science Research Center
Miles Round trip: ~10
Total Elevation Gain: ~3,975
2 High Peaks: Whiteface (4,867 ft), Esther (4,239 ft)
1 Non-High Peak: Marble Mountain (2,753 ft)
Weather: 40-50 Degrees, ~5 mph winds, Bluebird Day
I climbed Whiteface and Esther for the first time in January 2015 on a day with -10 Degree F temps and 20+ mph winds which made for a very cold a grueling experience so I was pretty ecstatic that this time around the weather was beautiful. With temps in the neighborhood of 40-50 degrees and little to no wind, and a perfect bluebird sky it was about as perfect a day you could ask for in March.
We left our hotel in Lake George at around 6am and arrived at the trailhead at the Atmospheric Science Research Center (ASRC) outside Wilmington at about 8am. If you follow the road into the ASRC, once you go around the bend you will see the trailhead on your right and parking is allowed here along the side of the road. We took our time getting geared up and eventually hit the trail at about 8:30am. The early morning sun was shining bright and what few clouds lingered from overnight were moving away quickly.

Sign marking the start of the trail on the side of the road.
This short section of trail leads you down the hill a short distance before intersecting with the service road on the side of the ASRC. Once you reach the road the road you want to make a left and continue down the road.

Short trail at the start of the hiking leading to the service road.

Once you reach the road you want to make a left and follow the road.
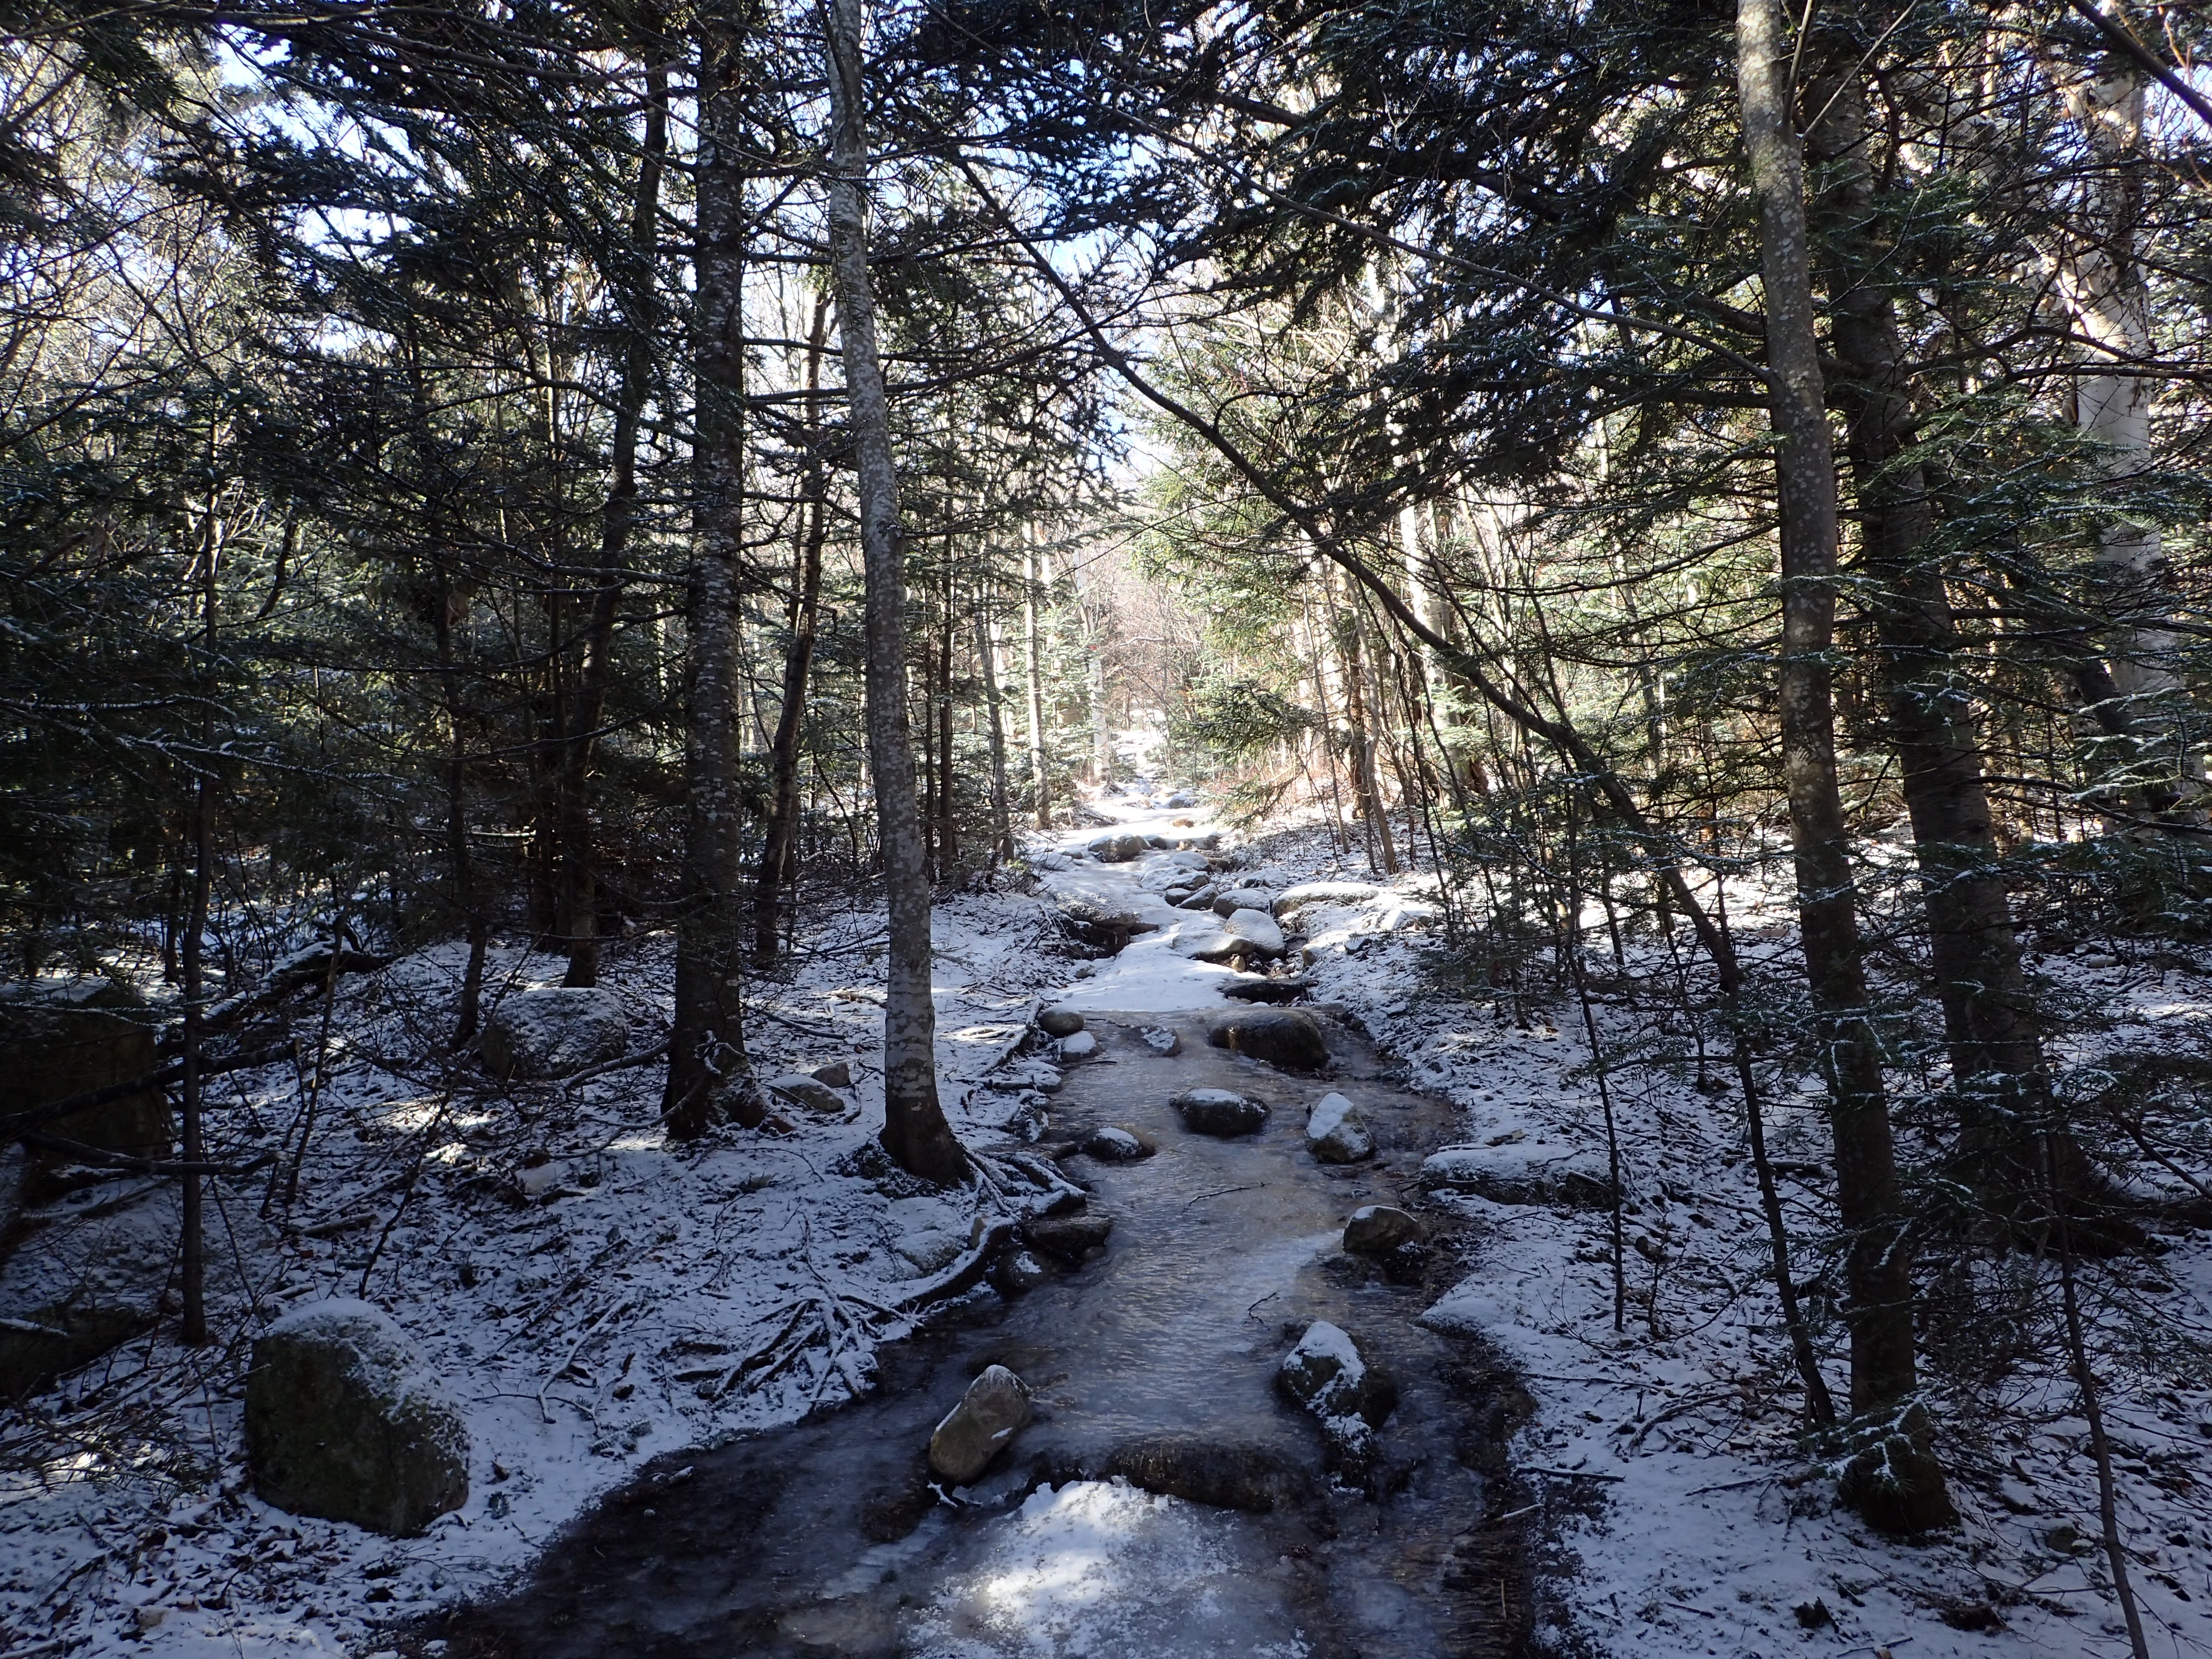
It looked like there had been a light dusting of snow overnight but the trail at this point had no ice or snow overall. The road section is short and mostly flat so we covered it pretty quickly.
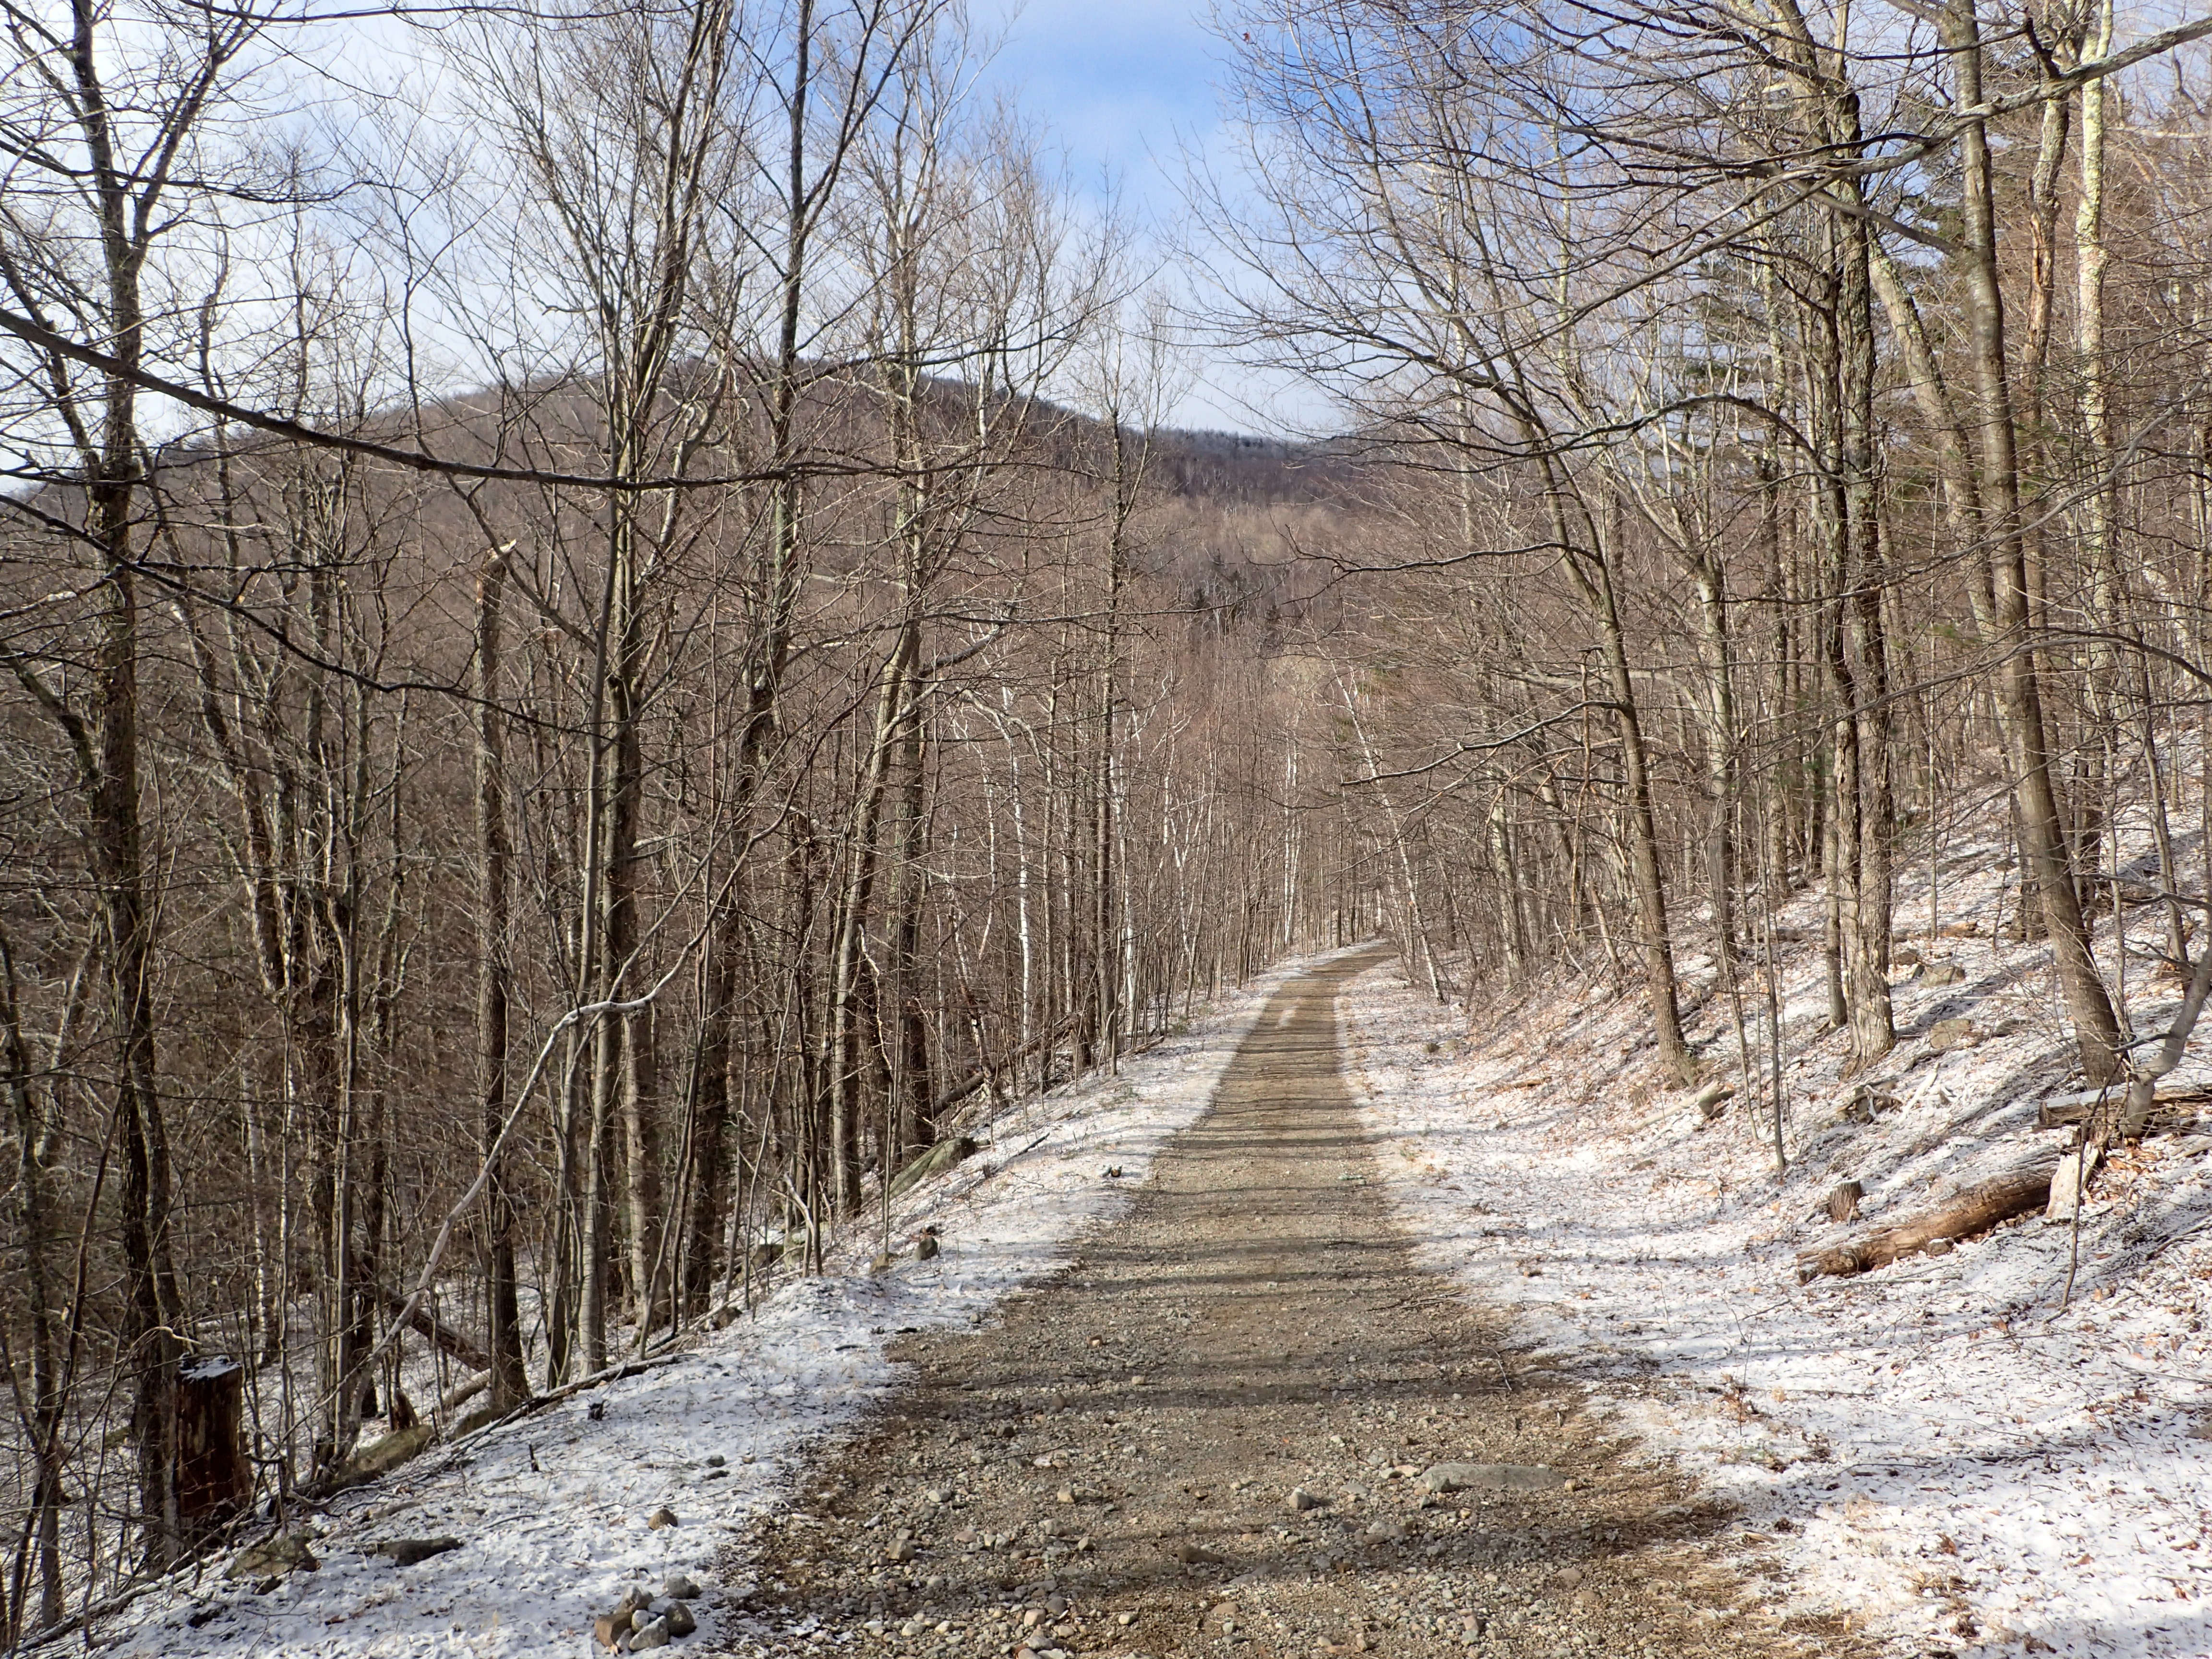
Looking down the road section at the start of the hike.
At the end of the road are a couple of paths that lead into the woods. You want to continue straight ahead on the trail that carves a path straight up the side of Marble Mountain.
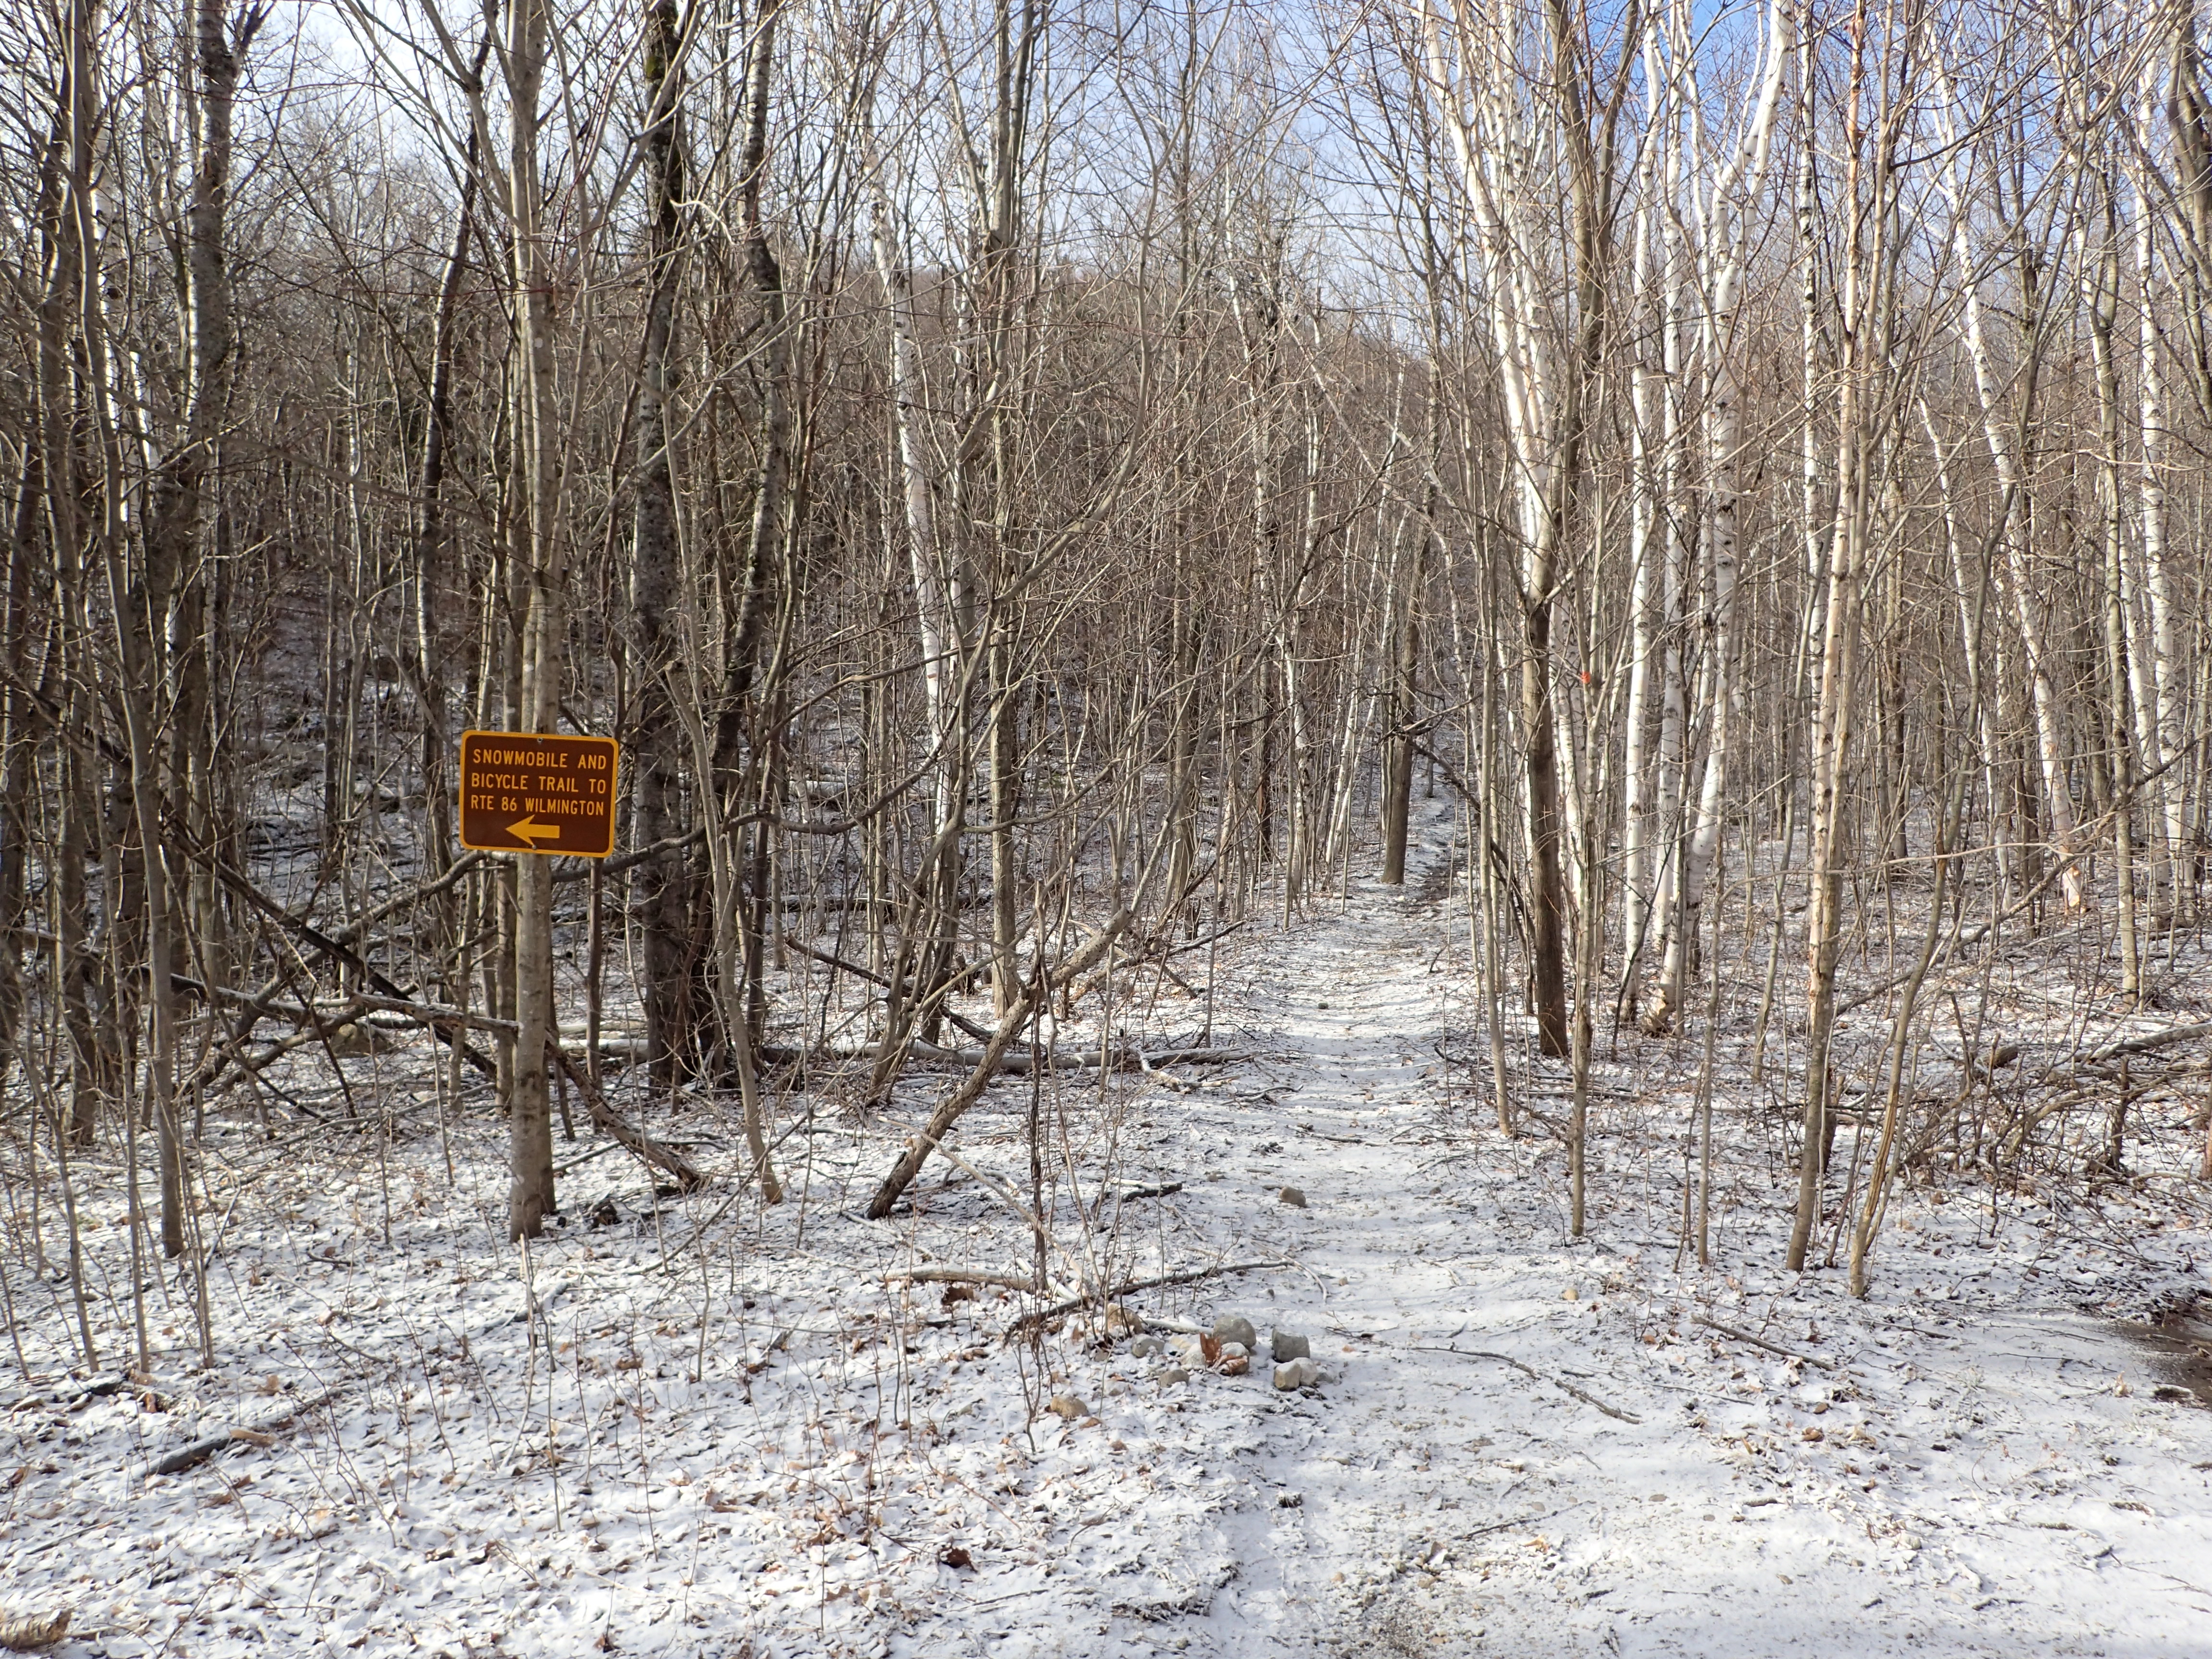
The trail you want to take is on the right of the sign and makes a straight line right up the side of Marble Mountain.
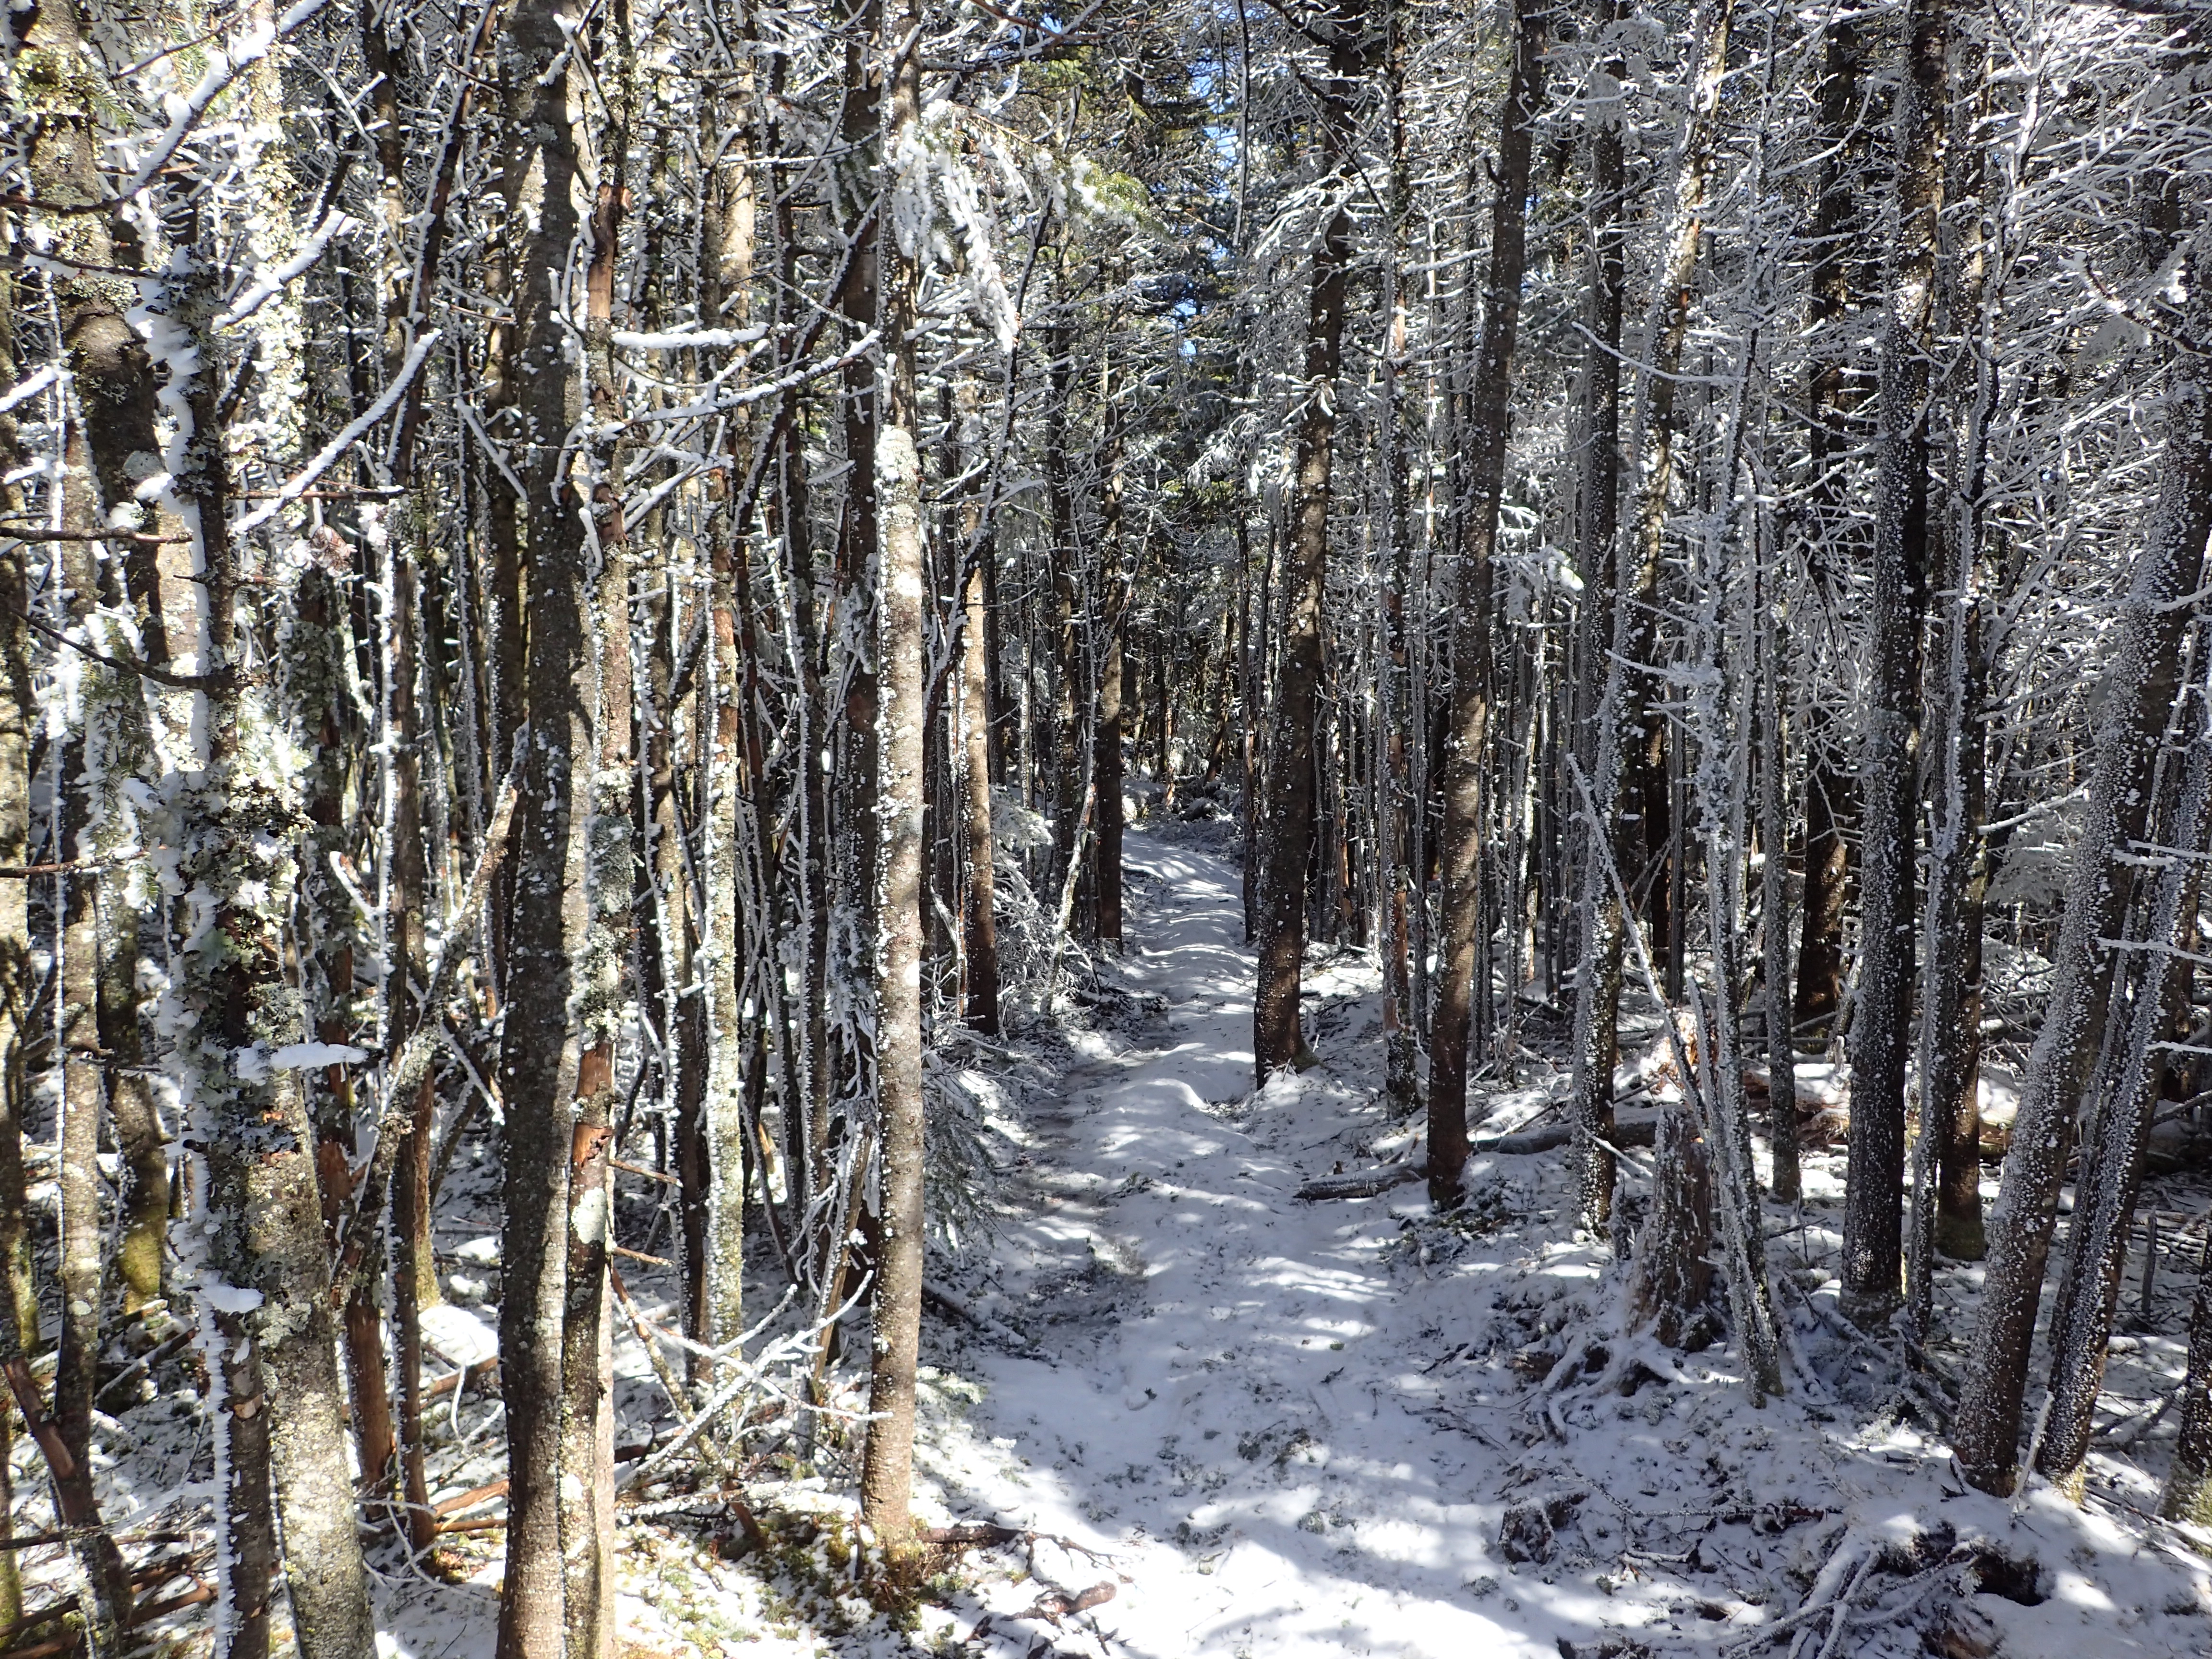
It is at this point that the fun begins. This trail was once upon a time a ski lift so the trail follows a straight line right up the side of the mountain so it is relentlessly steep. It is not challenging in the way a slide climb would be as there are no tricky rock sections or cliffs etc, but the constant grade will keep you working. This trail may not be hard but it will test your fitness from base to summit.

Looking up the start of the trail up Marble Mountain. The photo doesn’t do the angle of the trail any justice.
At first we started the trail in bare boots as it wasn’t very icy and we could avoid most of what was there by hoping across rocks. Eventually this tactic got tiresome so we put on our micro spikes so we could make better time straight up the frozen water on the trail. I was hoping to keep my micro spikes from getting anymore worn down than they already were but what can you do.

Continuing up the old ski lift trail.
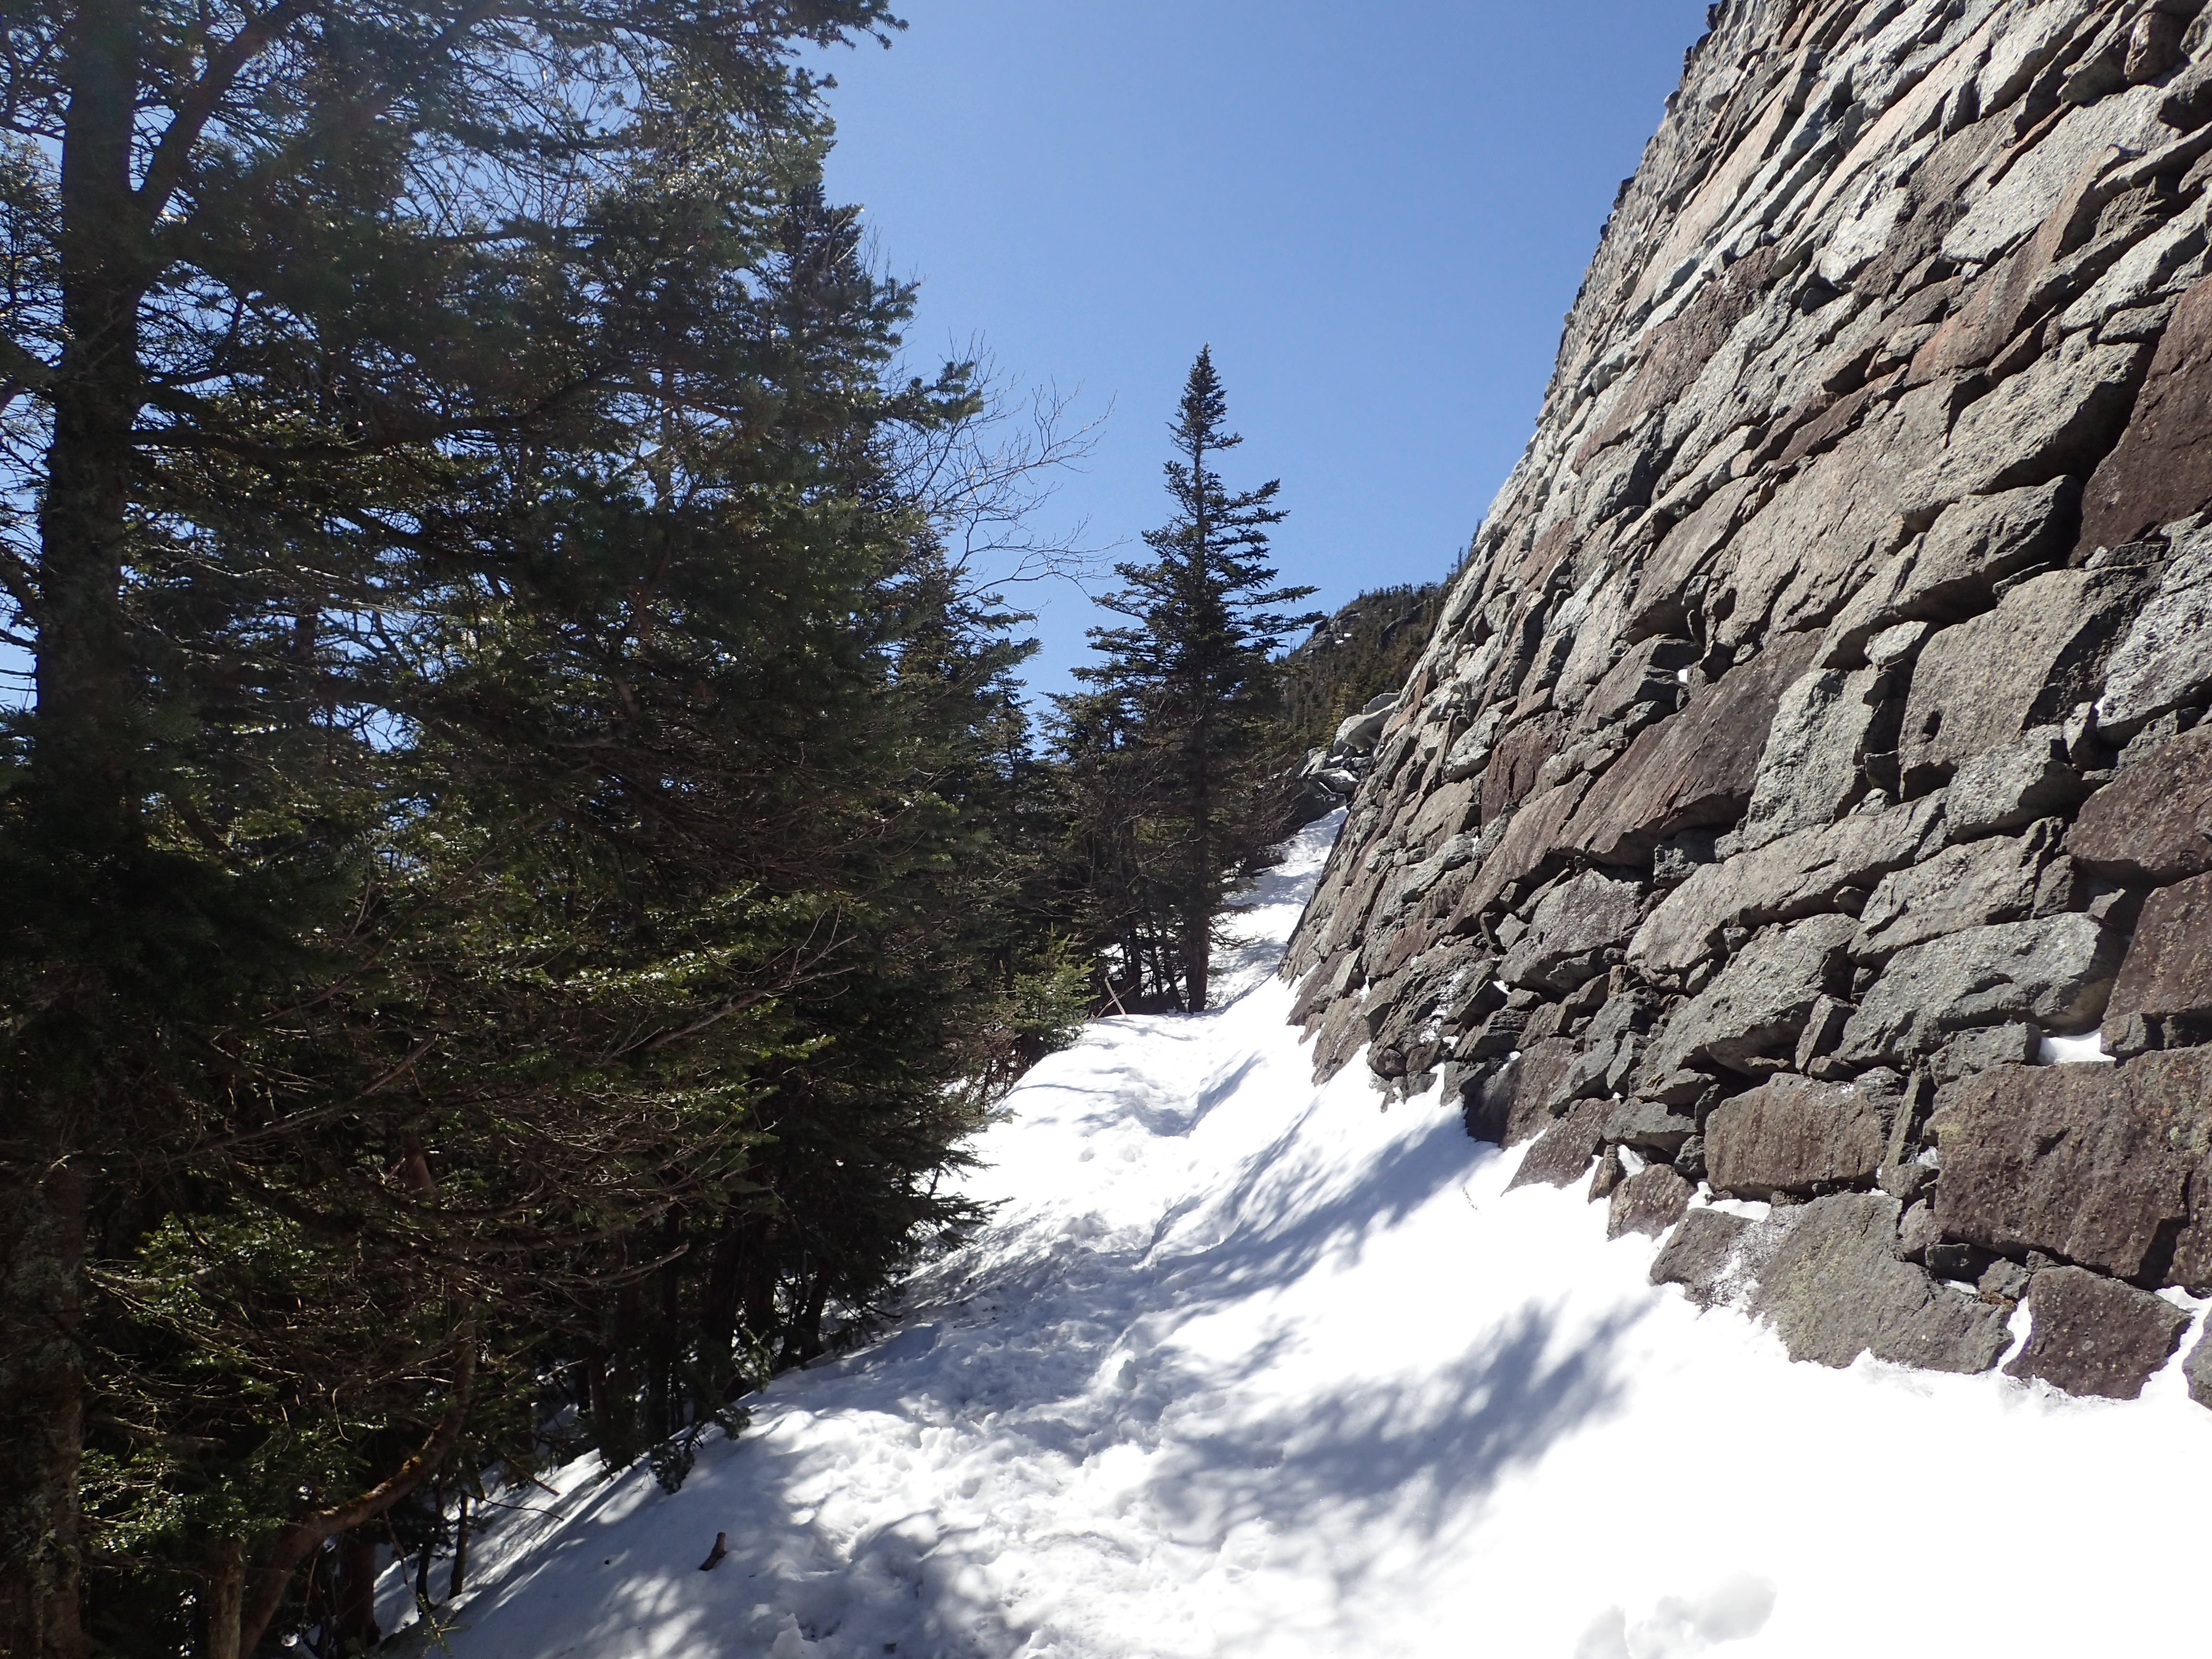
This section of trail continues for about 1 mile up the slope only occasionally flattening out for a few feet over a hump before continuing upwards. As we neared the top the ice got much thicker in parts which wasn’t great for my dull spikes but it is easy enough to skirt the sides and avoid a not very fun slide down the trail.

Thick ice nearing the top of the lift trail.
After passing this bulge of ice the trail eased off a bit for the final section of trail leading up to the ridge. We were making good time and the work out and sunshine made it comfortable to hike in just our mid layers and we were even able to shed our gloves and hats. I probably got more excited about this than necessary but I can’t wait to be hiking again in shorts and trail runners!

Last section of trail before reaching the ridge line.
Once at the top of the old lift trail you reach a large concrete block which I assume was the end of the lift at one point. From here you can get some decent views of the surrounding area.
End of the lift trail. The big block is slightly visible through the trees on the left side of the trail.

View from the top of the lift trail.

Looking over towards the direction we were heading.
We didn’t linger here long and continued on our way. The trail continues to your right over a small rock outcrop before making its way back into the woods.
Looking down the trail from the top of the lift trail section.
A short section of trail in the woods brings you to the first junction of the day. From here you make a right to continue on your way towards Whiteface and Esther.

Short section of trail before the junction.

First trail junction.
From here the trail began to feel more natural and less manufactured. The scenery also became more interesting and varied which made for a more enjoyable experience. The snow and ice became a bit more widespread as well but micro spikes were still more than enough to get through safely. From the junction it is 2.5 miles to the summit of Esther and 3 miles to the summit of Whiteface.
Looking up the trail after we worked our way past the junction.
Someone even left an inspirational message on a rock on the way up. Although if they were referring to the summit you are still pretty far away at this point!

I seem to be finding a lot of these types of messages lately.
This section of trail is easy to follow and well marked so getting lost isn’t really a possibility. It is also not as steep as the lift trail but still makes steady progress upwards with relatively flat and steep sections interspersed down the trail. Only one section in particular struck me as being particularly steep or challenging with all of the ice. Although by the end of the day on the way down all of the snow and ice on the right side of the rock slab were melted away.
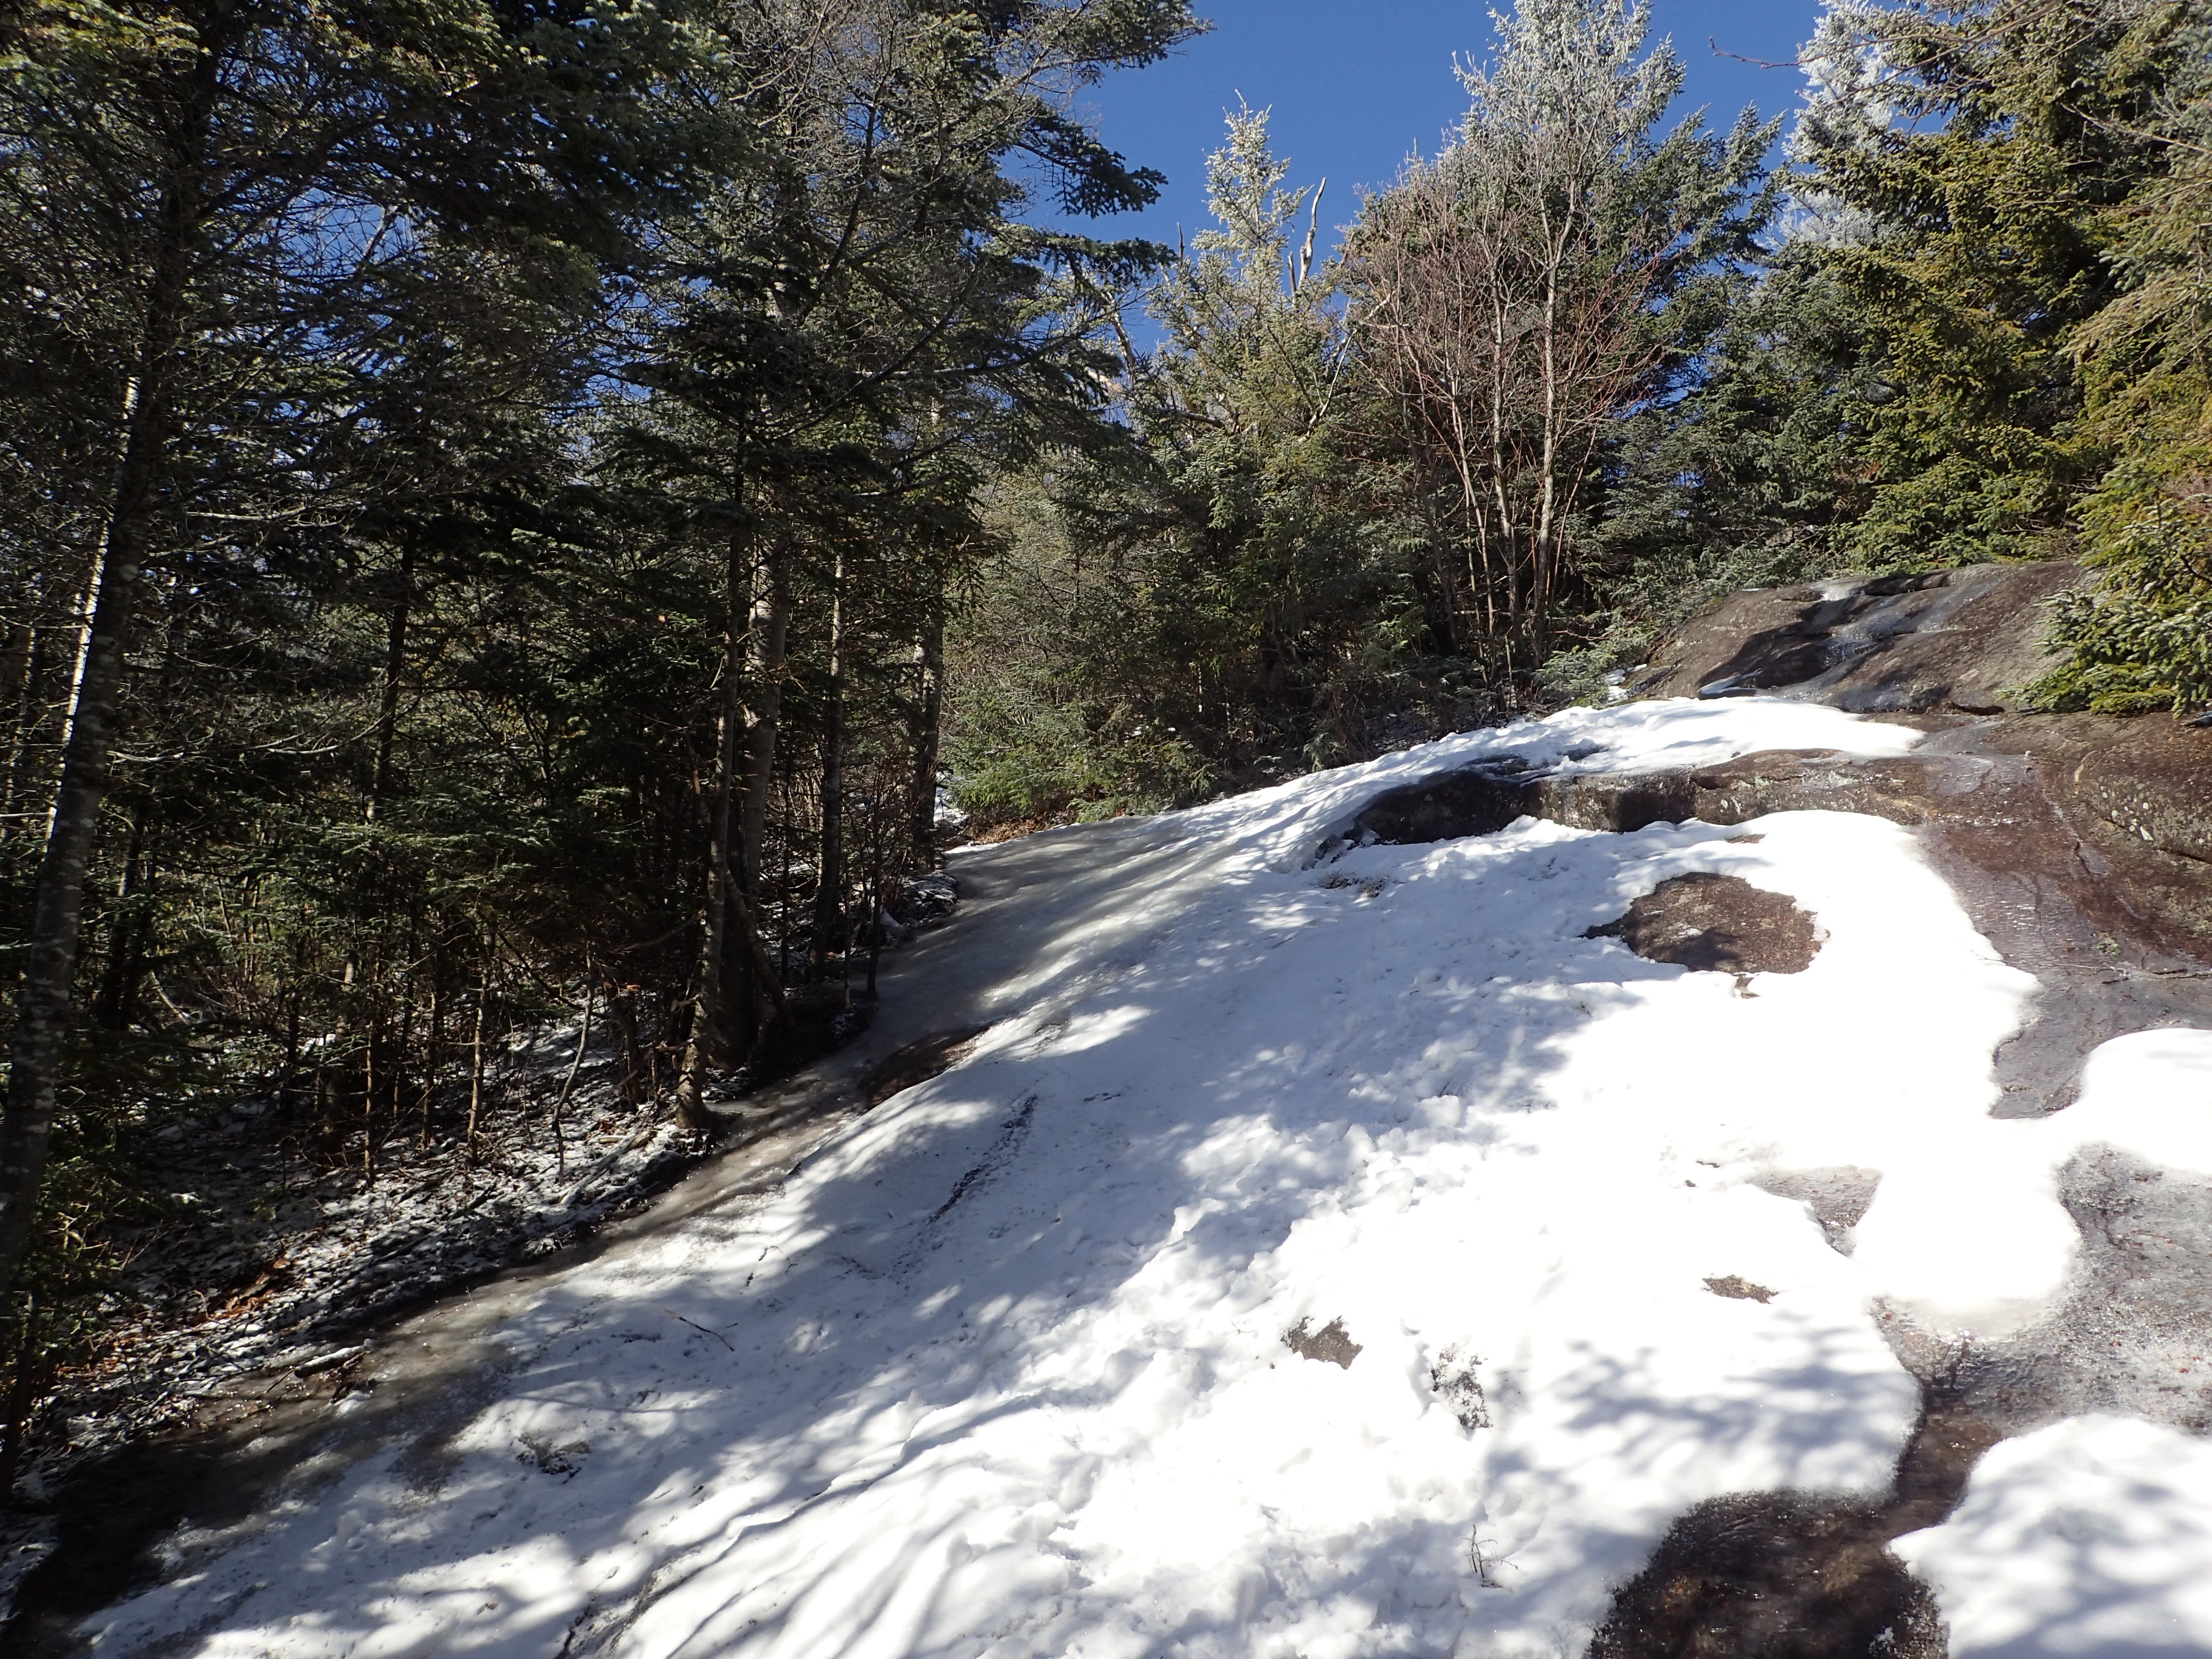
Ice covered rock slab along the trail.
In the coming weeks most of the thin ice will likely be gone and the thicker sections that will last longer should be increasingly easier to avoid.
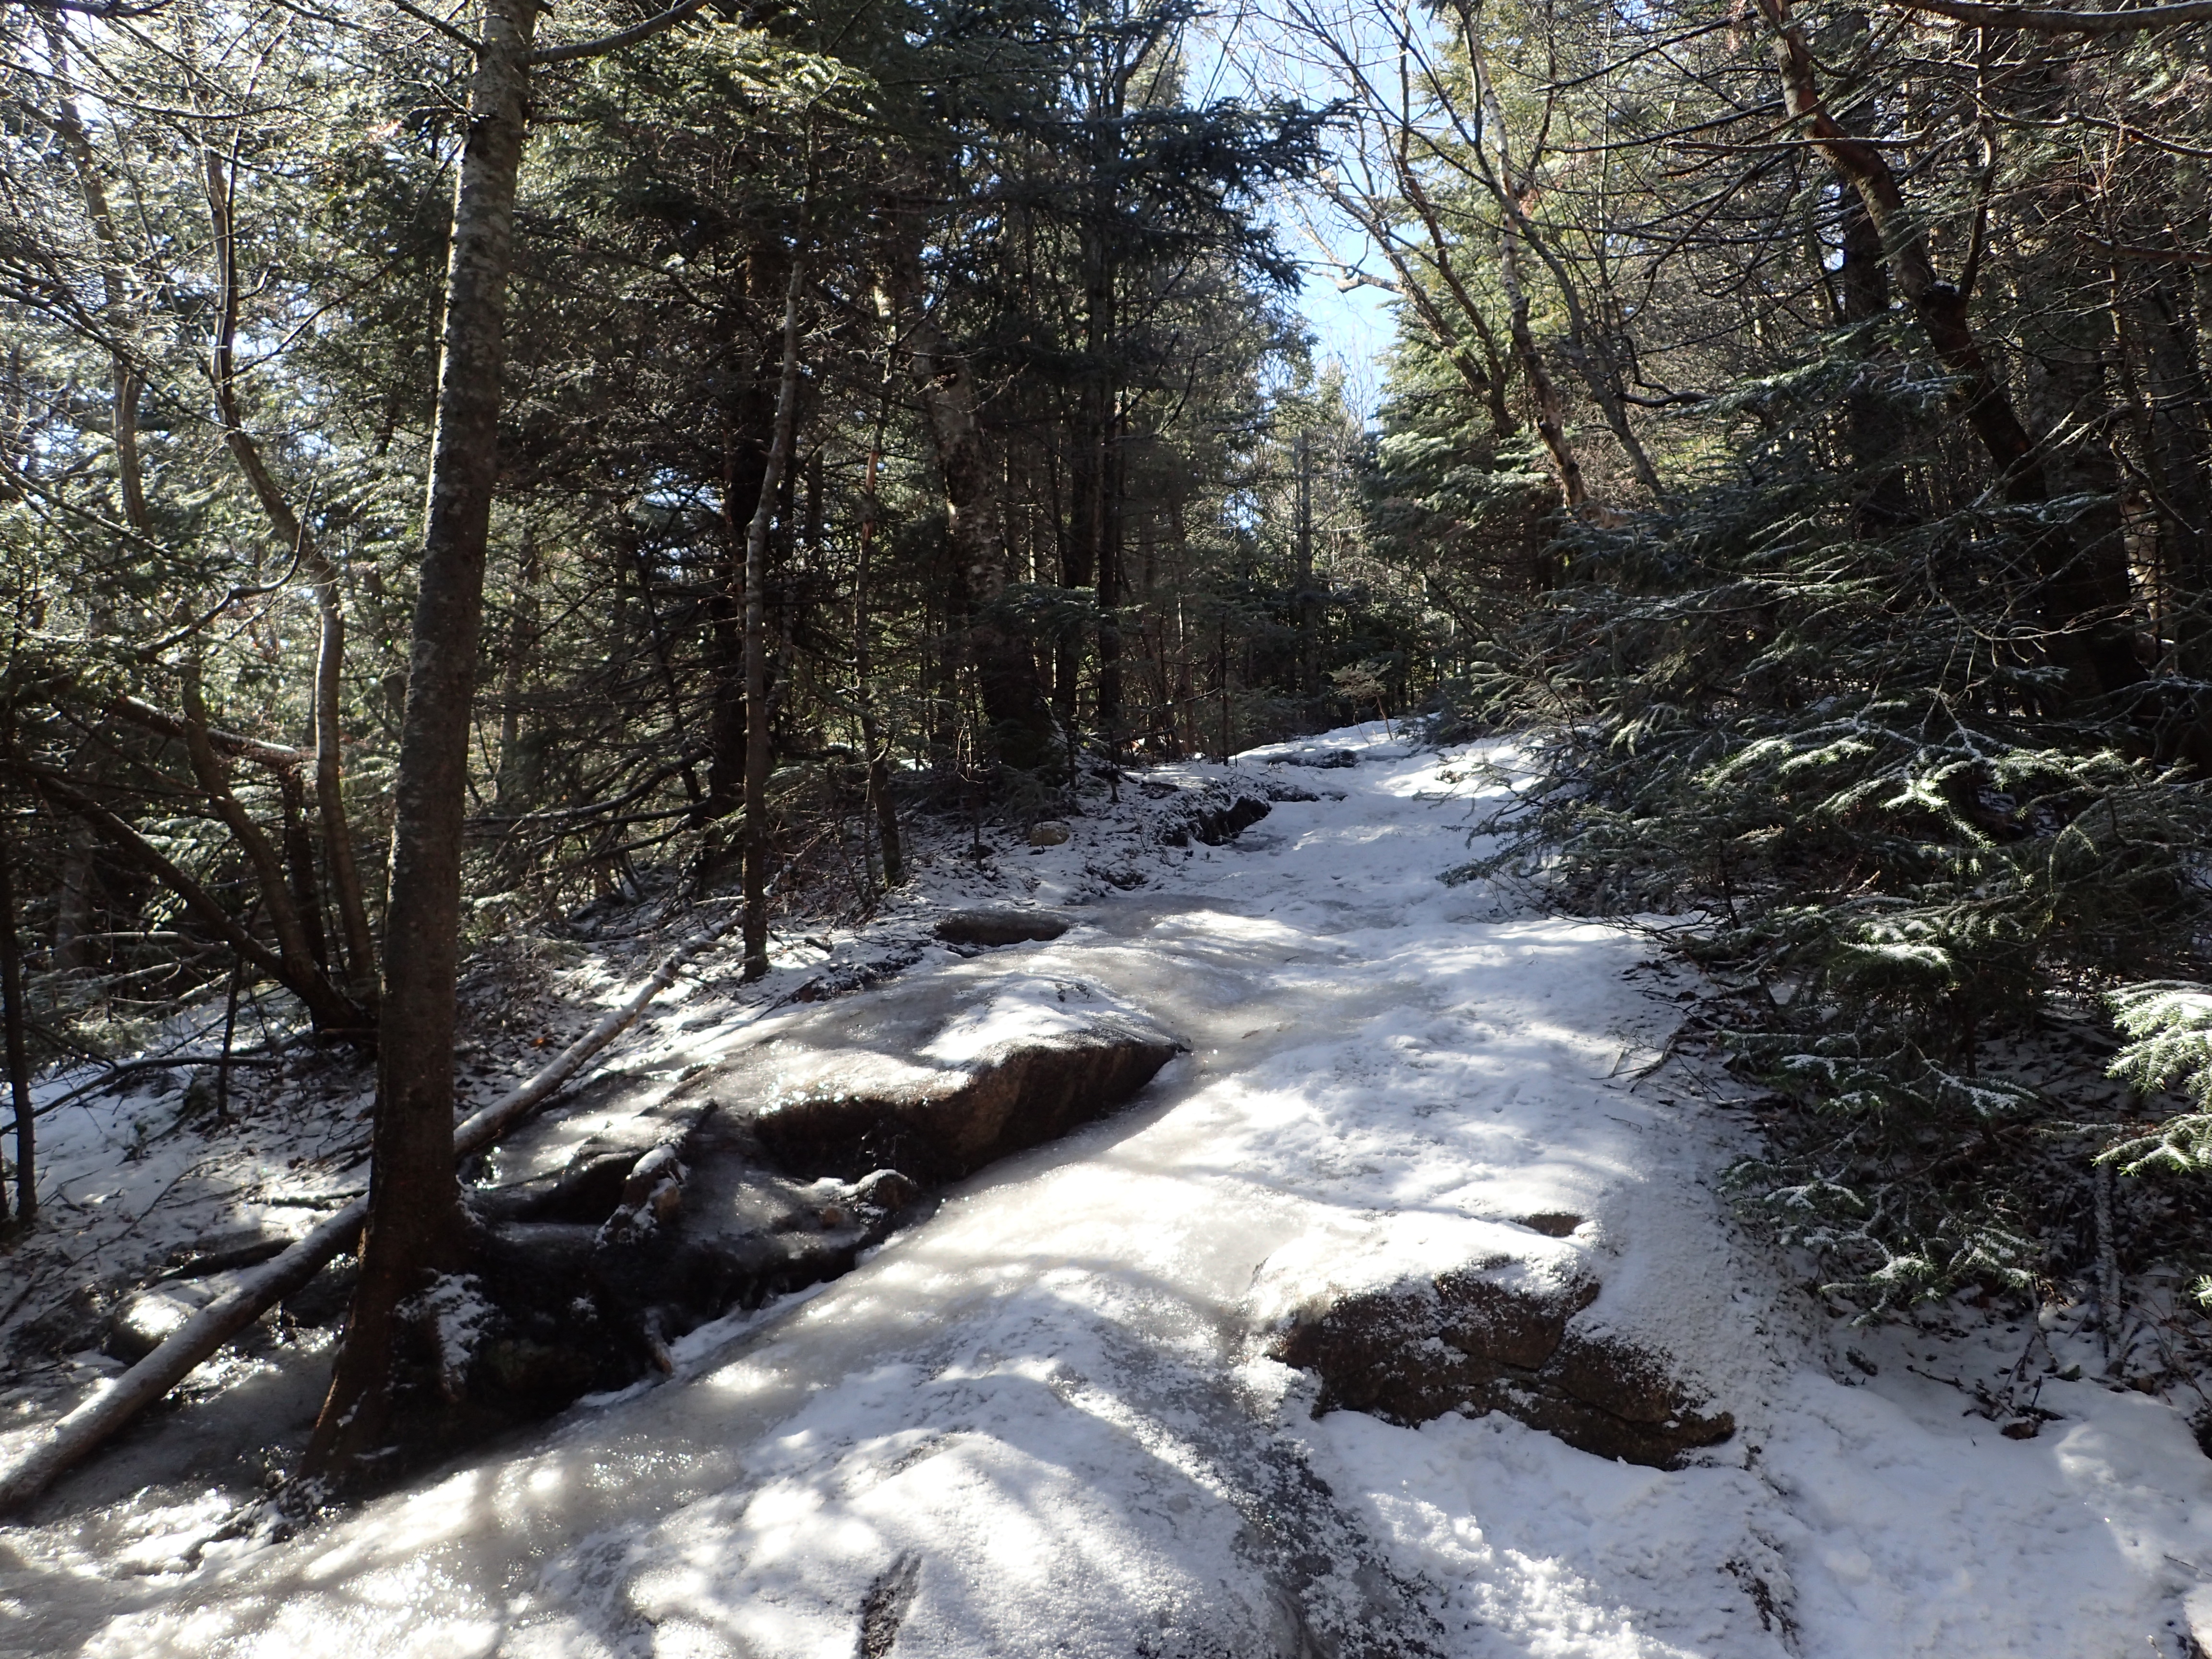
Looking up the trail after passing the icy slab.
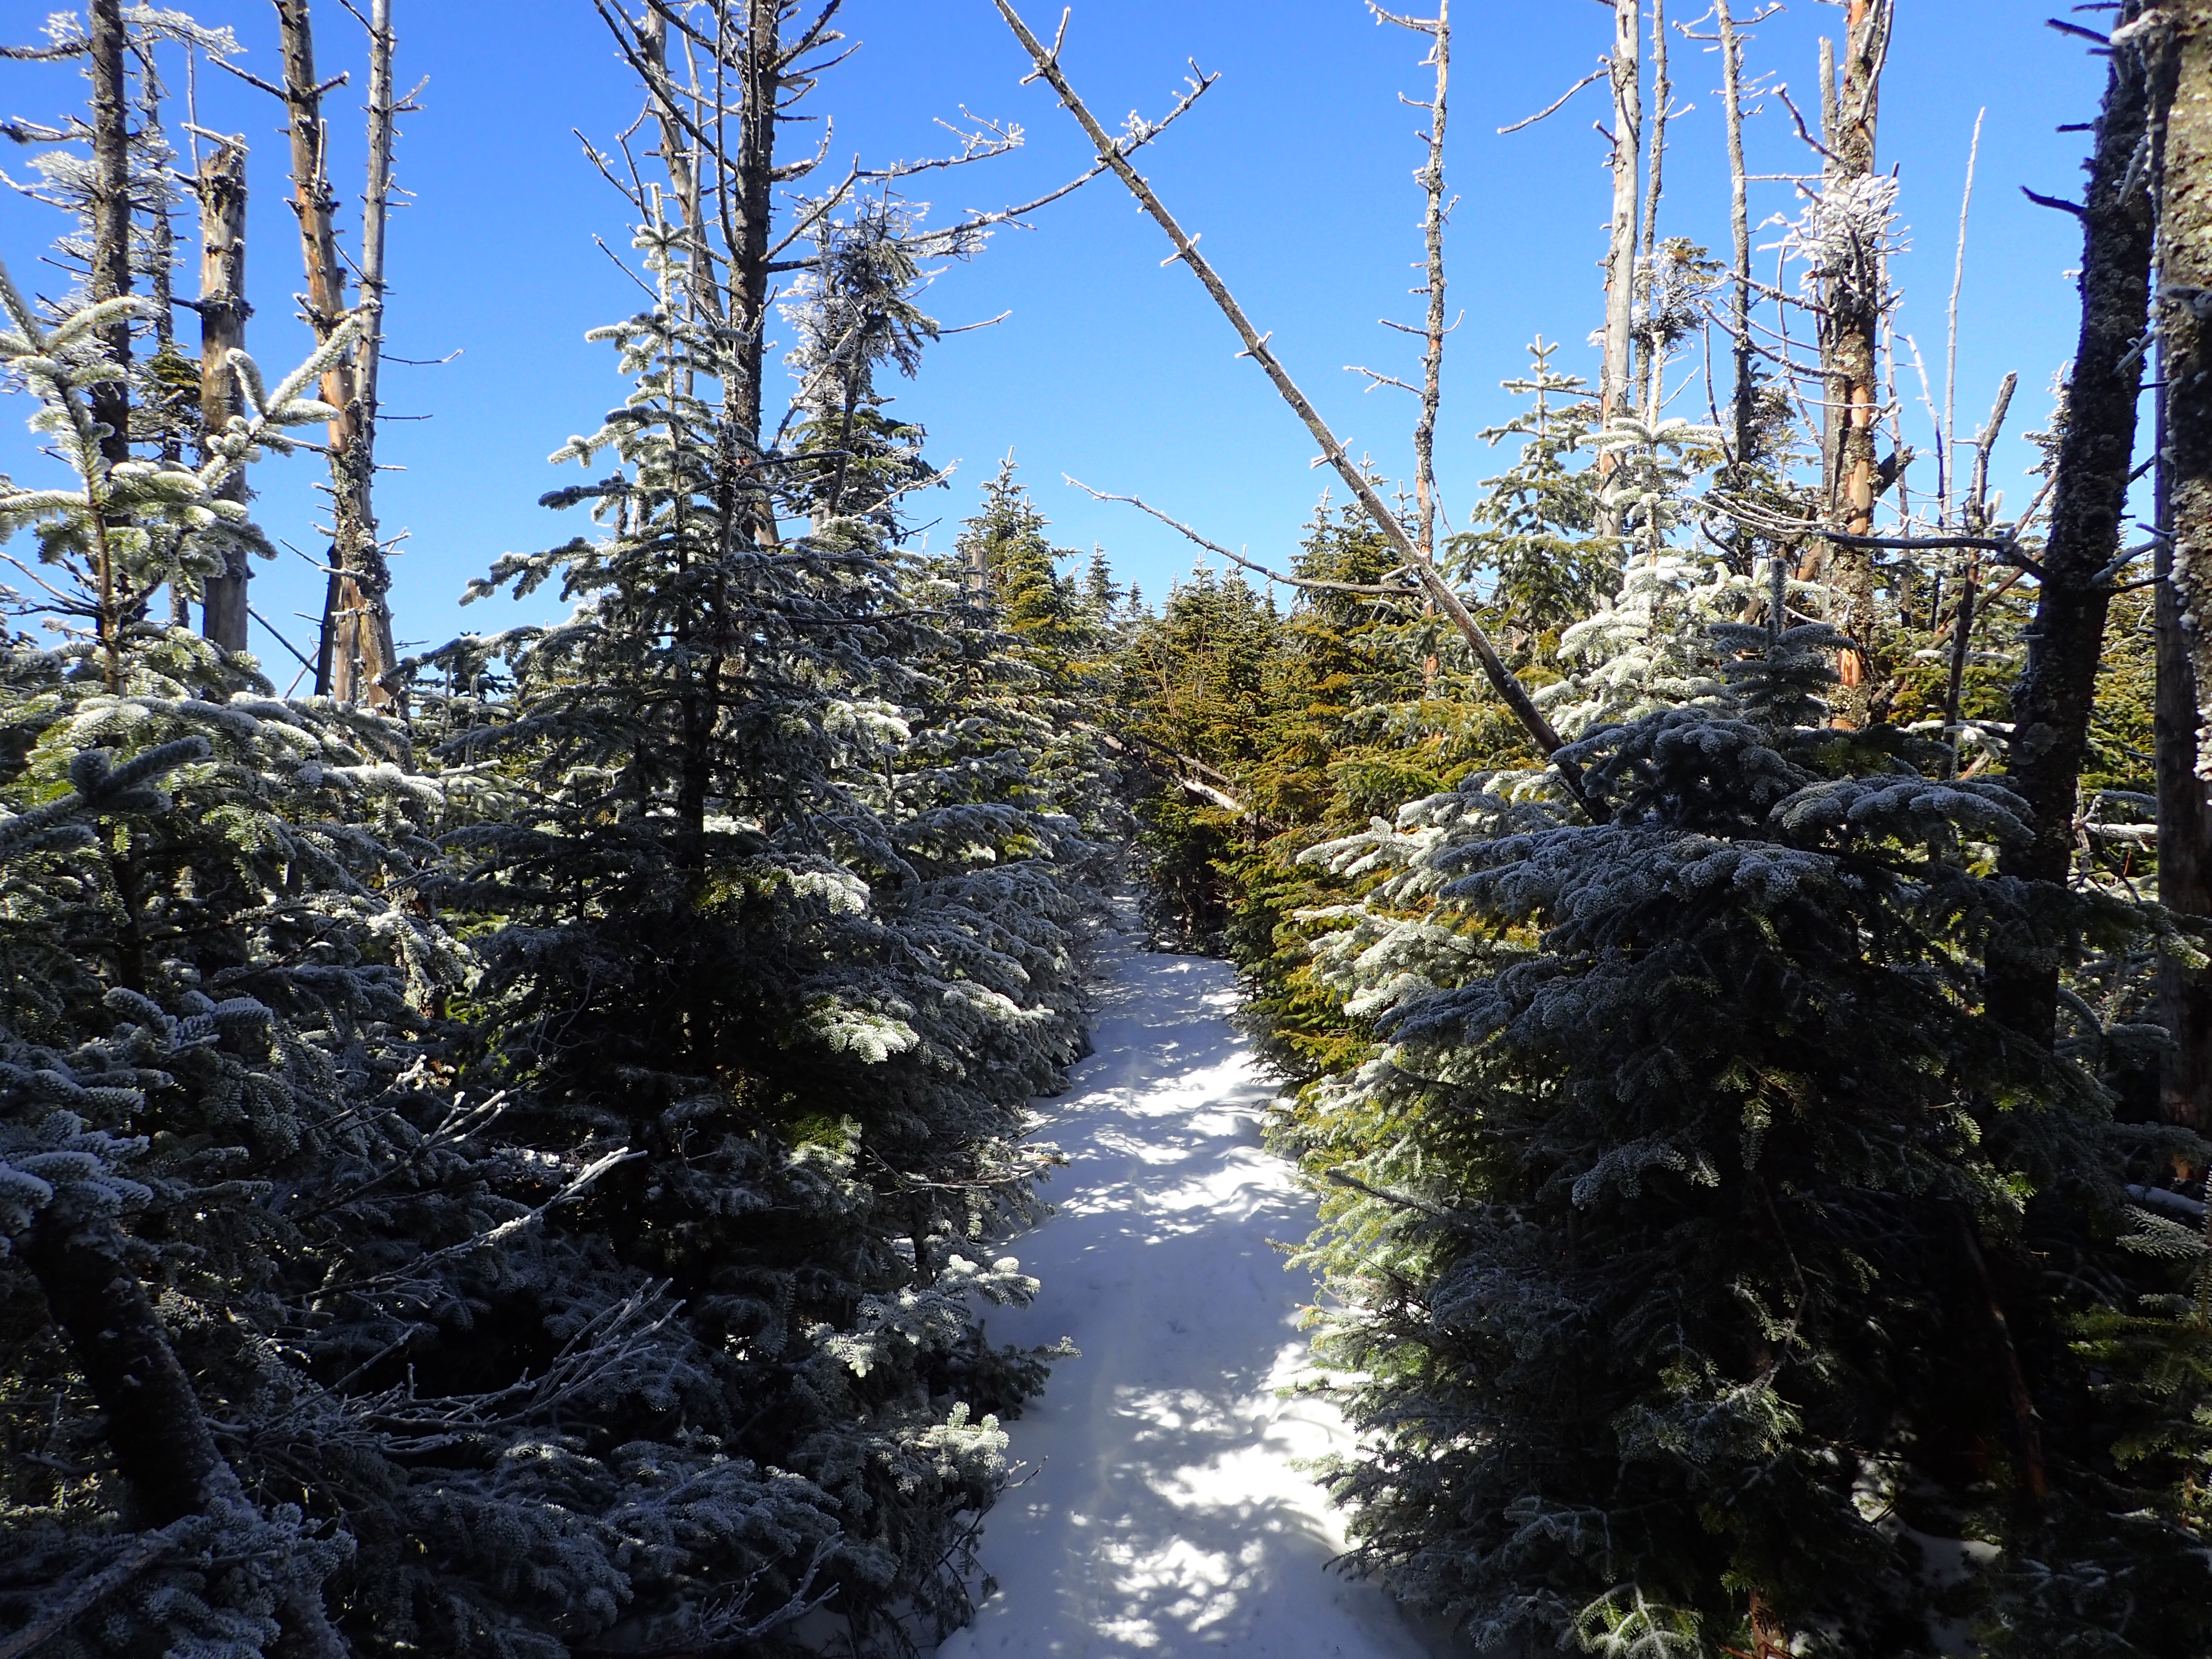
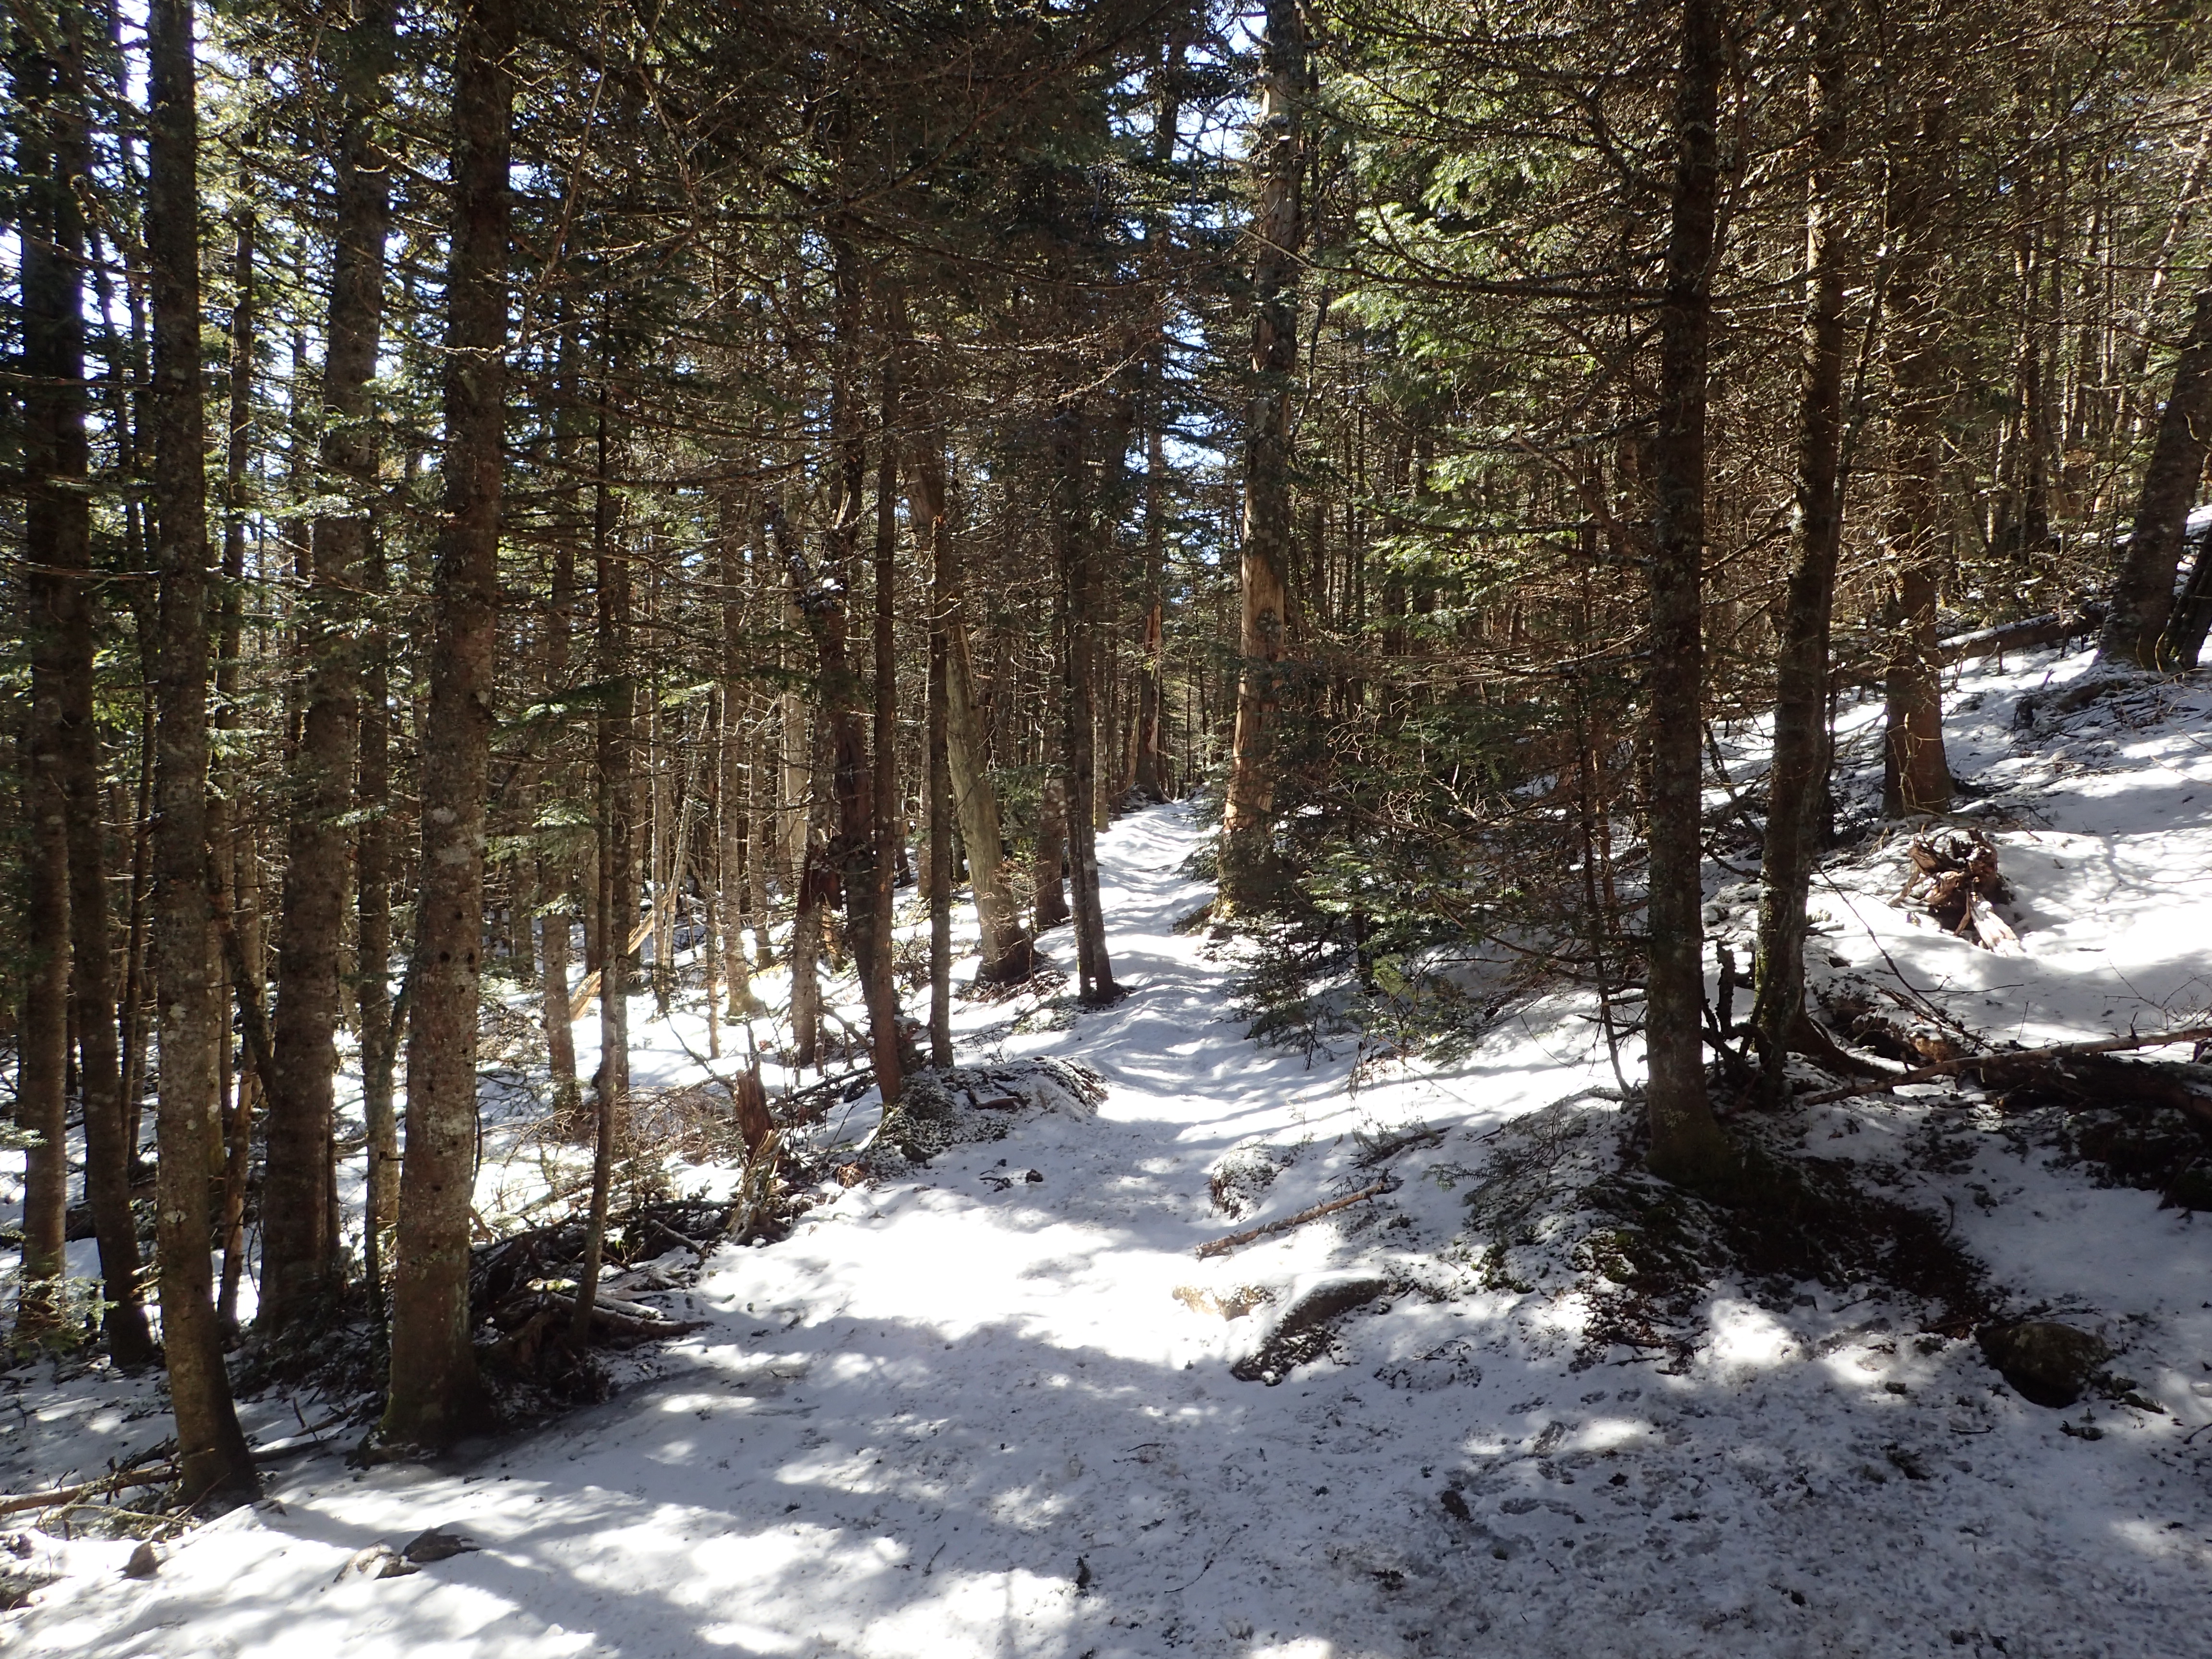
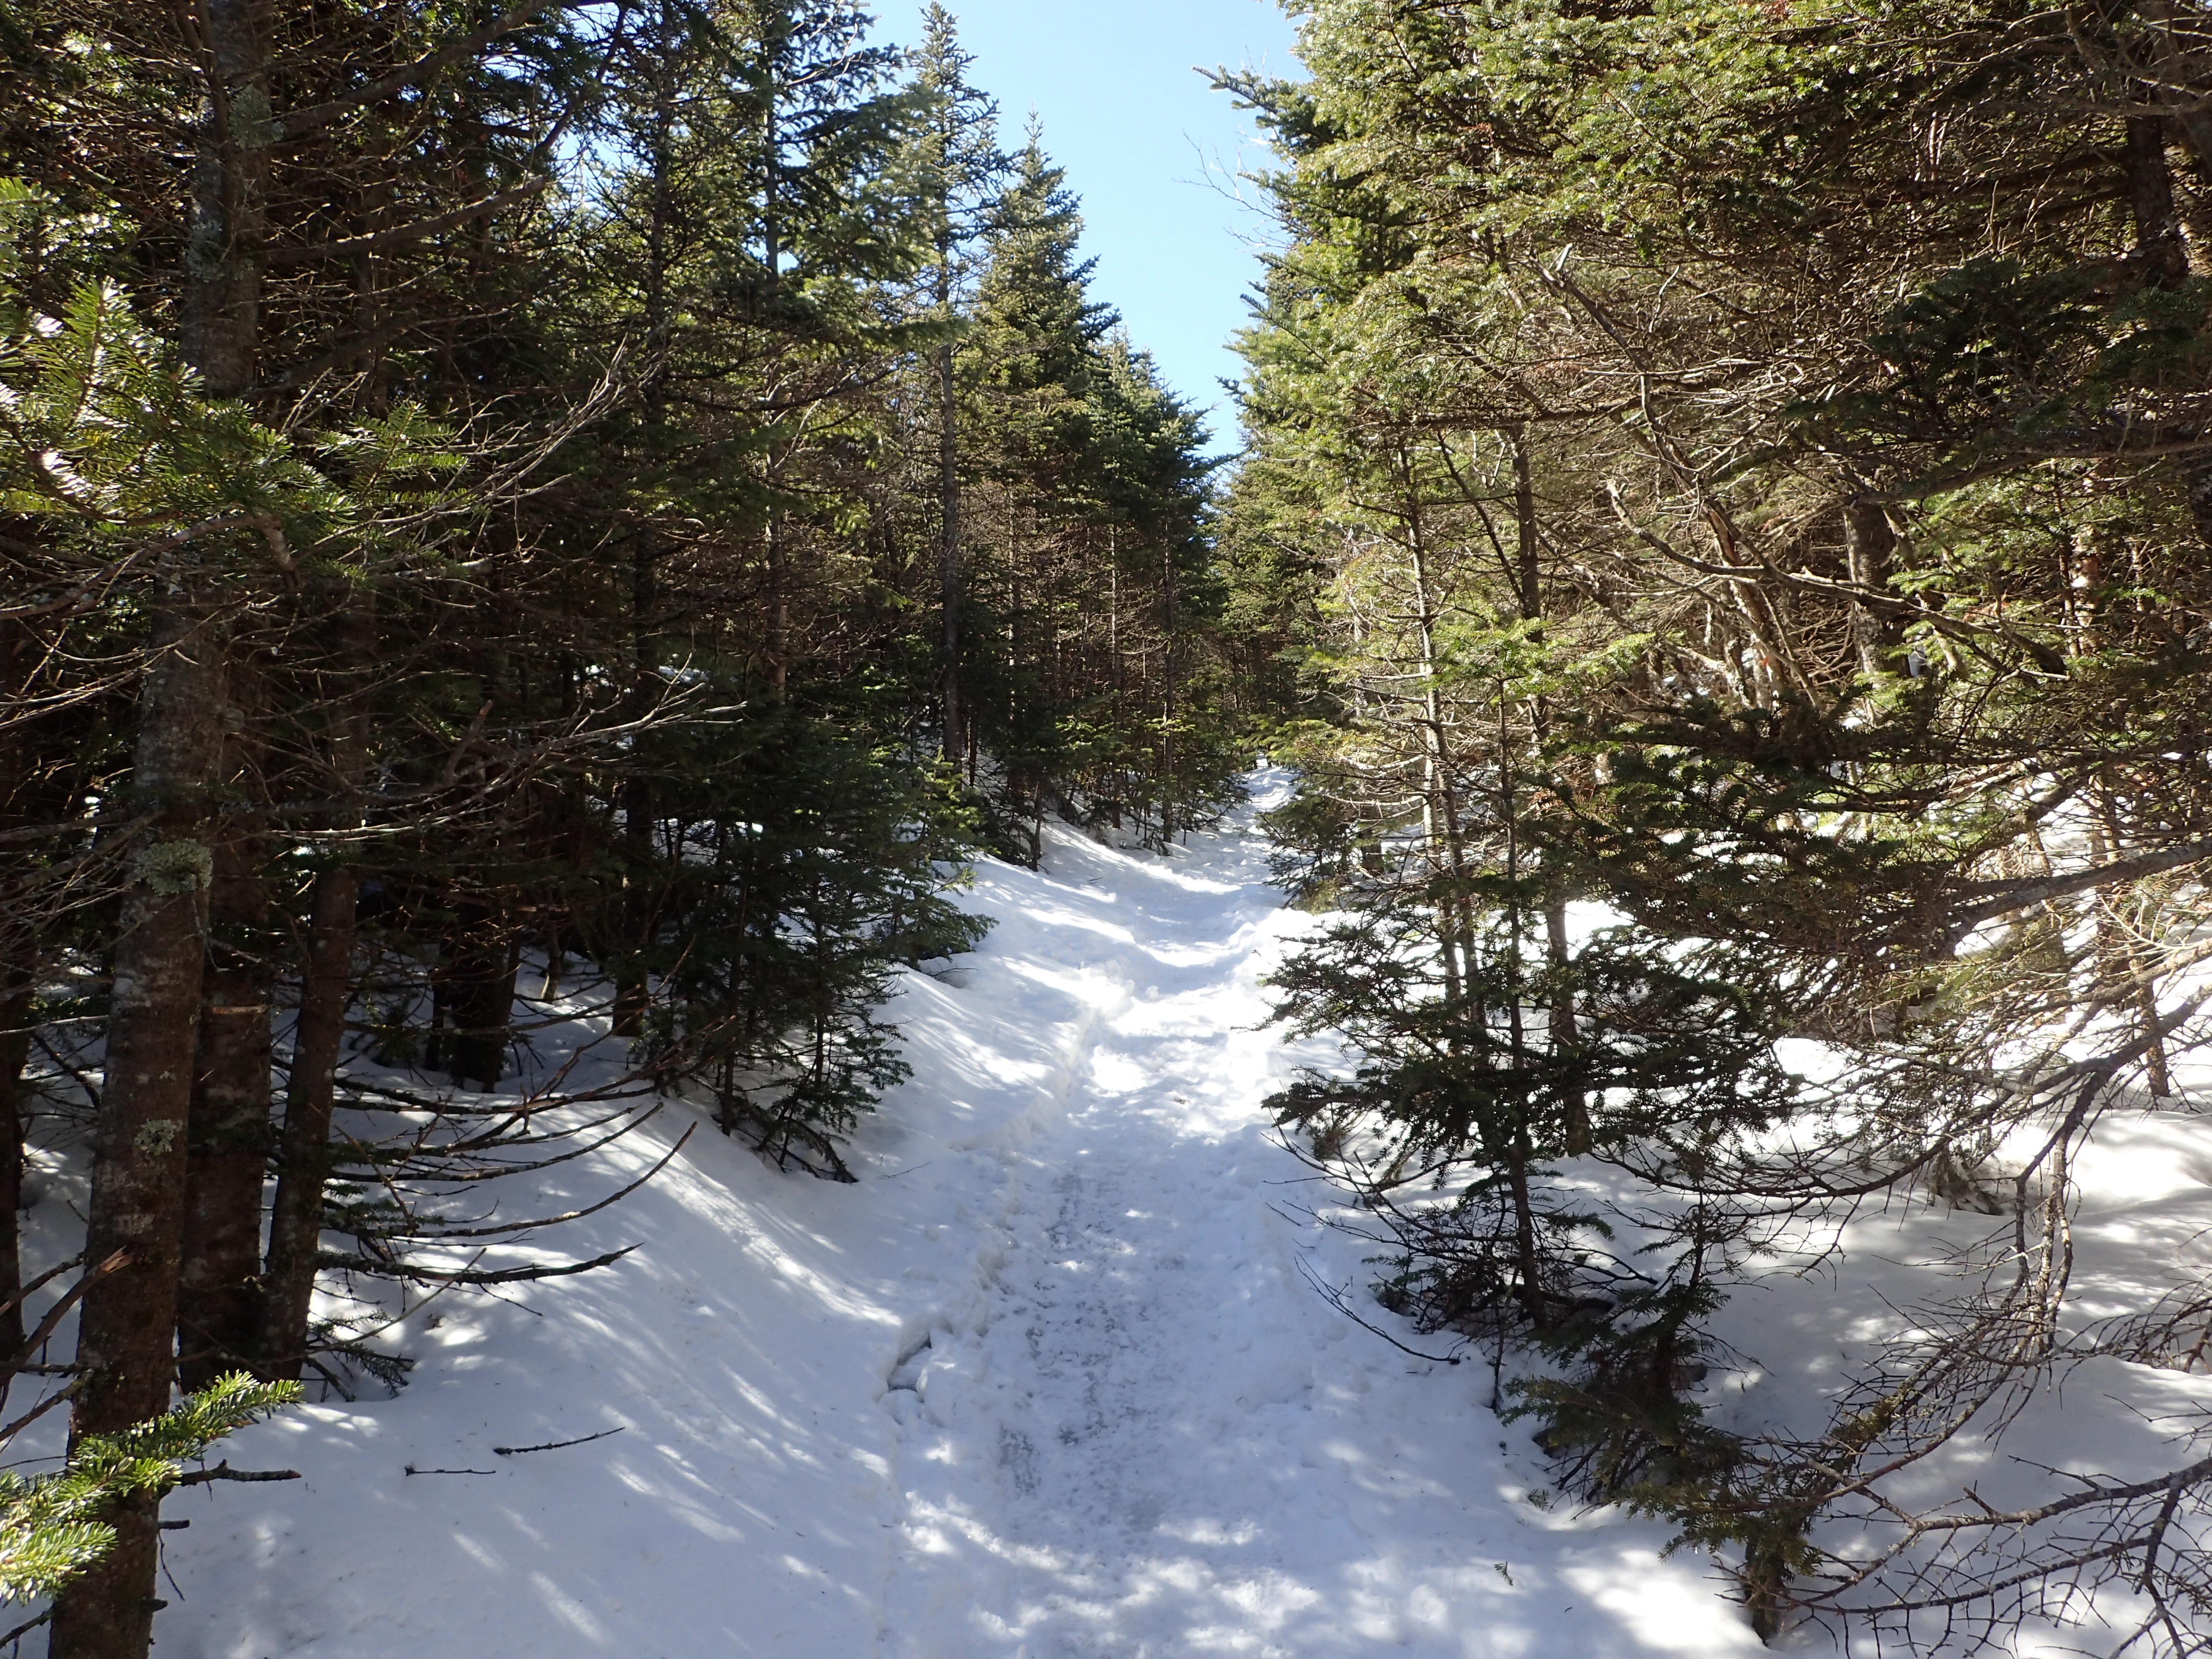
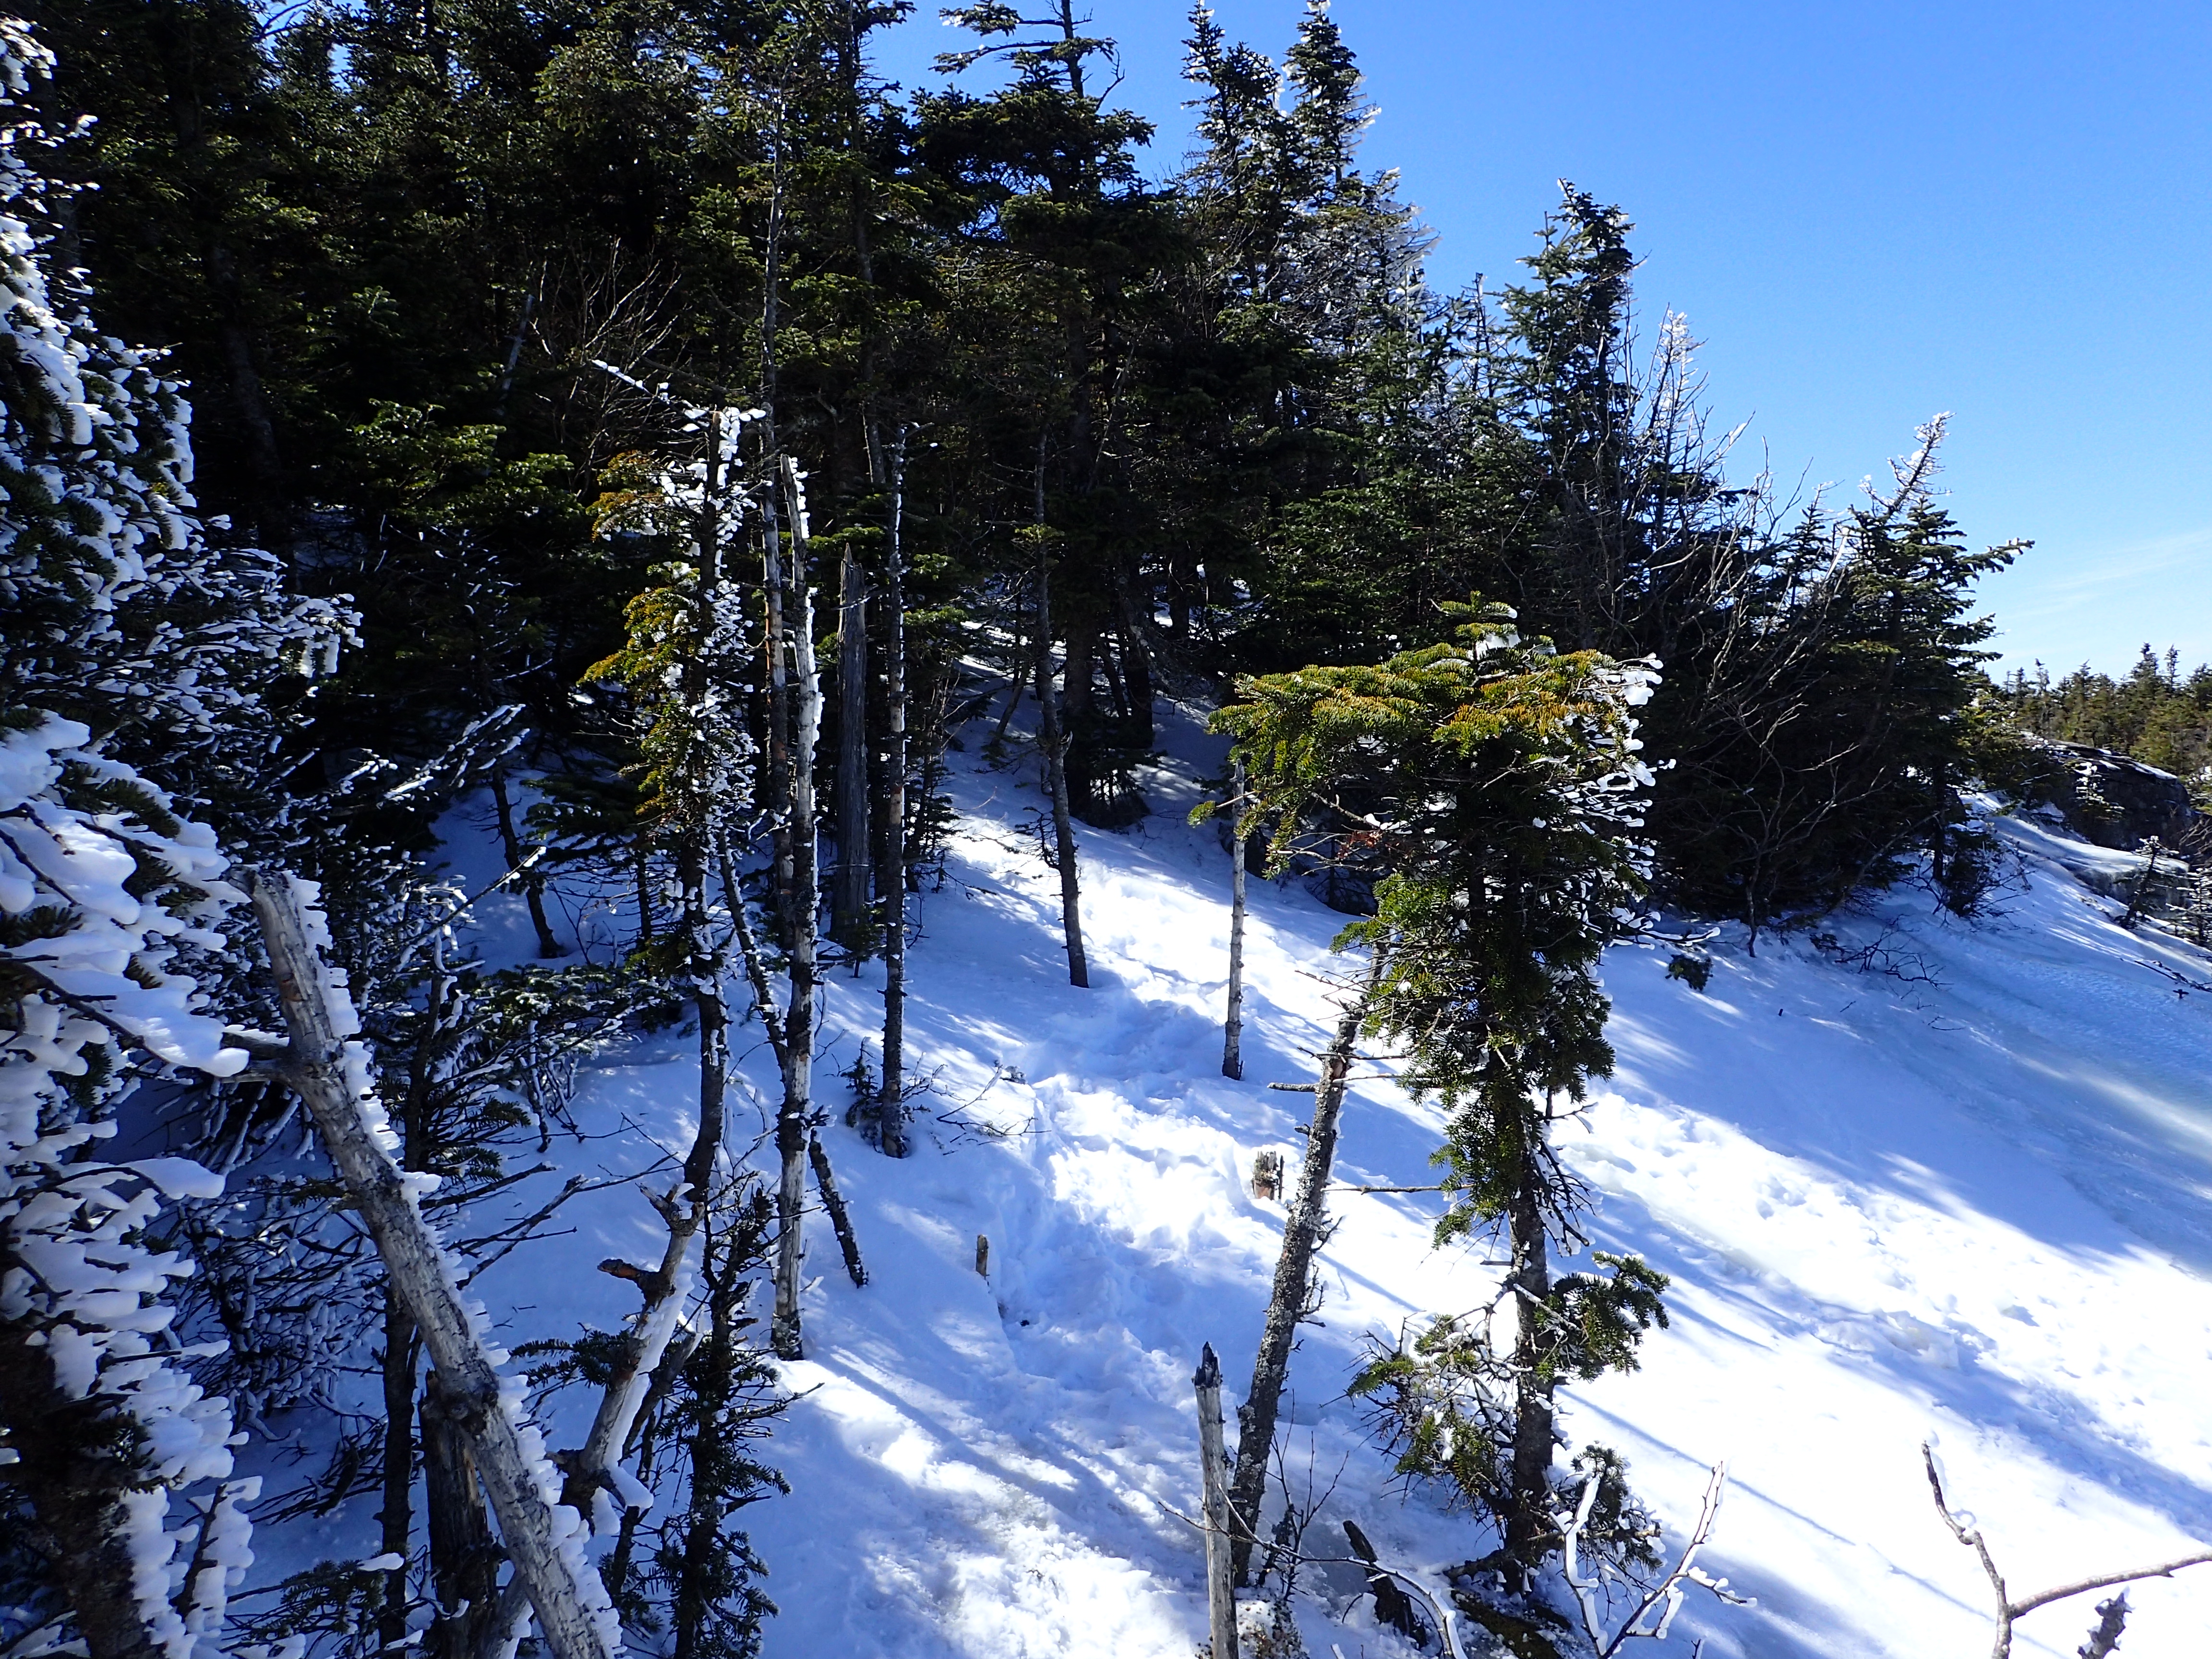
As we gained elevation the pure ice trail gave way to a hard packed snow trail. The trail was still icy in parts but overall the hard packed snow trail made it easy to make quicker progress with firm footing.
The icy trail gave way to snow as we gained elevation.
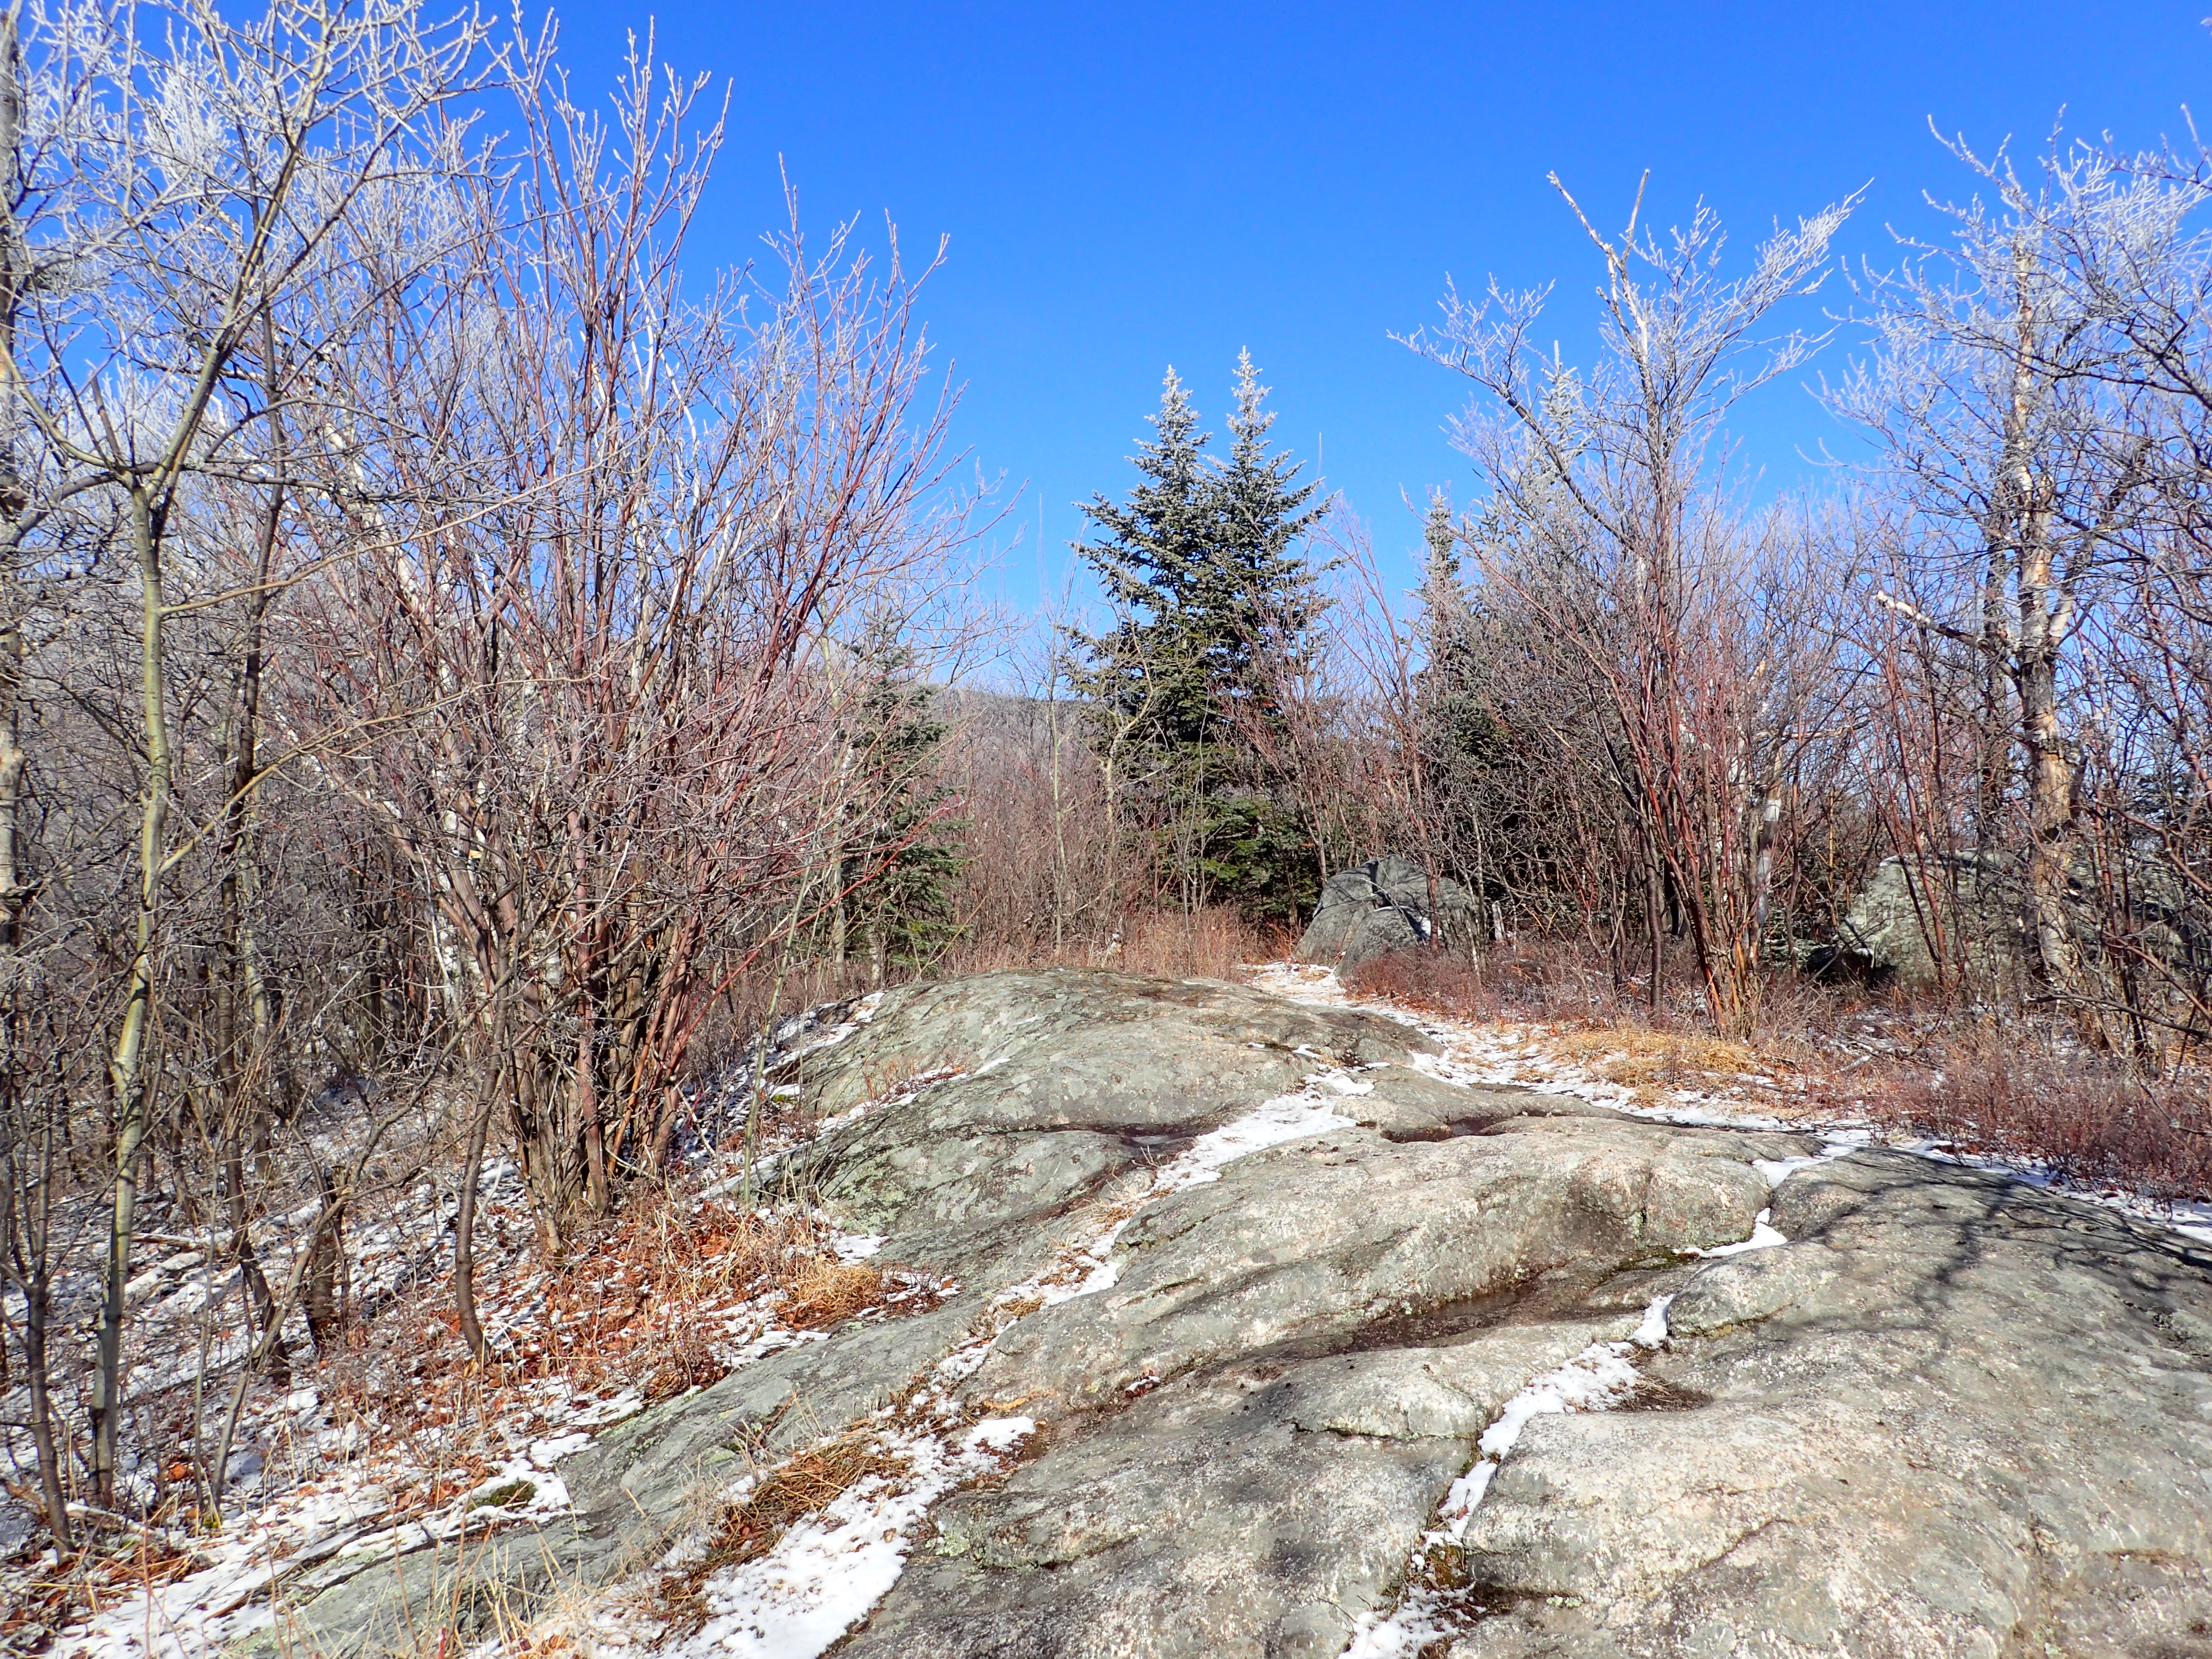
This section of trail before reaching the cairn marking the Esther herd path is approximately a mile in length but goes by pretty quickly. Once the trees began to get much shorter we knew we were nearing the high point on the ridge at about 3,500-3,750 ft.
Starting to feel like giants on the ridge.
One more short section of woods after this point put us at the cairn marking the herd path junction for Esther.

Last section before reaching the cairn marking the Esther herd path.
The cairn marking the herd path for Esther is huge and impossible to miss. In fact you would probably trip over it before you missed it on the trail so there is no navigational worry on this one. Not to mention there is also a sign marking the way, and informing you that the trail is neither marked nor maintained, which if we are all being honest is only marginally true.
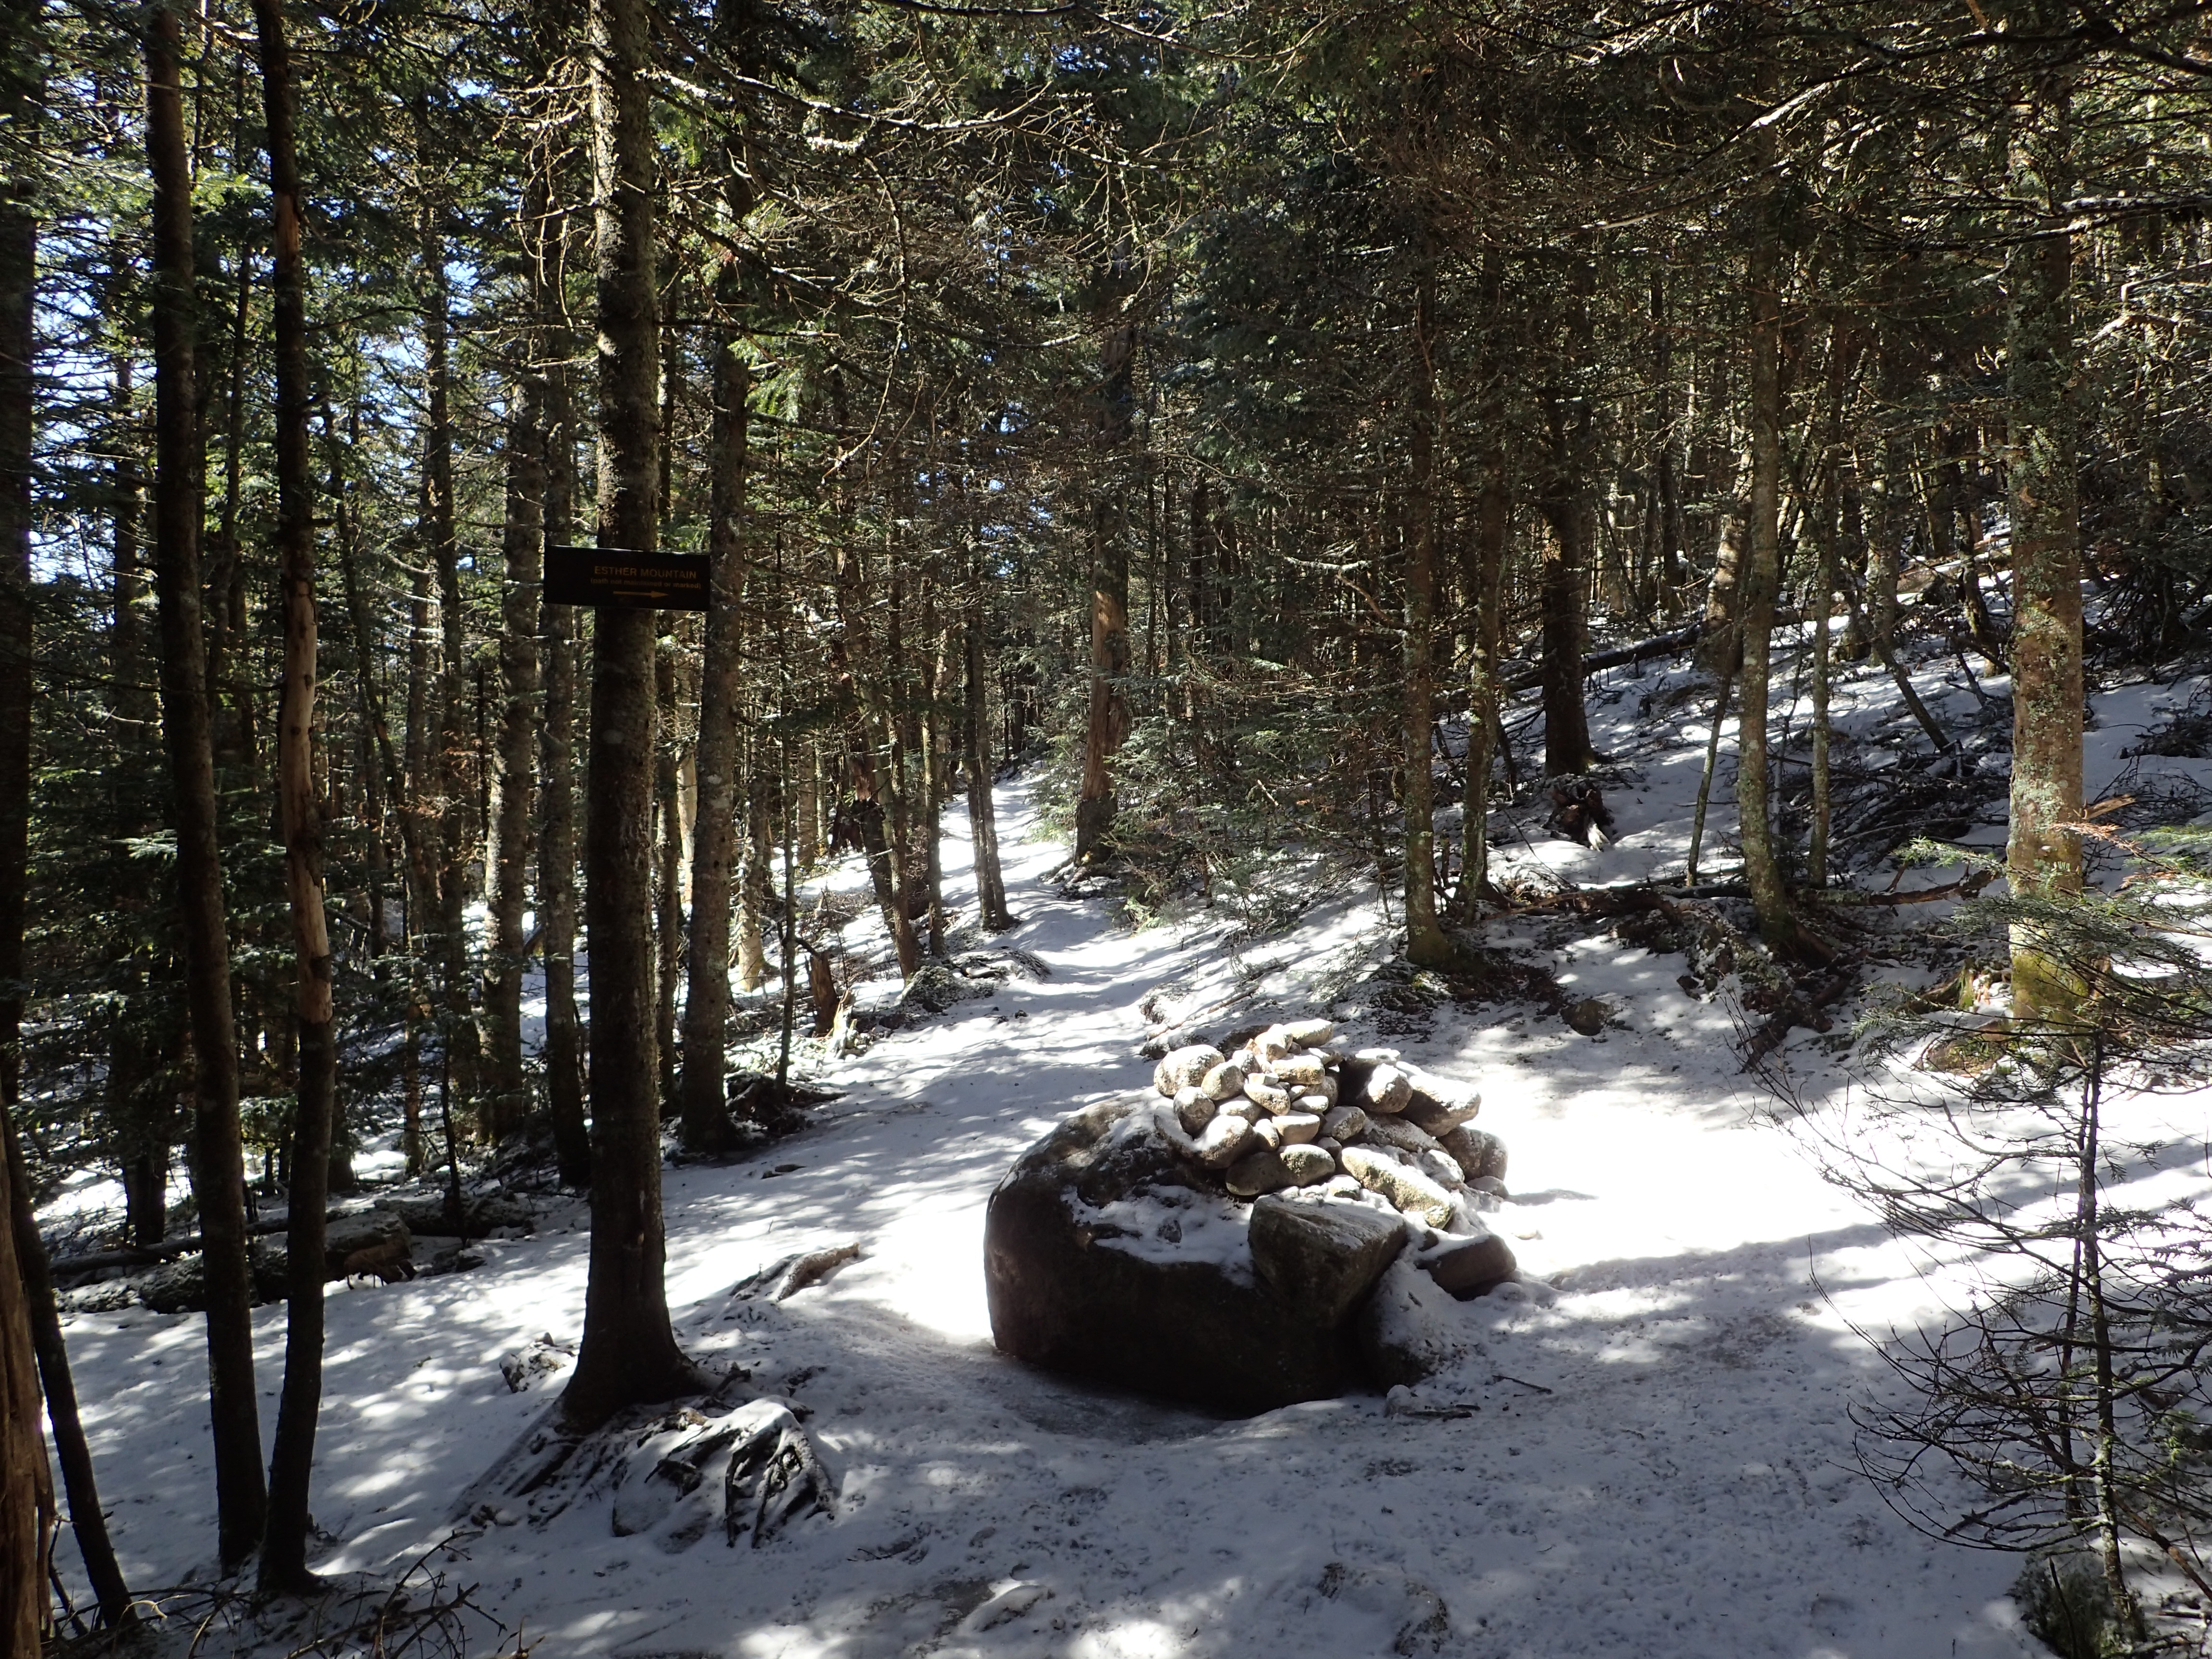
Cairn marking the junction for the Esther herd path.
The herd path leading to Esther is not officially marked or maintained as frequently as the main trails but it is very well worn out and easy to follow. There is also a short boarded section and it is free of most debris except for some logs you need to duck under. Although I did fail at this one particular aspect of the hike and managed to clock myself in the head on one of these logs. After stopping for a snack at the cairn we started making our way down towards the summit of Esther.
Start of the trail leading towards the summit of Esther.
Once you reach this point in the hike the majority of elevation gain for the day is already completed so the hike over to Esther is for the most part pretty flat. A short series of small rolling hills will deposit you at its fully wooded summit. I normally list Esther as one of my least favorite peaks but that is mostly because I find it pretty dull and it doesn’t really have any views from the summit to make it more enjoyable. Although on this particular day it was honestly more enjoyable than I remembered. Either way it is still not a favorite of mine but it also not in the same category of awfulness as Blake or Couch.

Well worn herd path leading toward the summit of Esther.
The summit of Esther peaking through the trees in the distance.
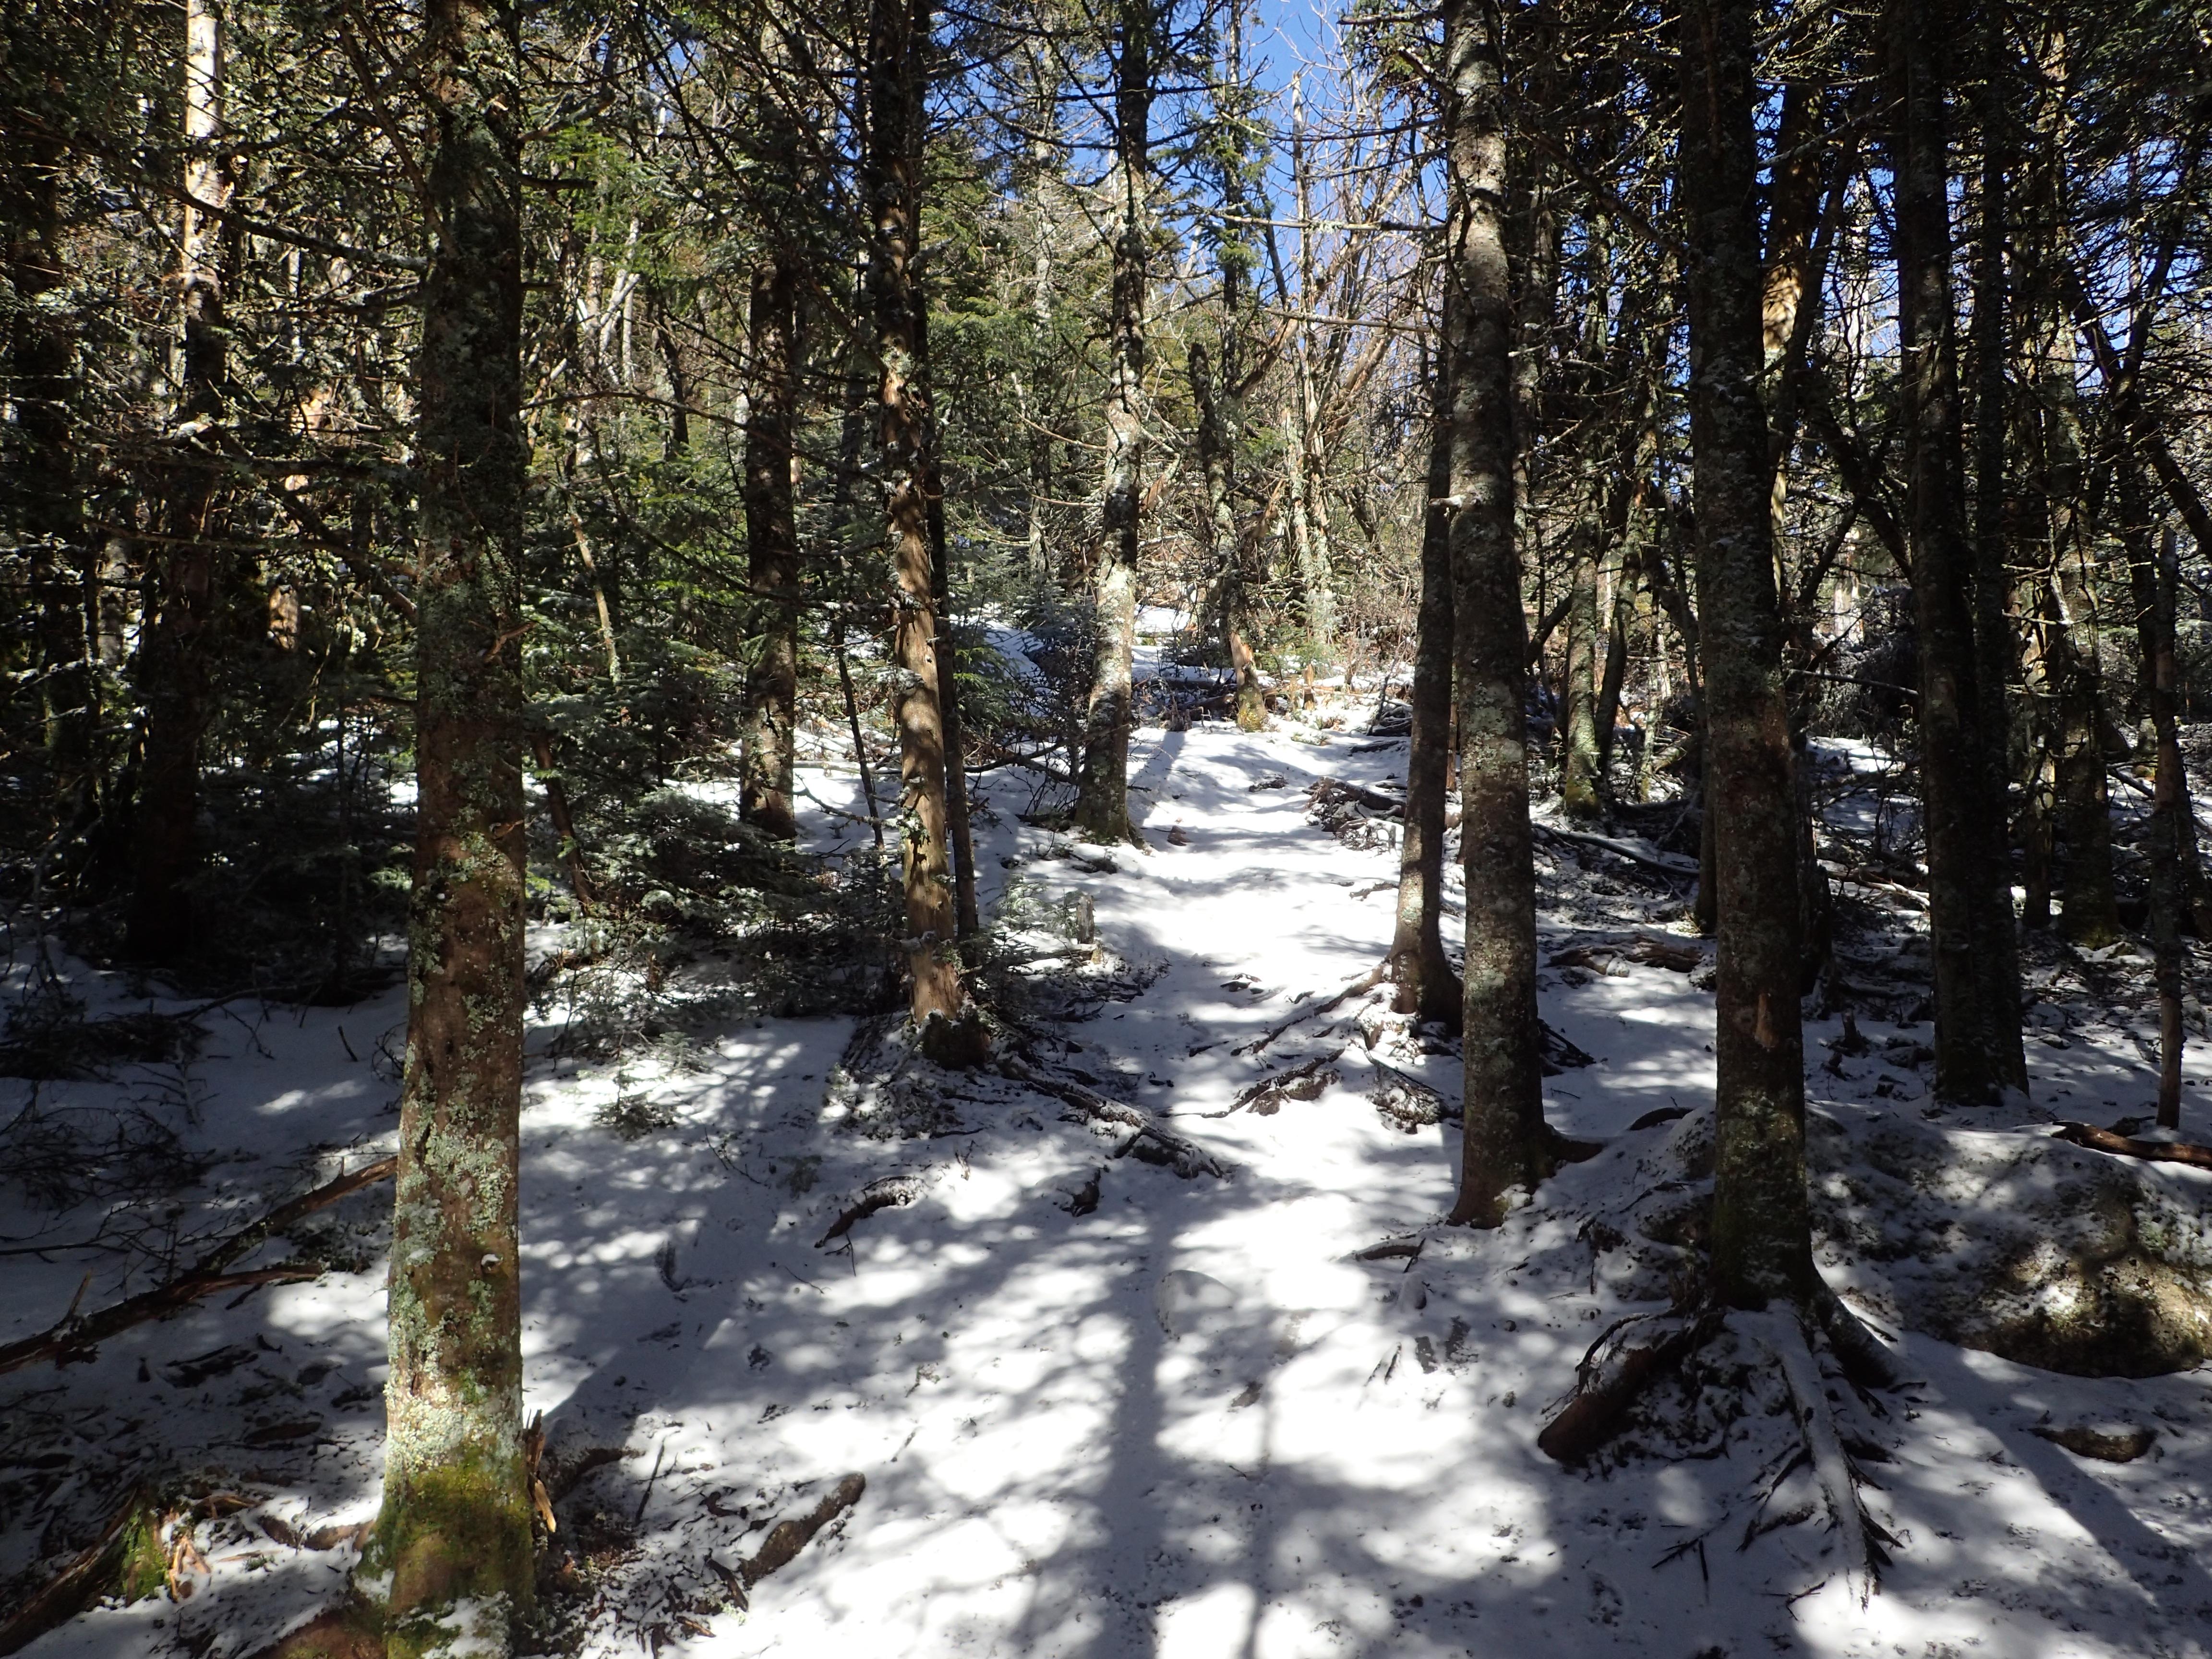
In a few spots the trail got a bit narrow but it was never hard to follow.
The snowiest section we encountered all day.
We traversed across the ridge quickly on a hard packed snow trail and before too long we found ourselves at the summit. At this point the sun was beating down on us and it actually got quite hot, especially with the light reflecting off the snow. The trail hits a dead end at the summit so there is no chance you will miss it by mistake. There is also a small yellow disk in a tree marking the summit as well as a metal placard in the summit rock. The summit is completely wooded so there are no real views to be had except looking back over Whiteface, which is a neat view but mostly obstructed.

Small yellow disc marking the summit of Esther.

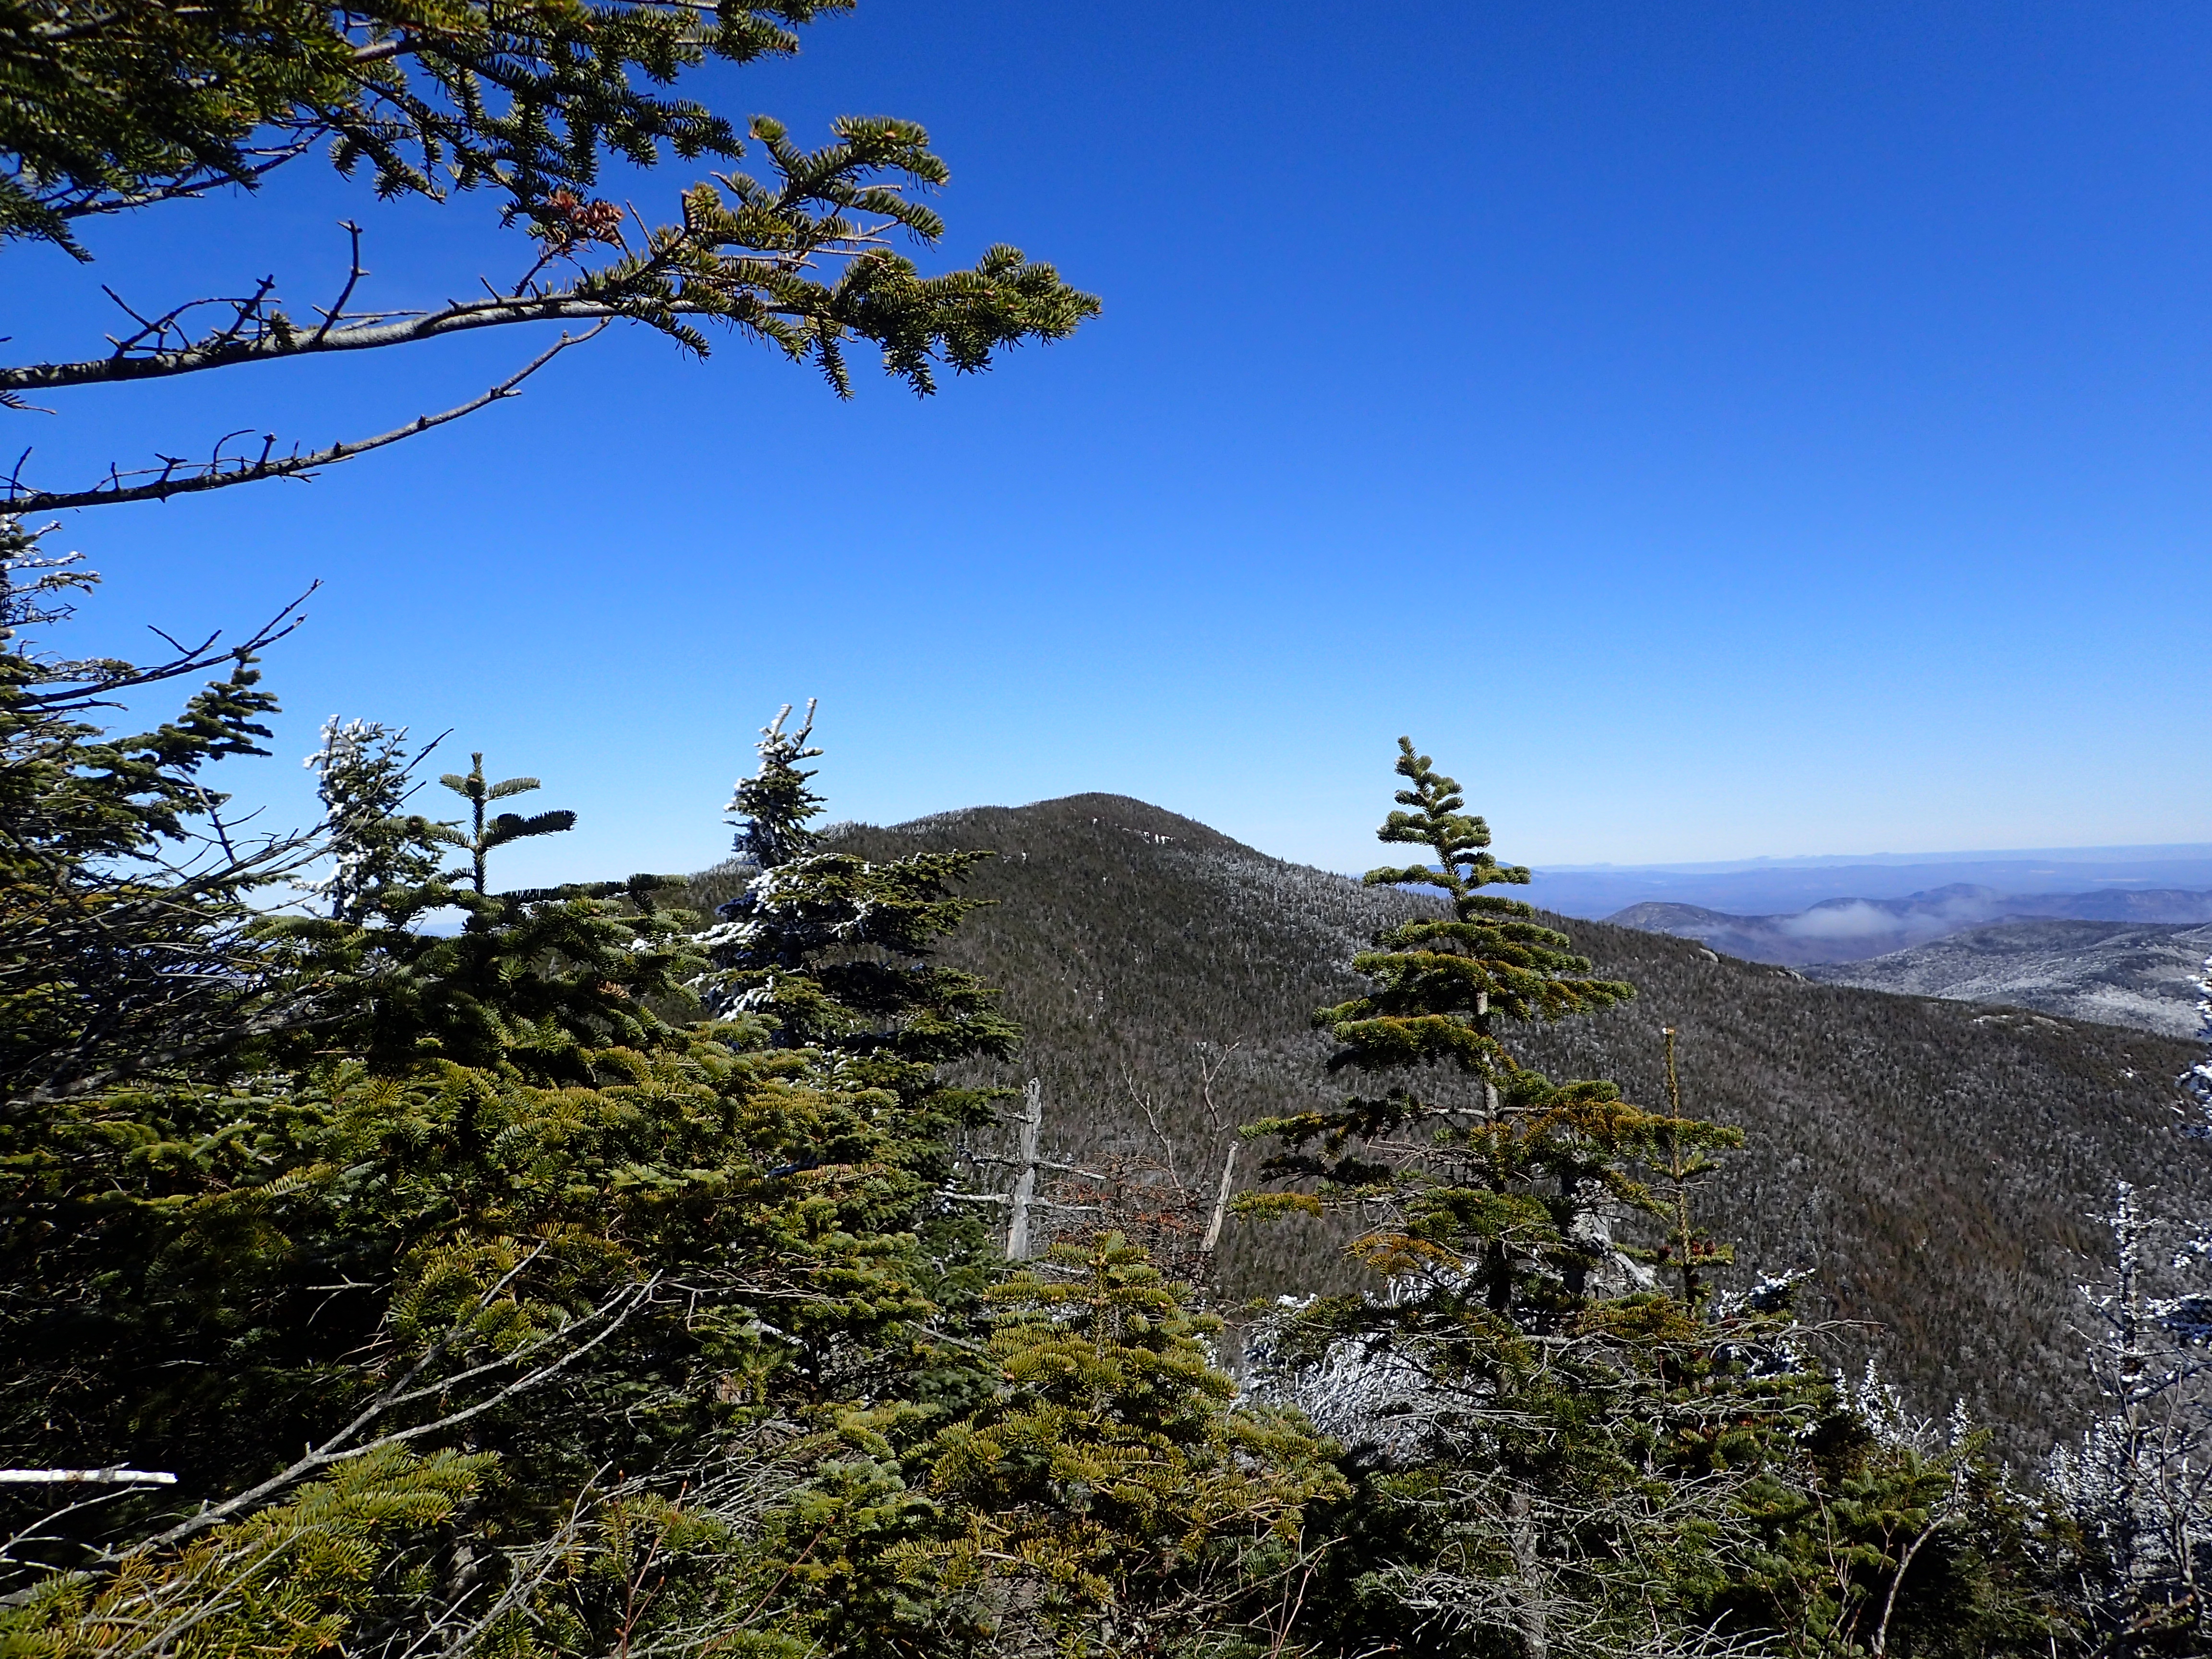
Looking back at Whiteface from the summit of Esther.
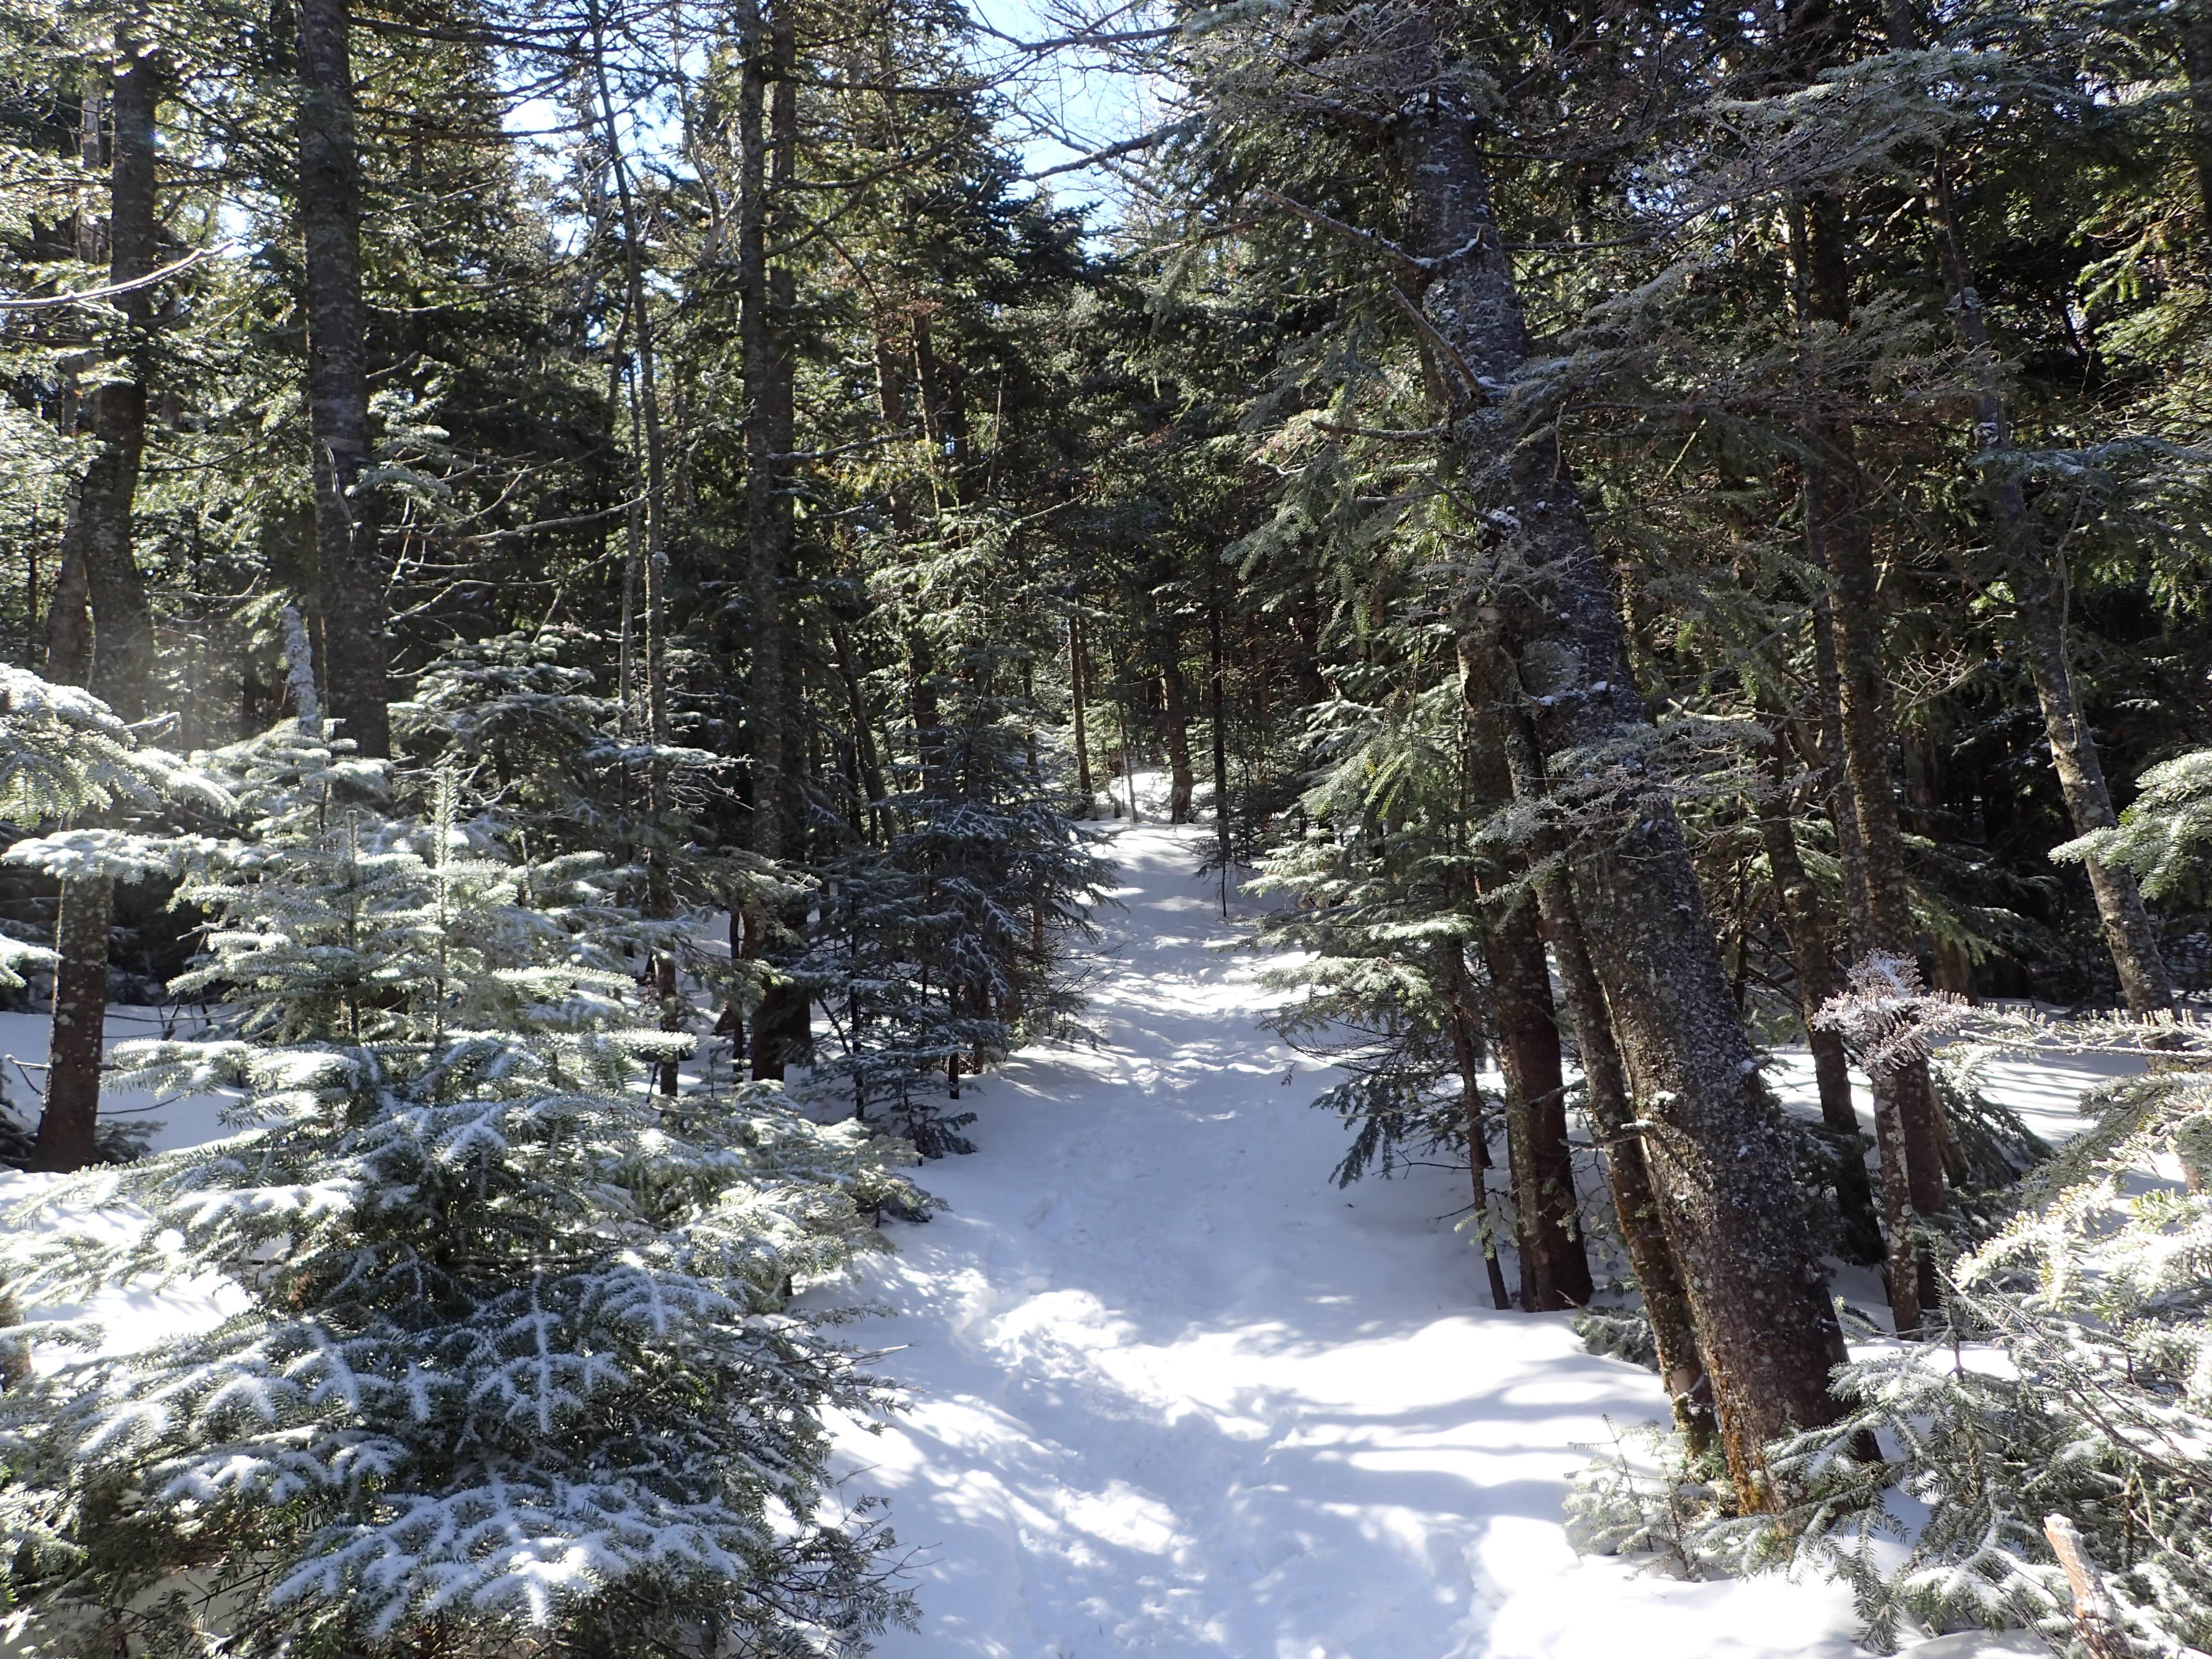
There were a couple of people on the summit before we arrived and we stayed for a few minutes to chat before making our way back to the junction and continue our way up to Whiteface. We got back to the junction without incident, me clobbering myself on a log not withstanding. The trail leading to Whiteface starts off as a mostly flat walk across the ridge. It is not terribly exciting but it was an easy walk on more hard packed snow and ice.
Trail leading towards Whiteface from the junction.

Old trail sign.

Nearing the end of the flat section of trail.
Before too long we found ourselves at the junction with the old service road. The trail continues just on the other side of the road.

First junction with the service road.
After another quick section in the woods we came to the second junction with the service road. This one is also interesting because to your left is the top of one of the active ski lifts at the Whiteface ski resort. Although at this point they had this particular lift shut down for the season. The snow was pretty sparse at this point so there was no surprise why. The trail continued on directly across the open road section.
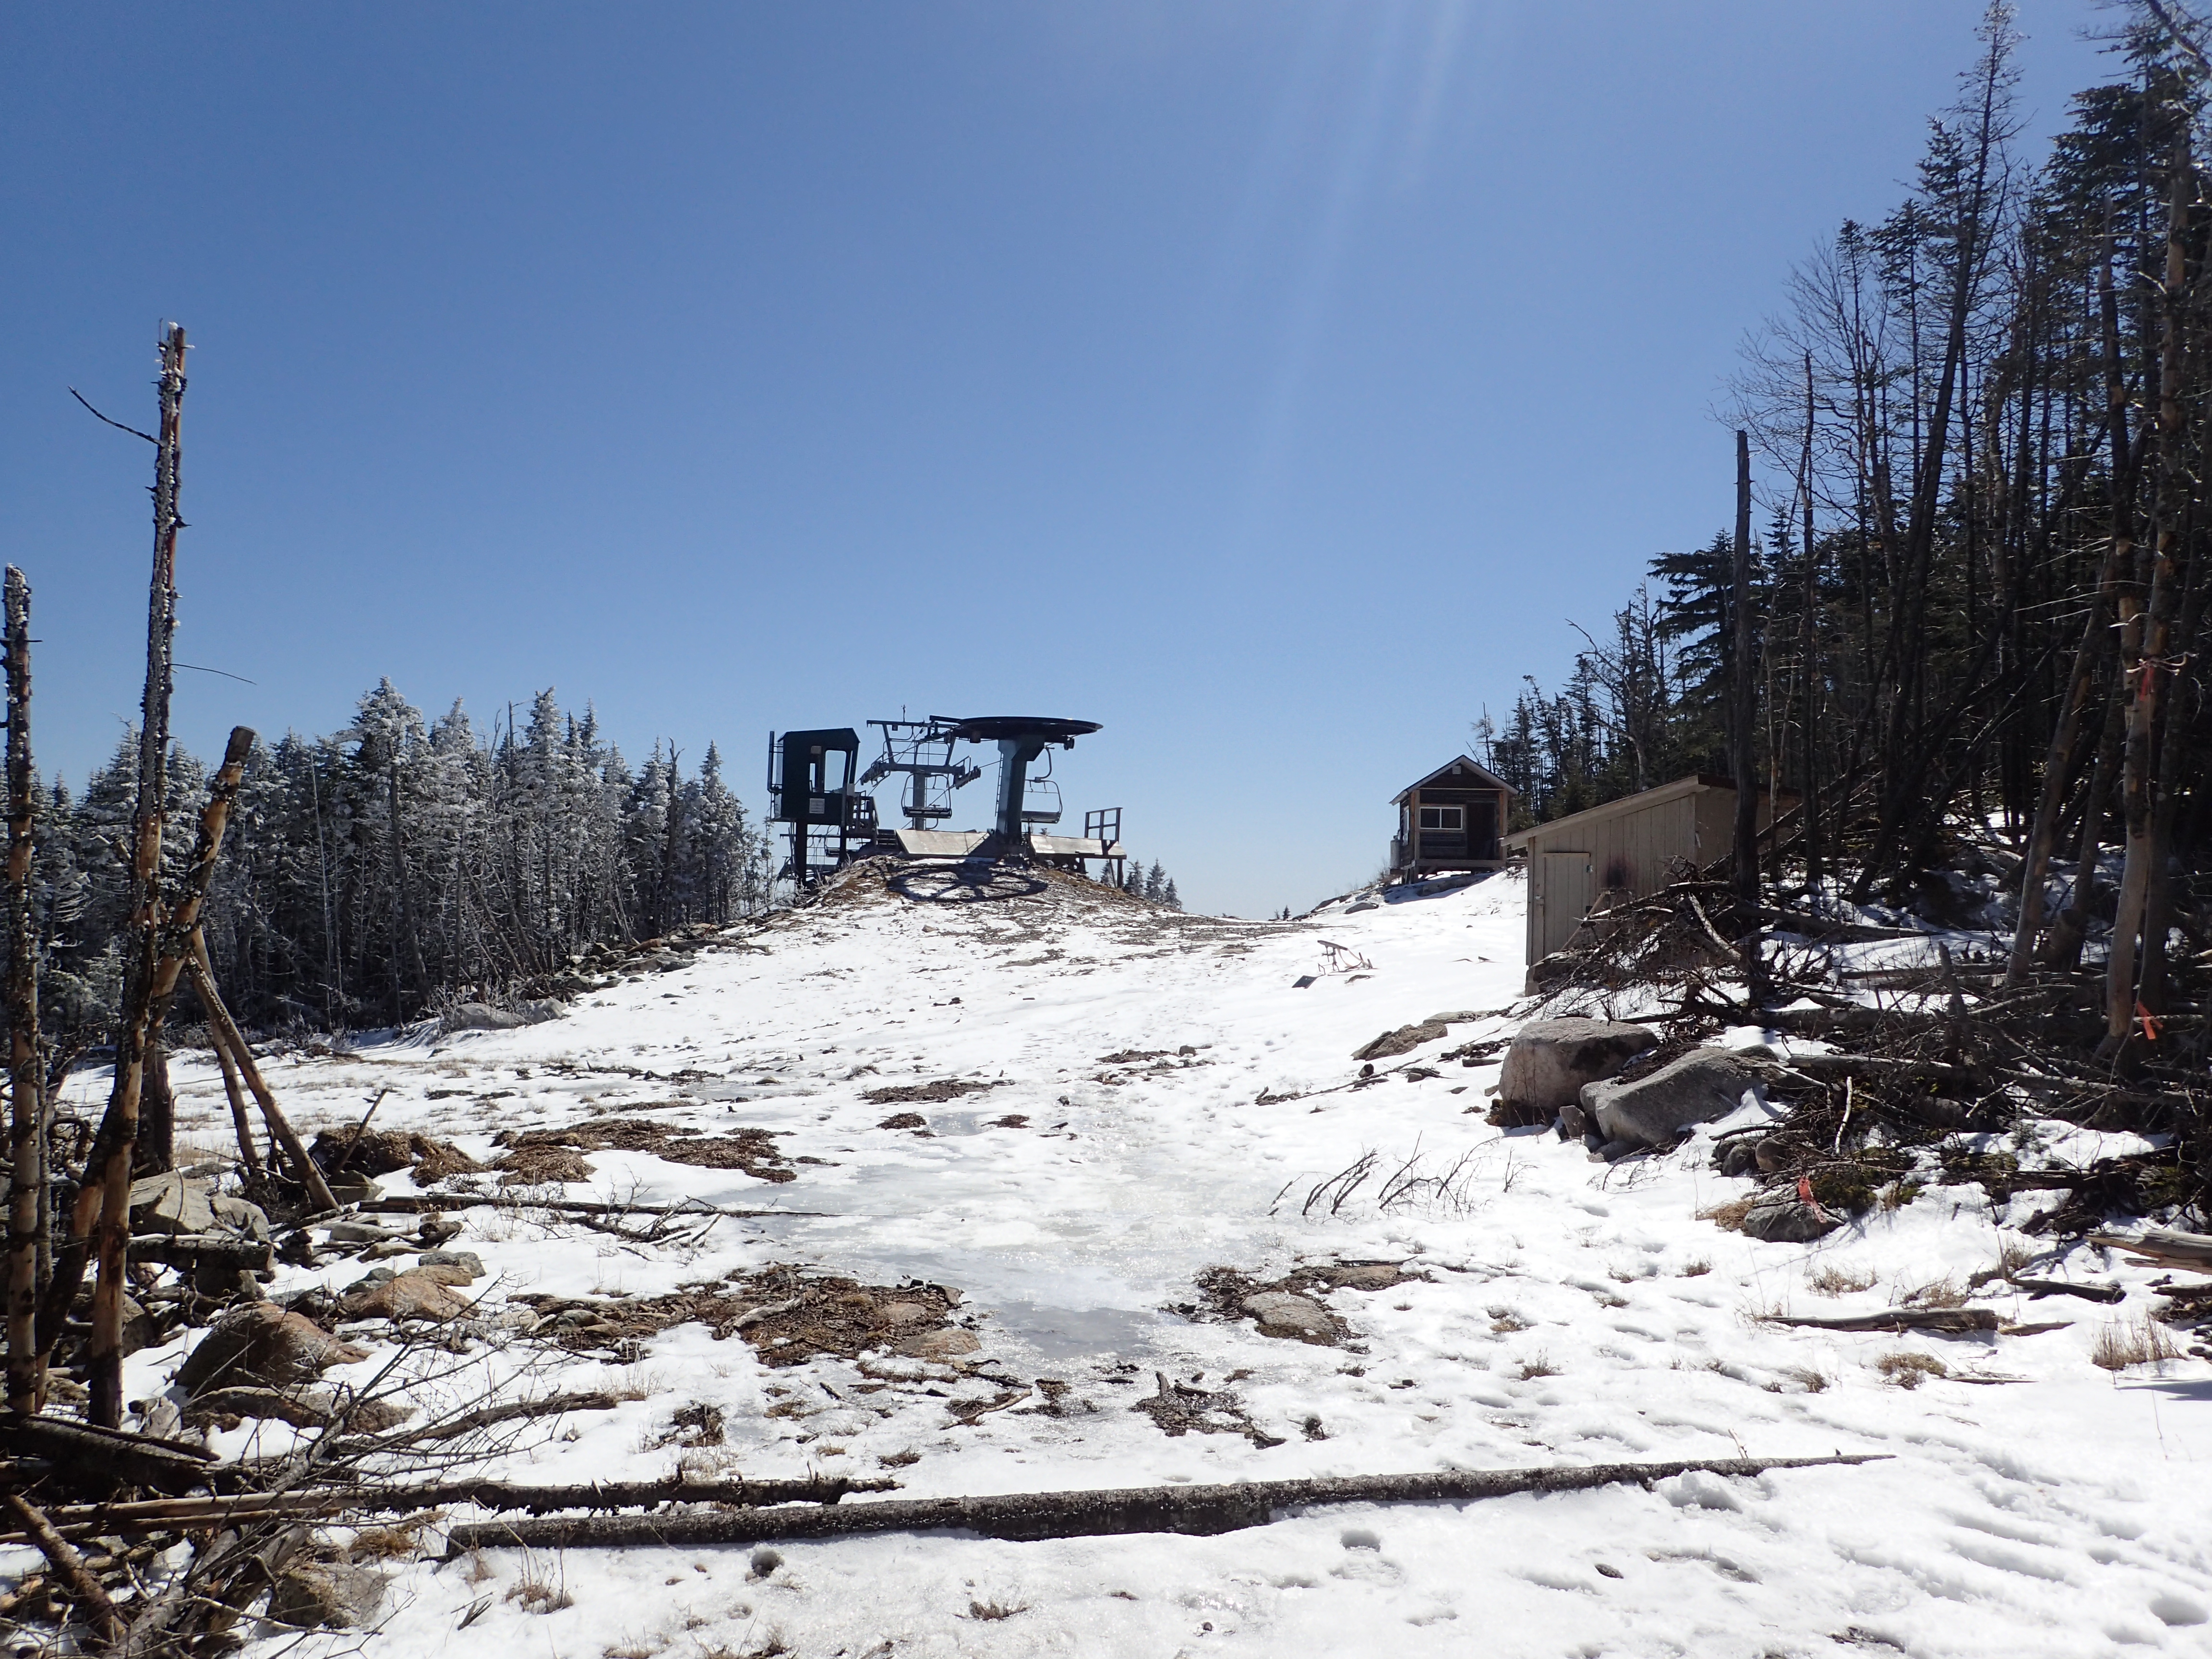
Looking over at the active ski lift from the trail.
From here there was one more relentlessly steep section through the woods before reaching the auto road junction near the summit. This section isn’t very long but the constant grade will keep you working.
Final steep uphill section through the woods before reaching the auto road.
Before too long we reached the base of the retaining wall for the modern auto road. During the summer this road is open to visitors which can pay a toll to drive up to the summit of Whiteface.
Base of the retaining wall.
We followed the trail around the base of the wall and worked our way up a short rock scramble to join up with the road.

Short Scramble up to the road.
From here you can also get some nice unobstructed views of the valley below, including the Whiteface ski resort. From here we could tell that some of the ski runs were still being maintained on the mountain.
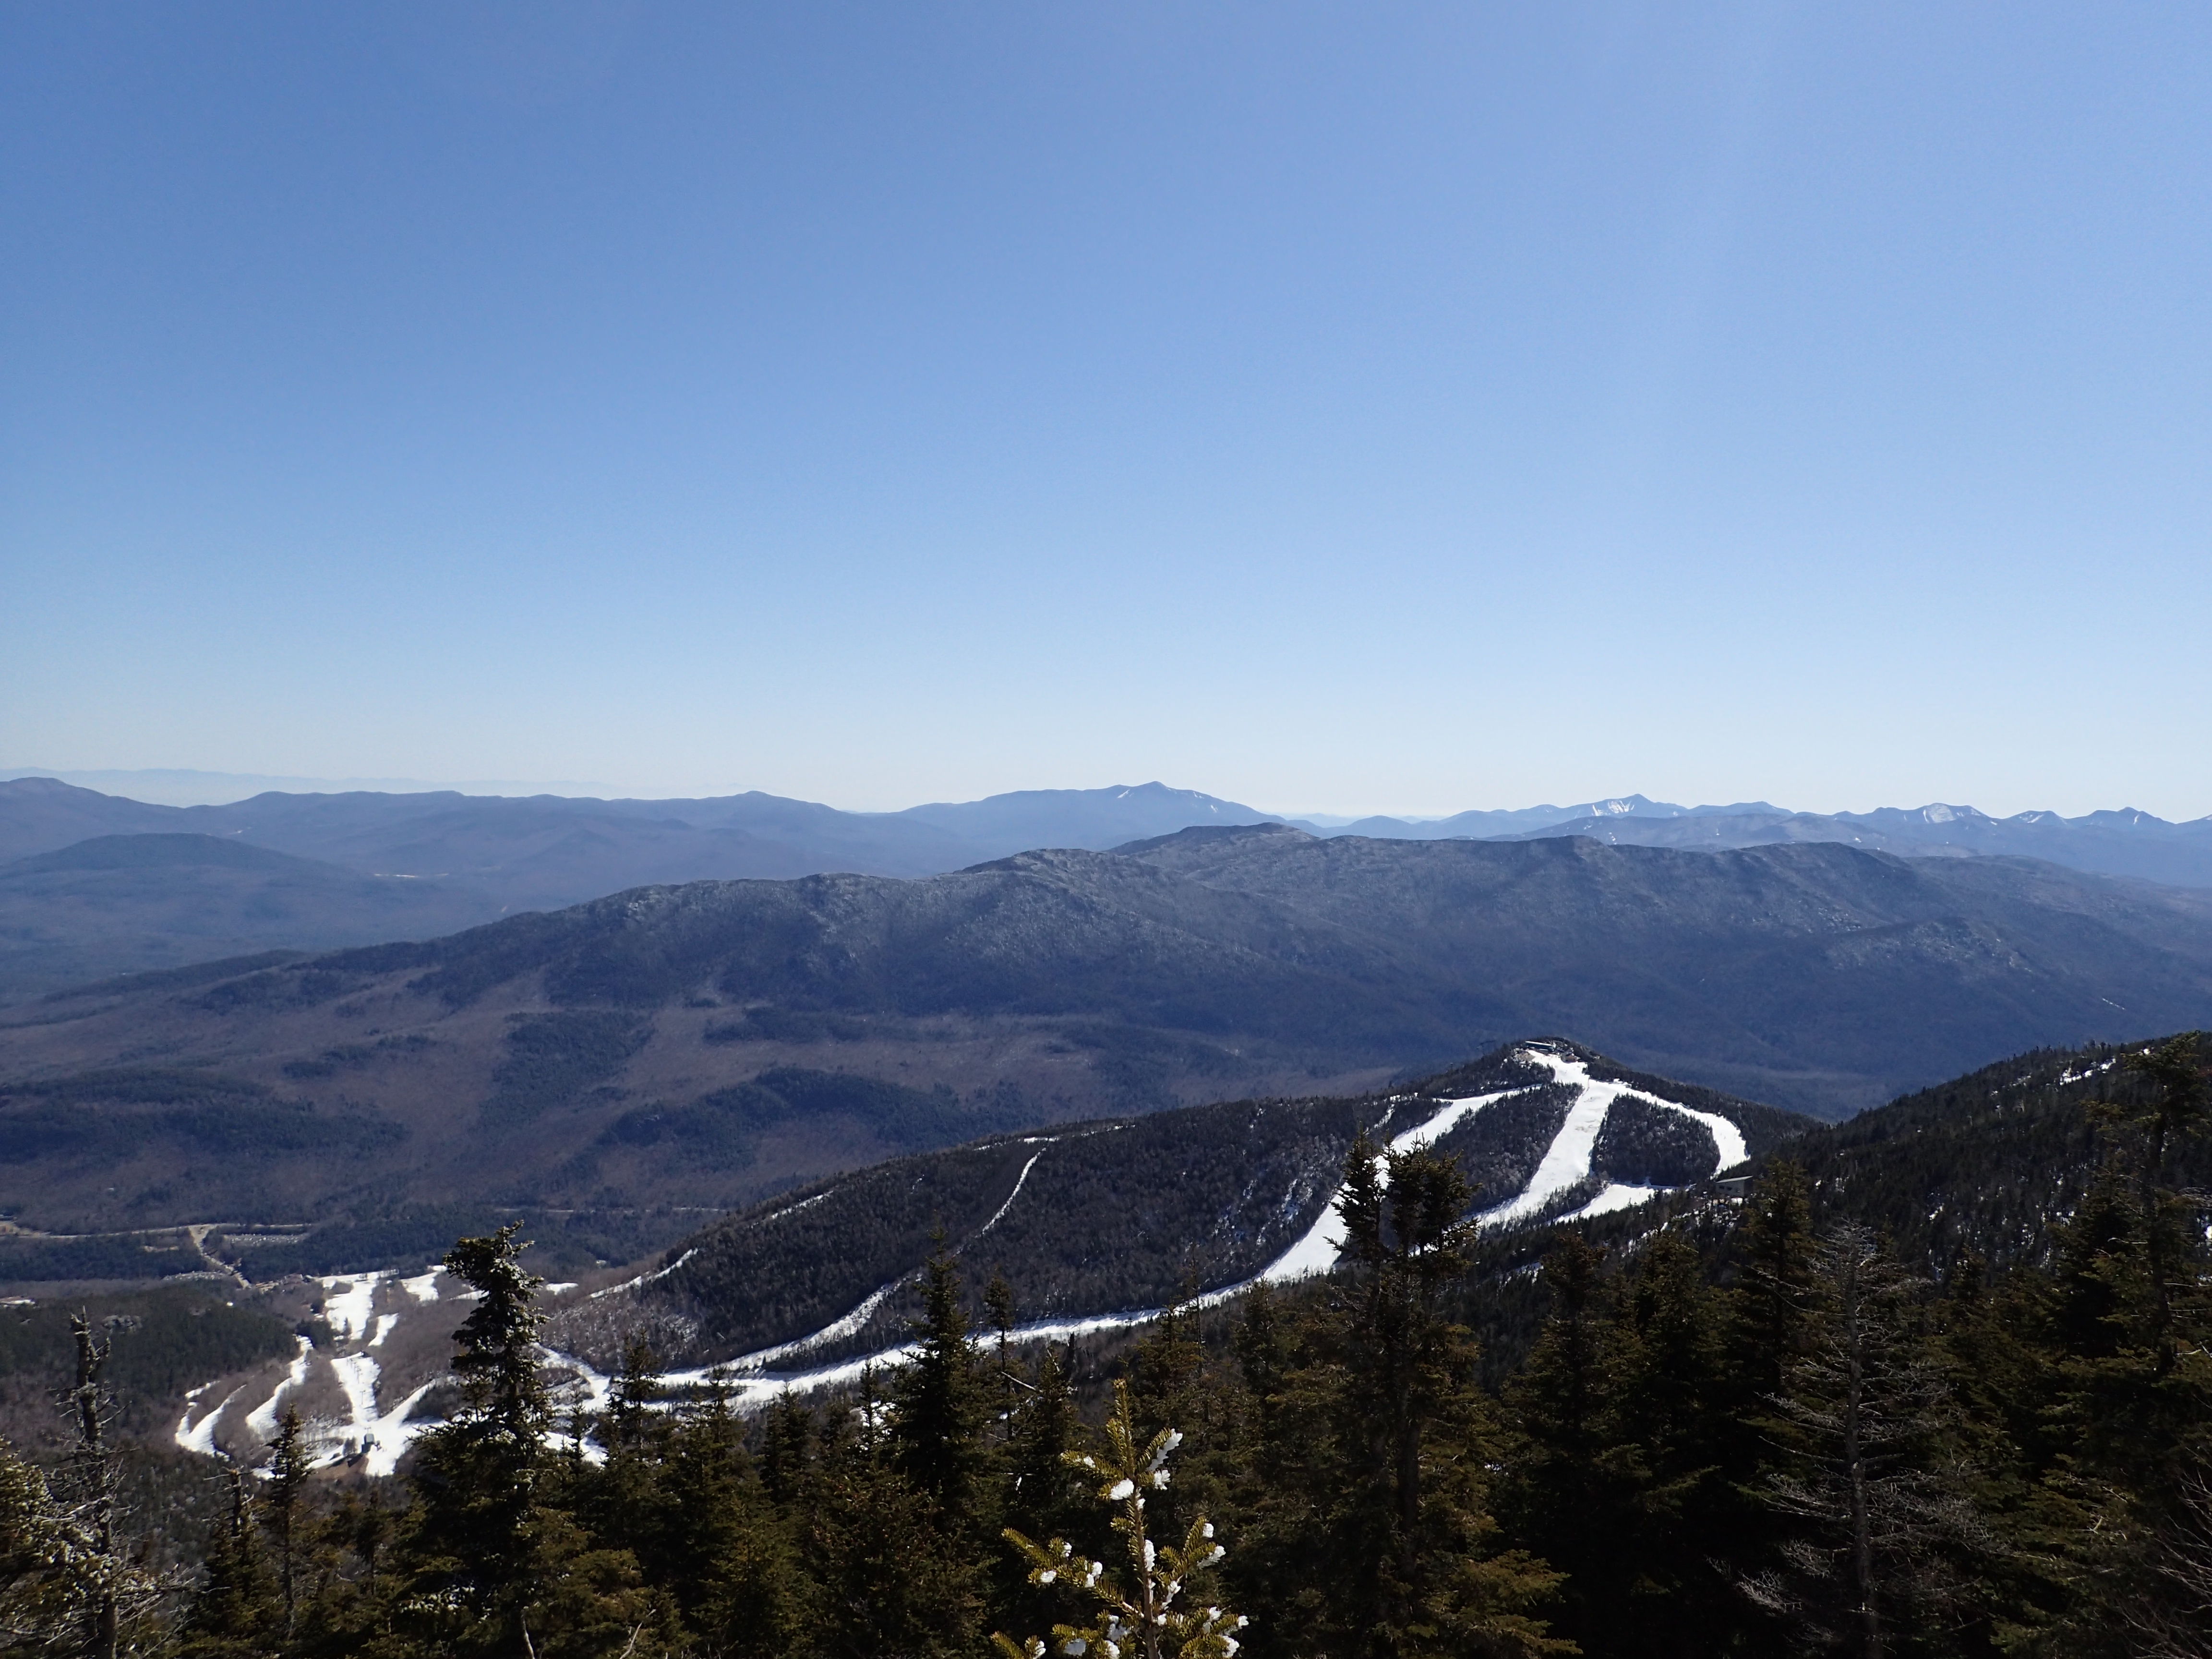
Looking out over the valley and the Whiteface Ski Resort.

Exiting out onto the road.
Once on the road you can see the ridge directly in front of you that you want to get on top of the follow the rest of the trail to the summit. The small ledge you normally climb in summer was a solid ice flow that did not really offer any safe or easy way up so we decided to take a minute to find alternate route up.

The normal ledge you want to climb to join the final section of ridge trail.
Luckily right around the corner was a couple of mostly ice free blocks which made for a much easier ascent up onto the trail.
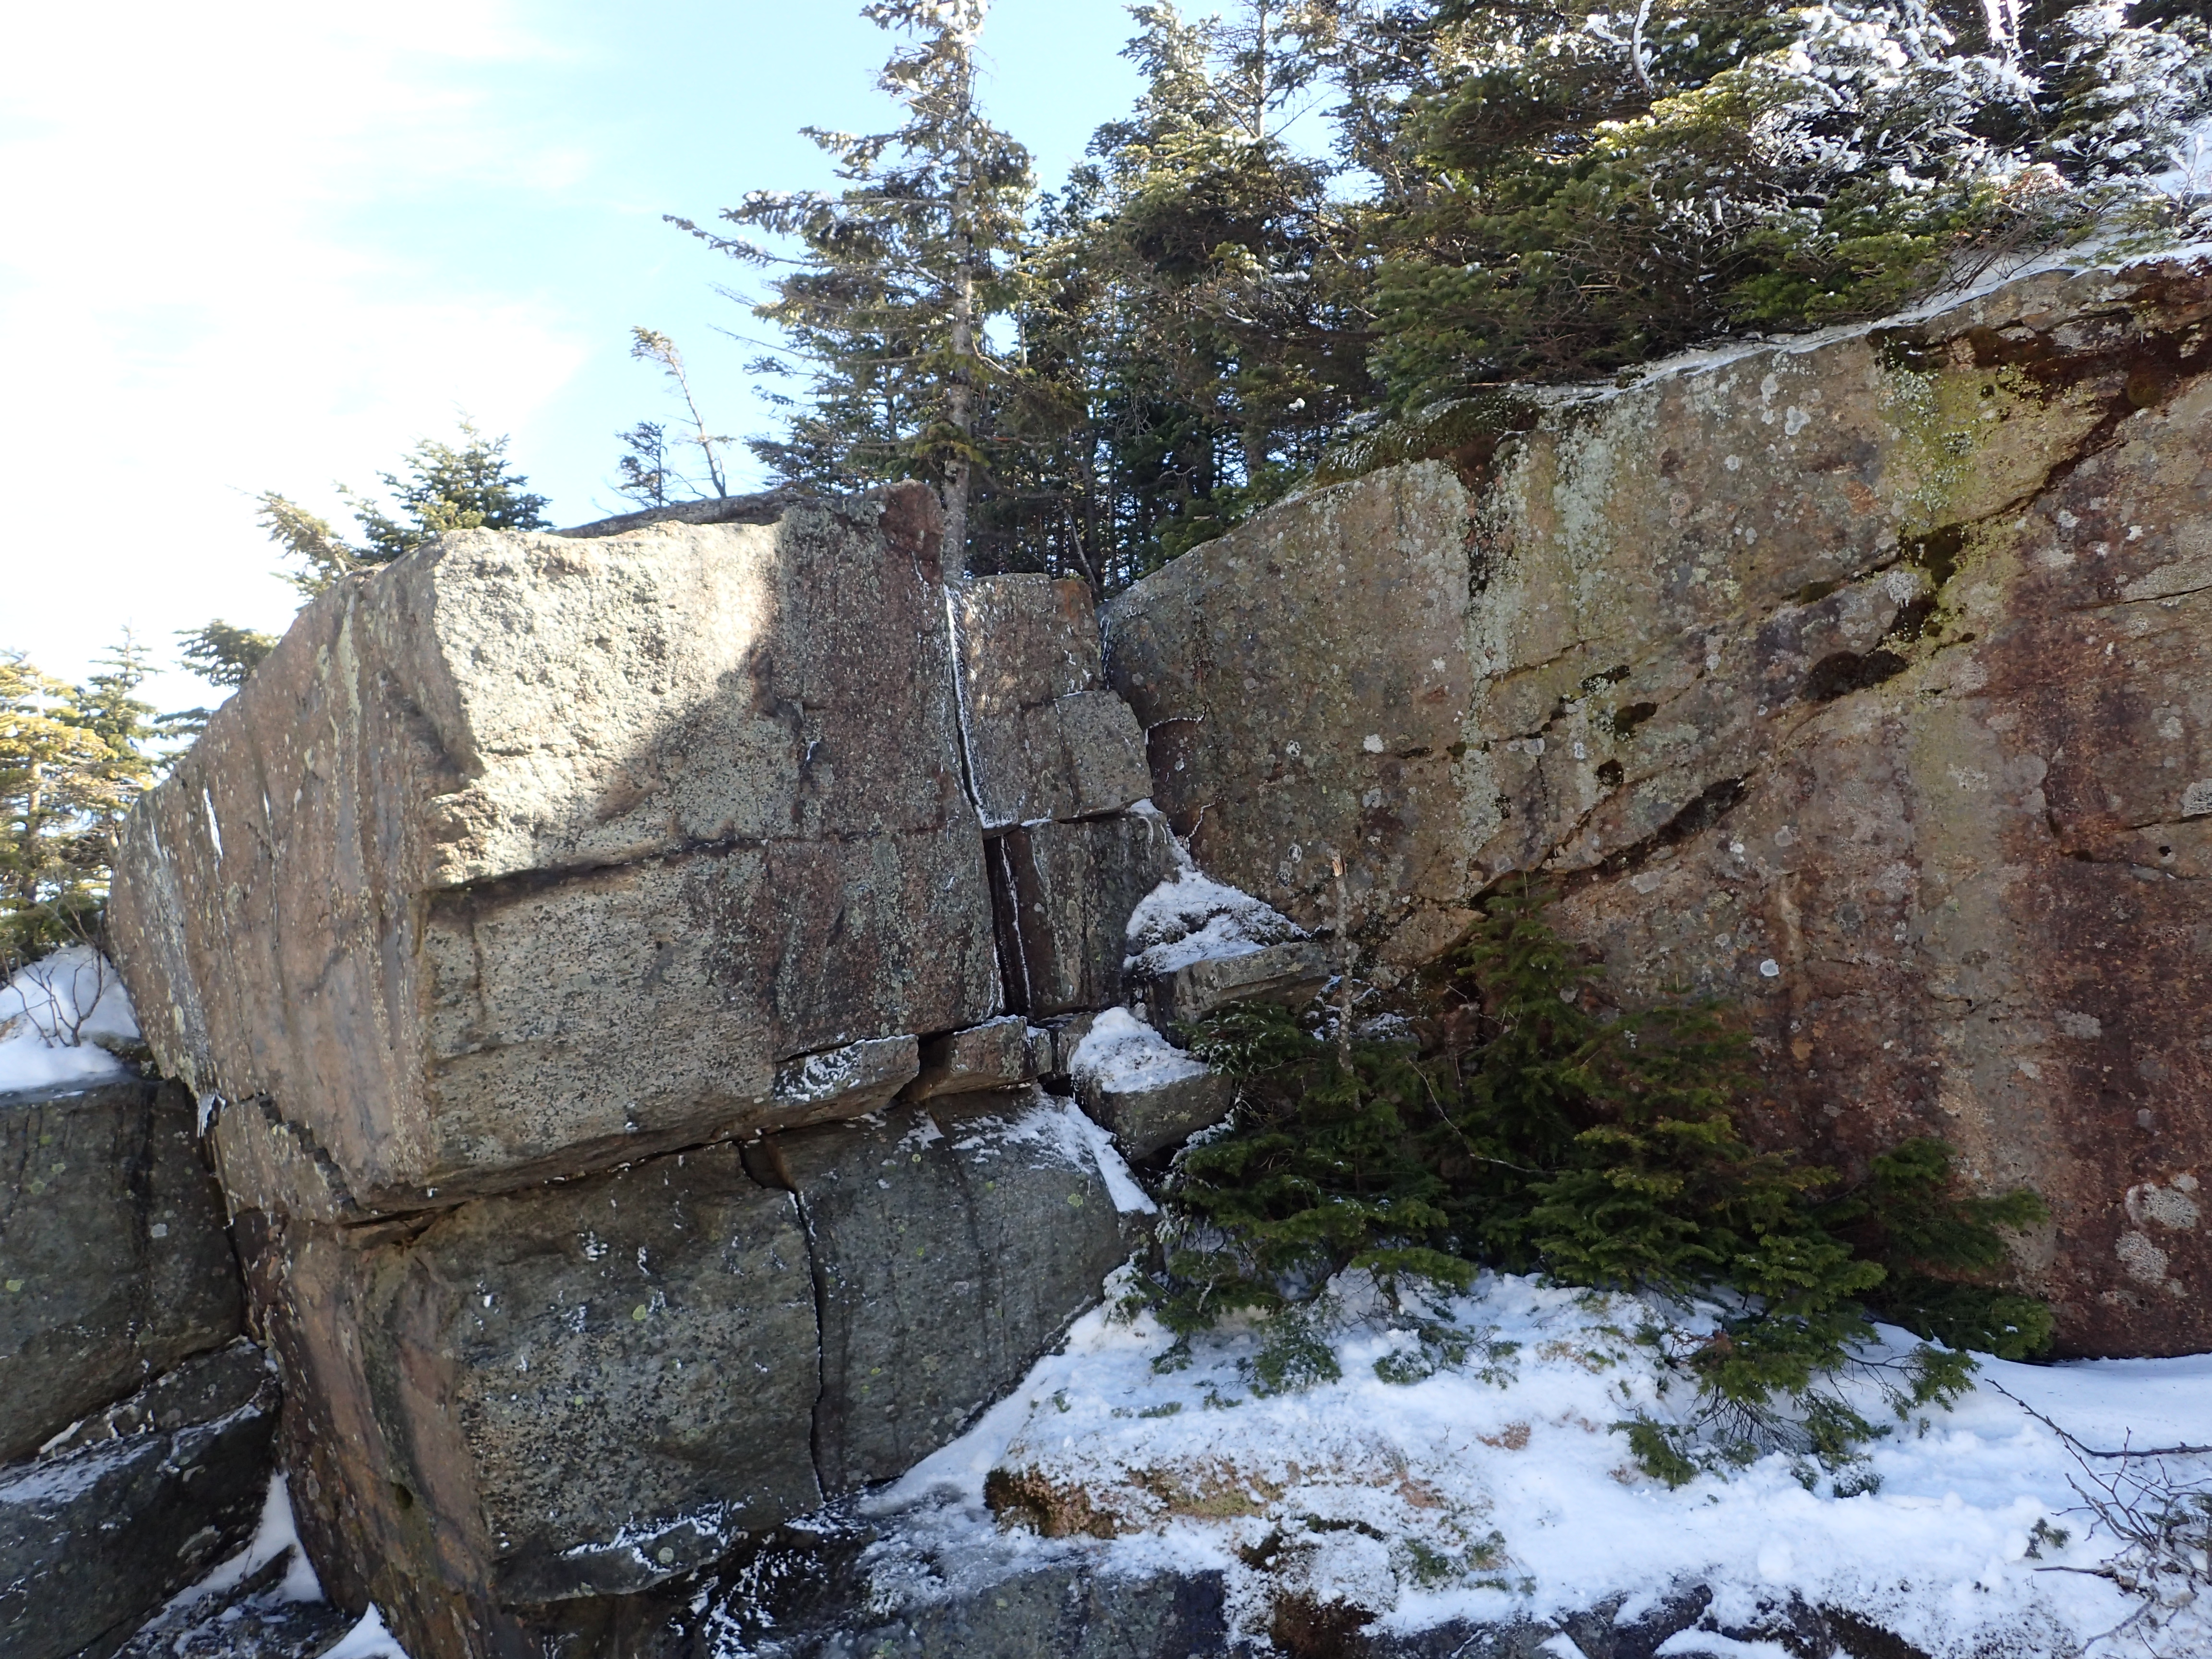
The blocks we climbed to avoid the ice flow on the other side.

Looking back over the road.
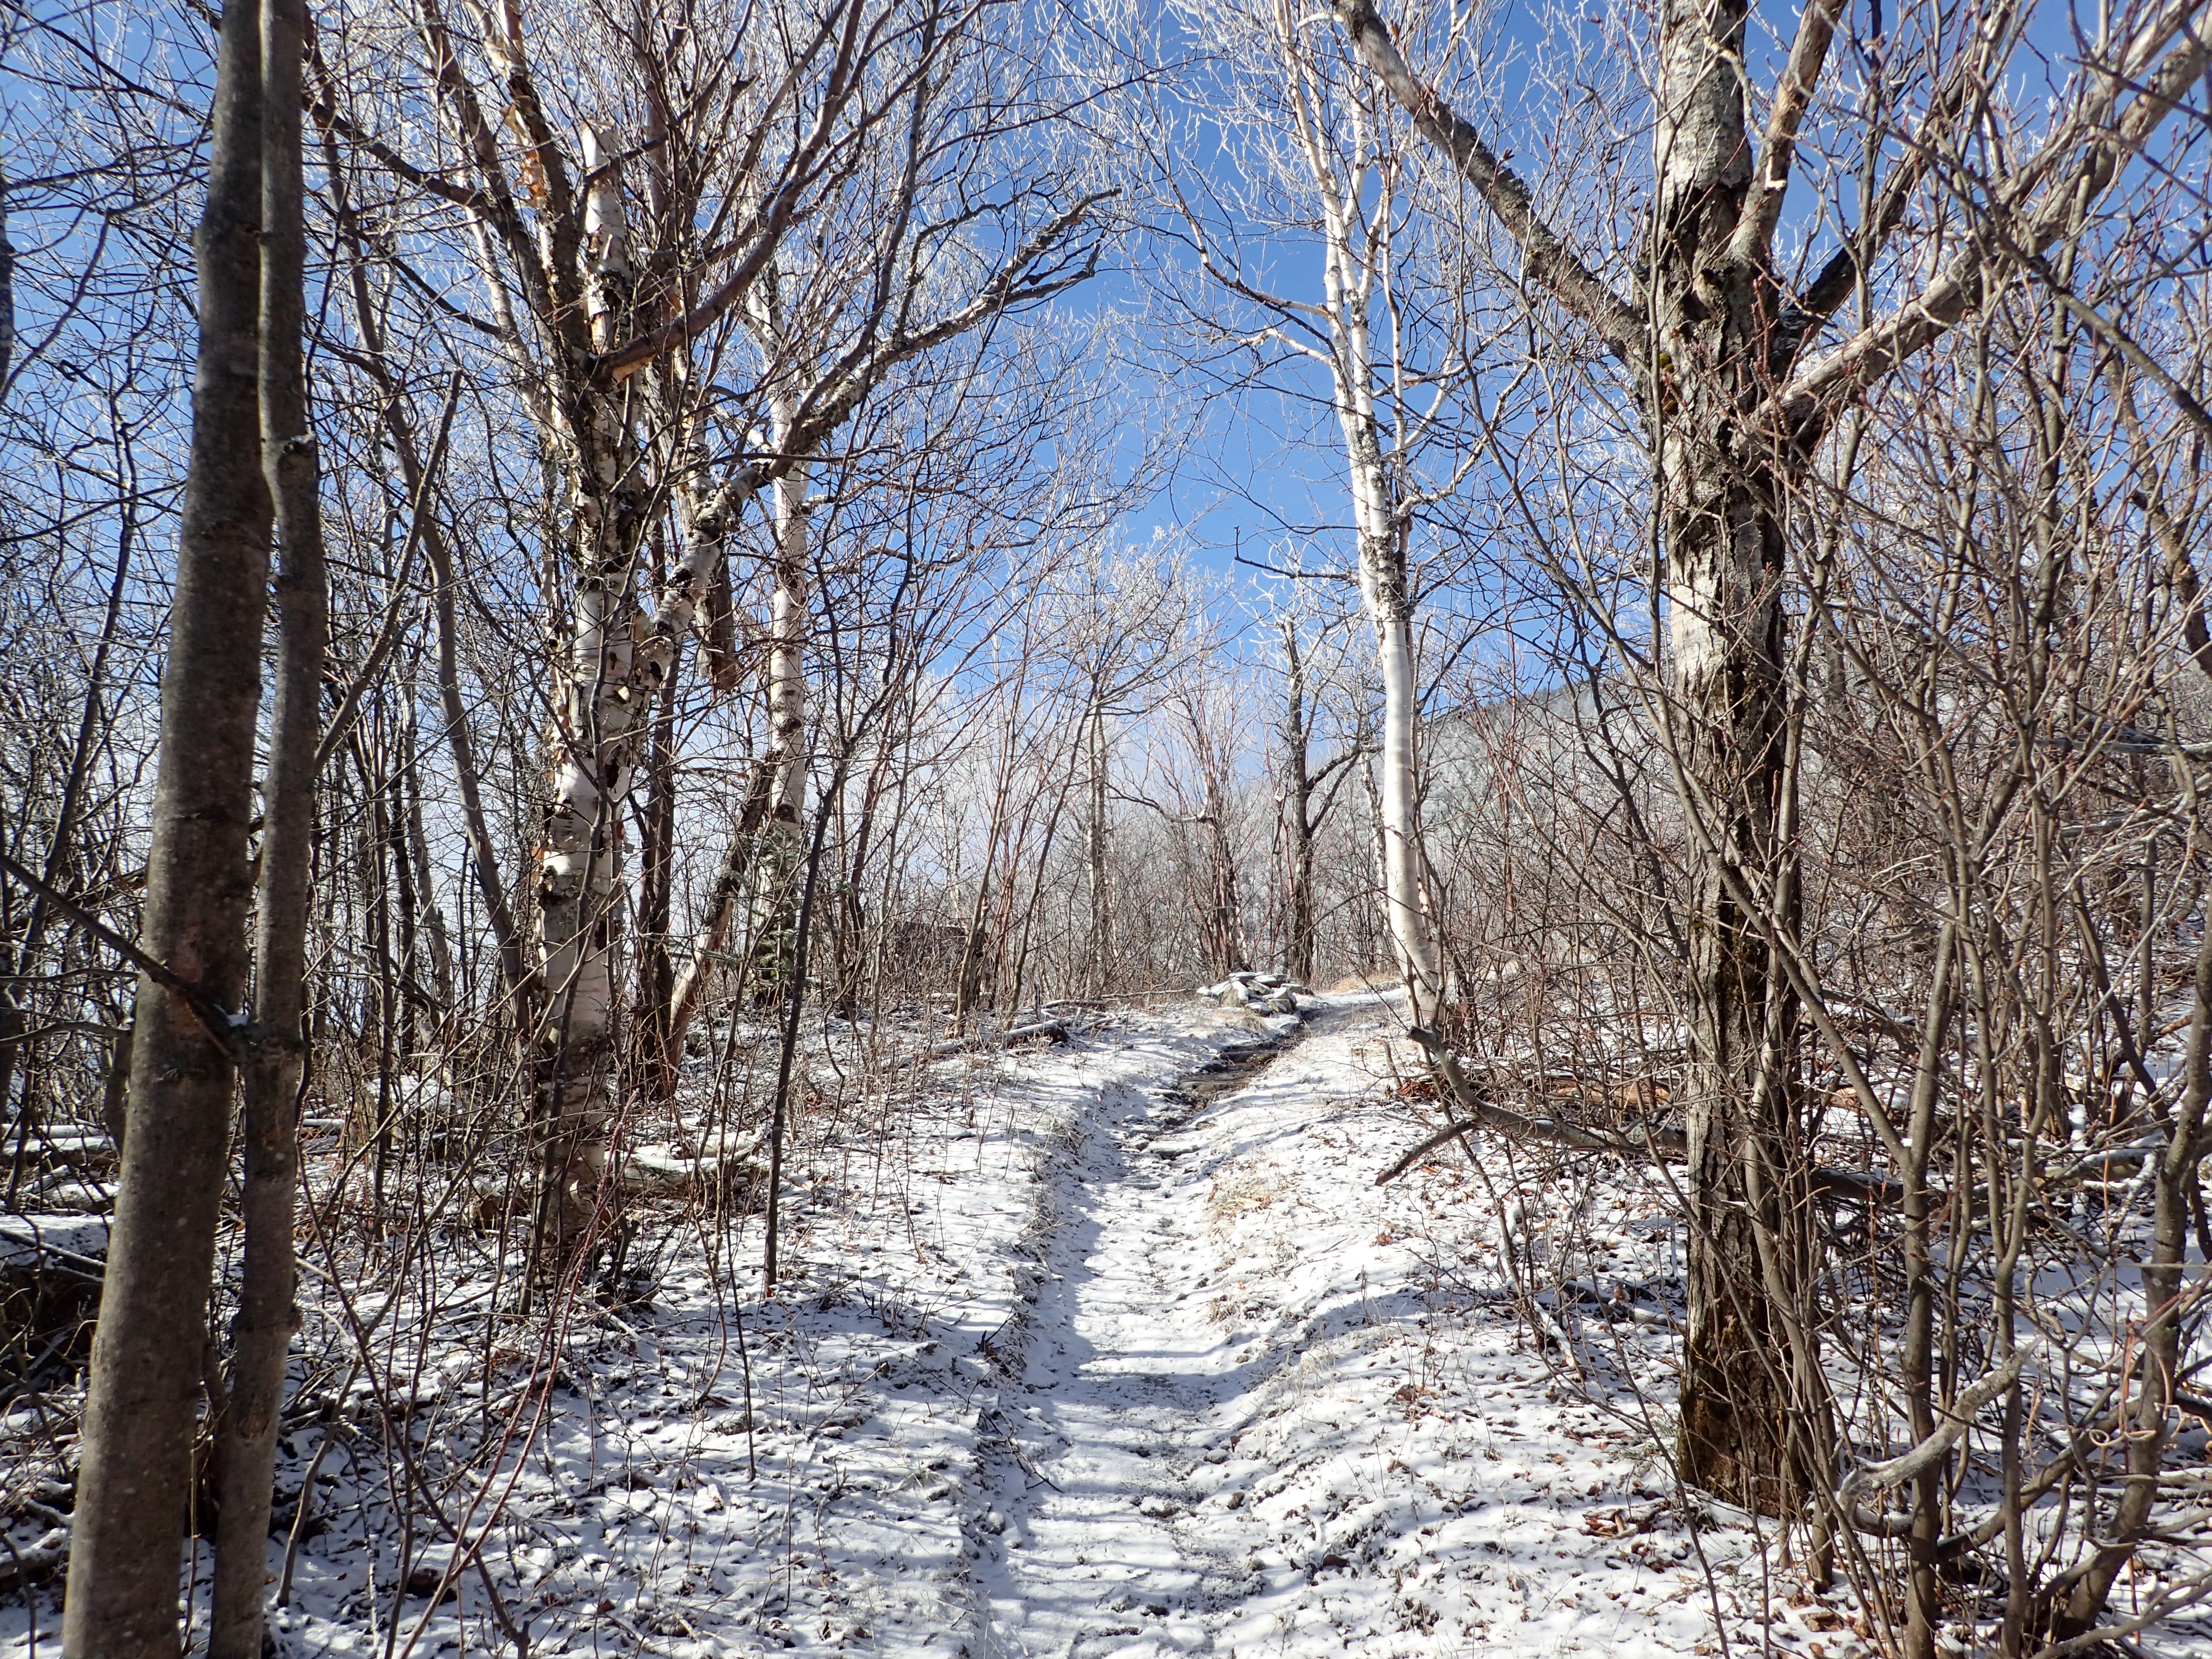
Once on the trail again a few short sections of icy trail brought us to the final ridge leading to the summit.
Trail leading up to the final section of ridge line to traverse.
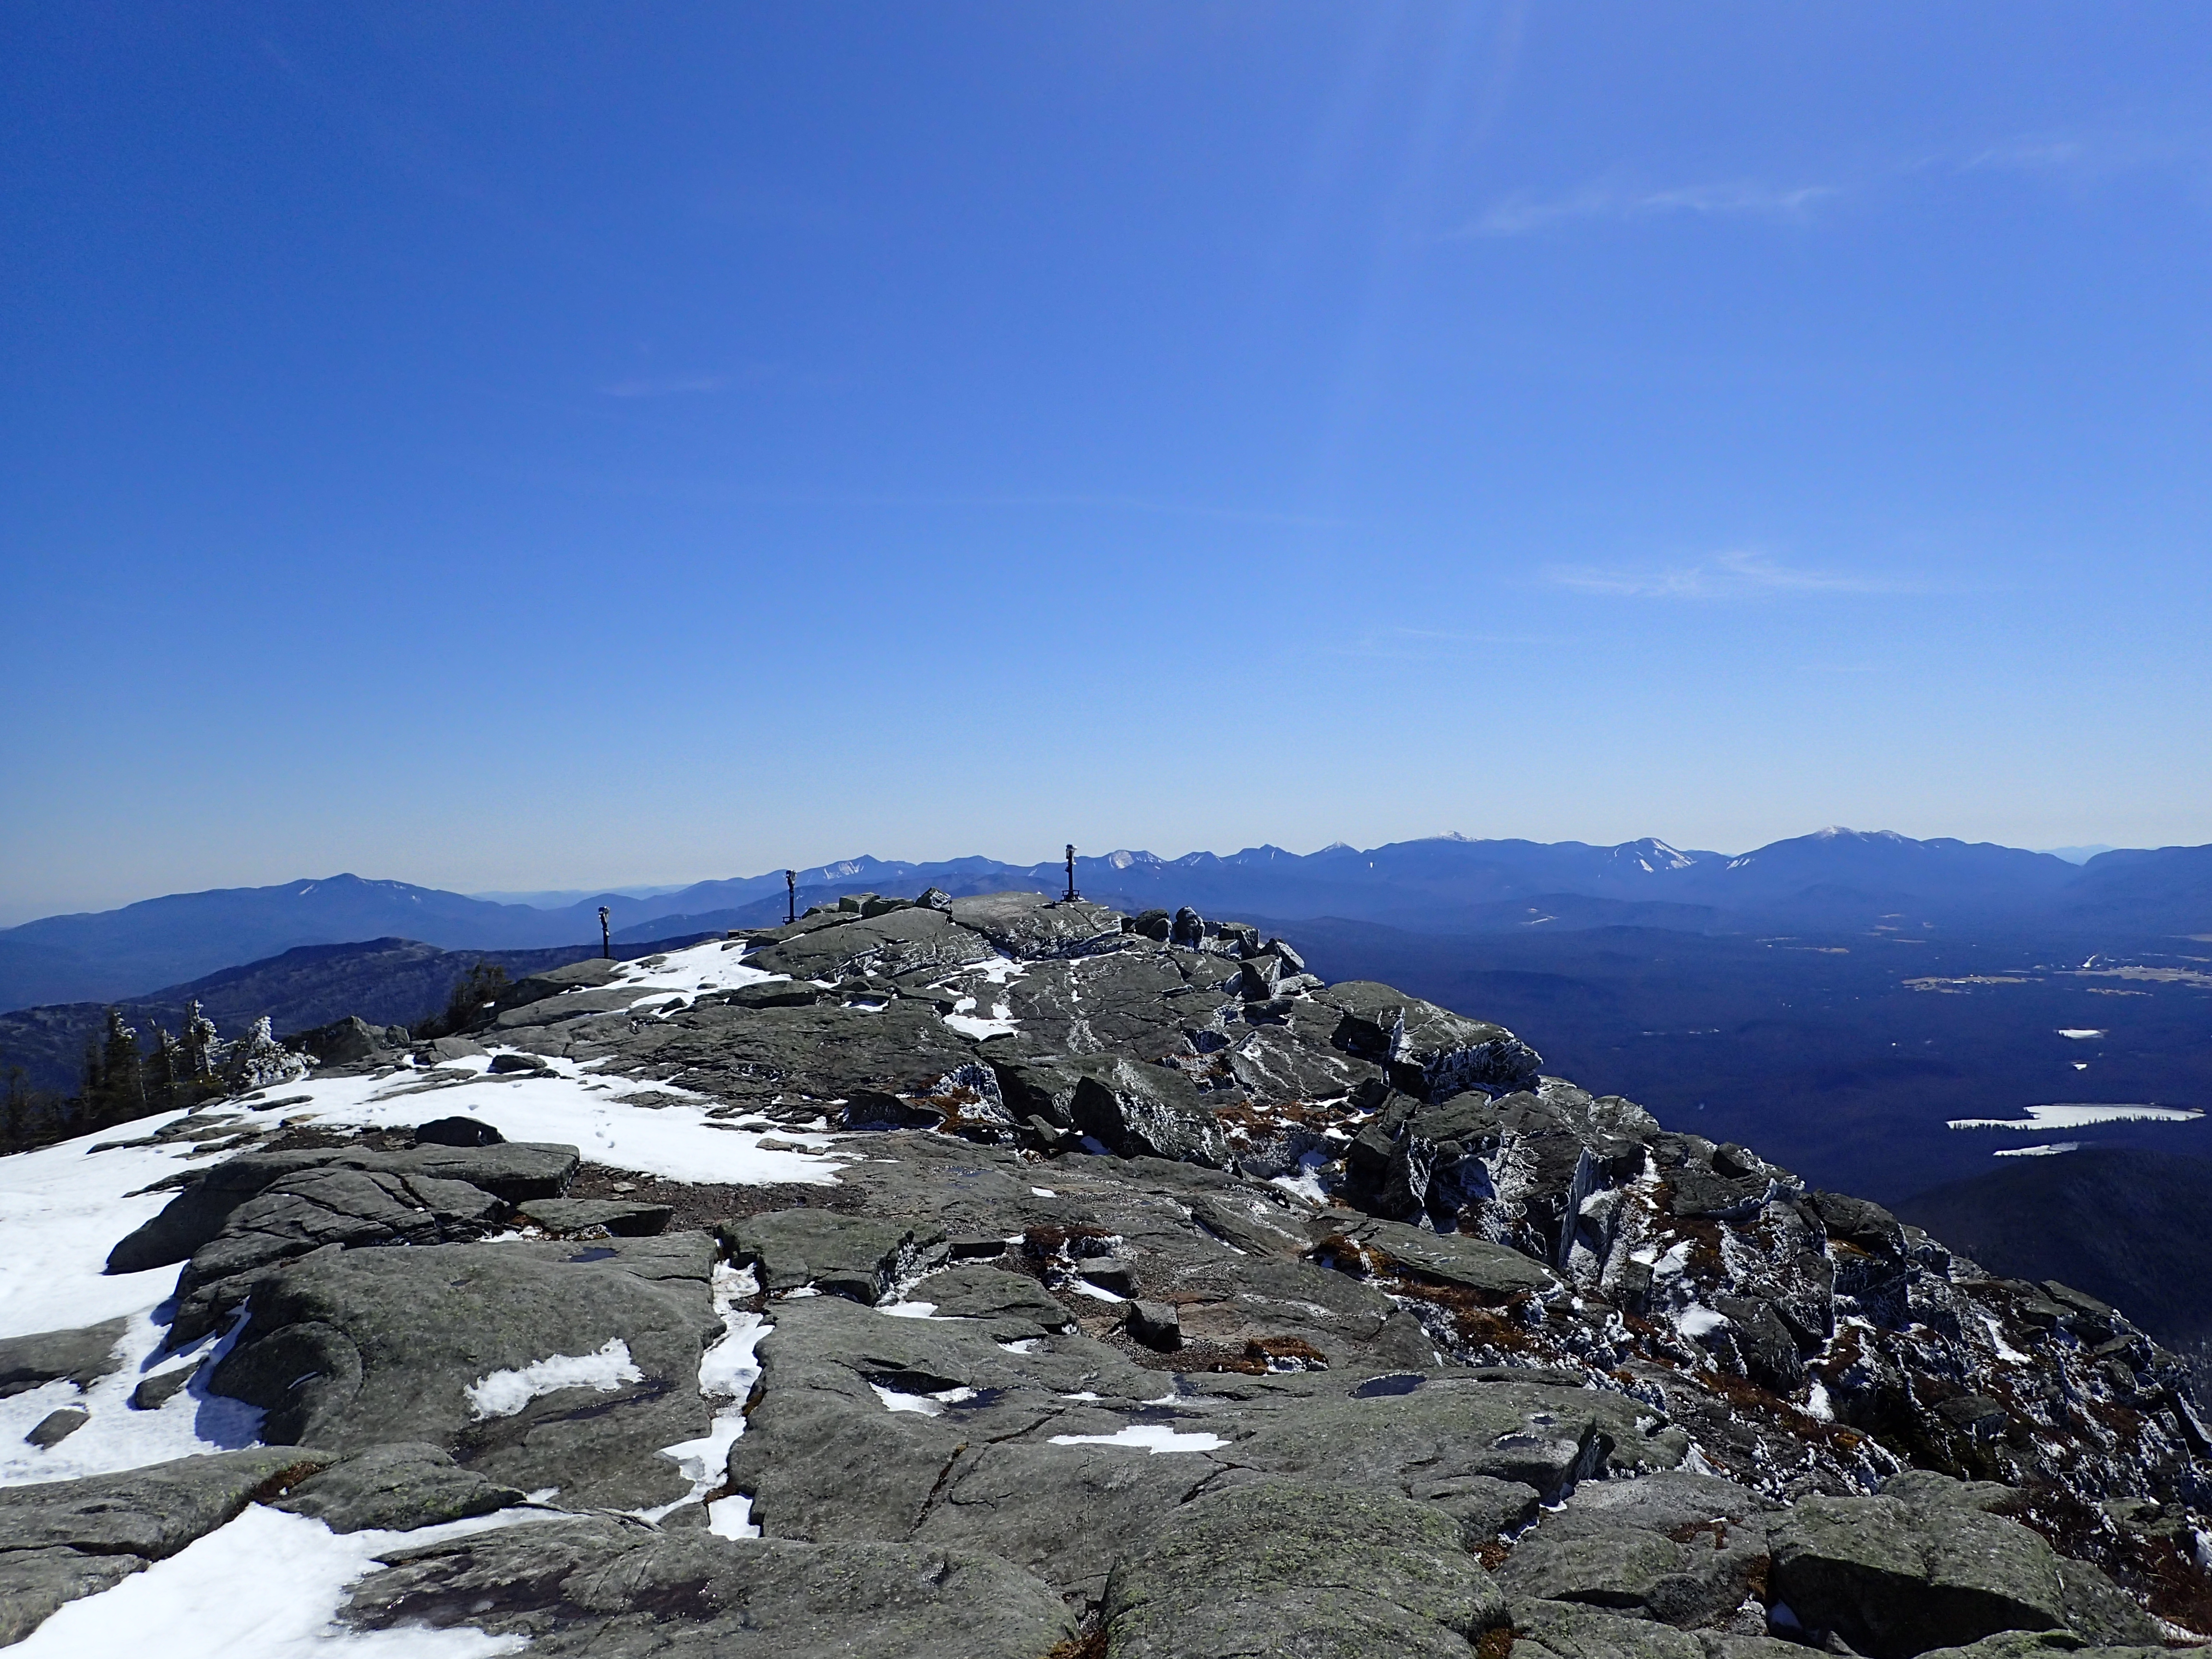
The views from here are fantastic and this is by far the most fun part of the entire hike.
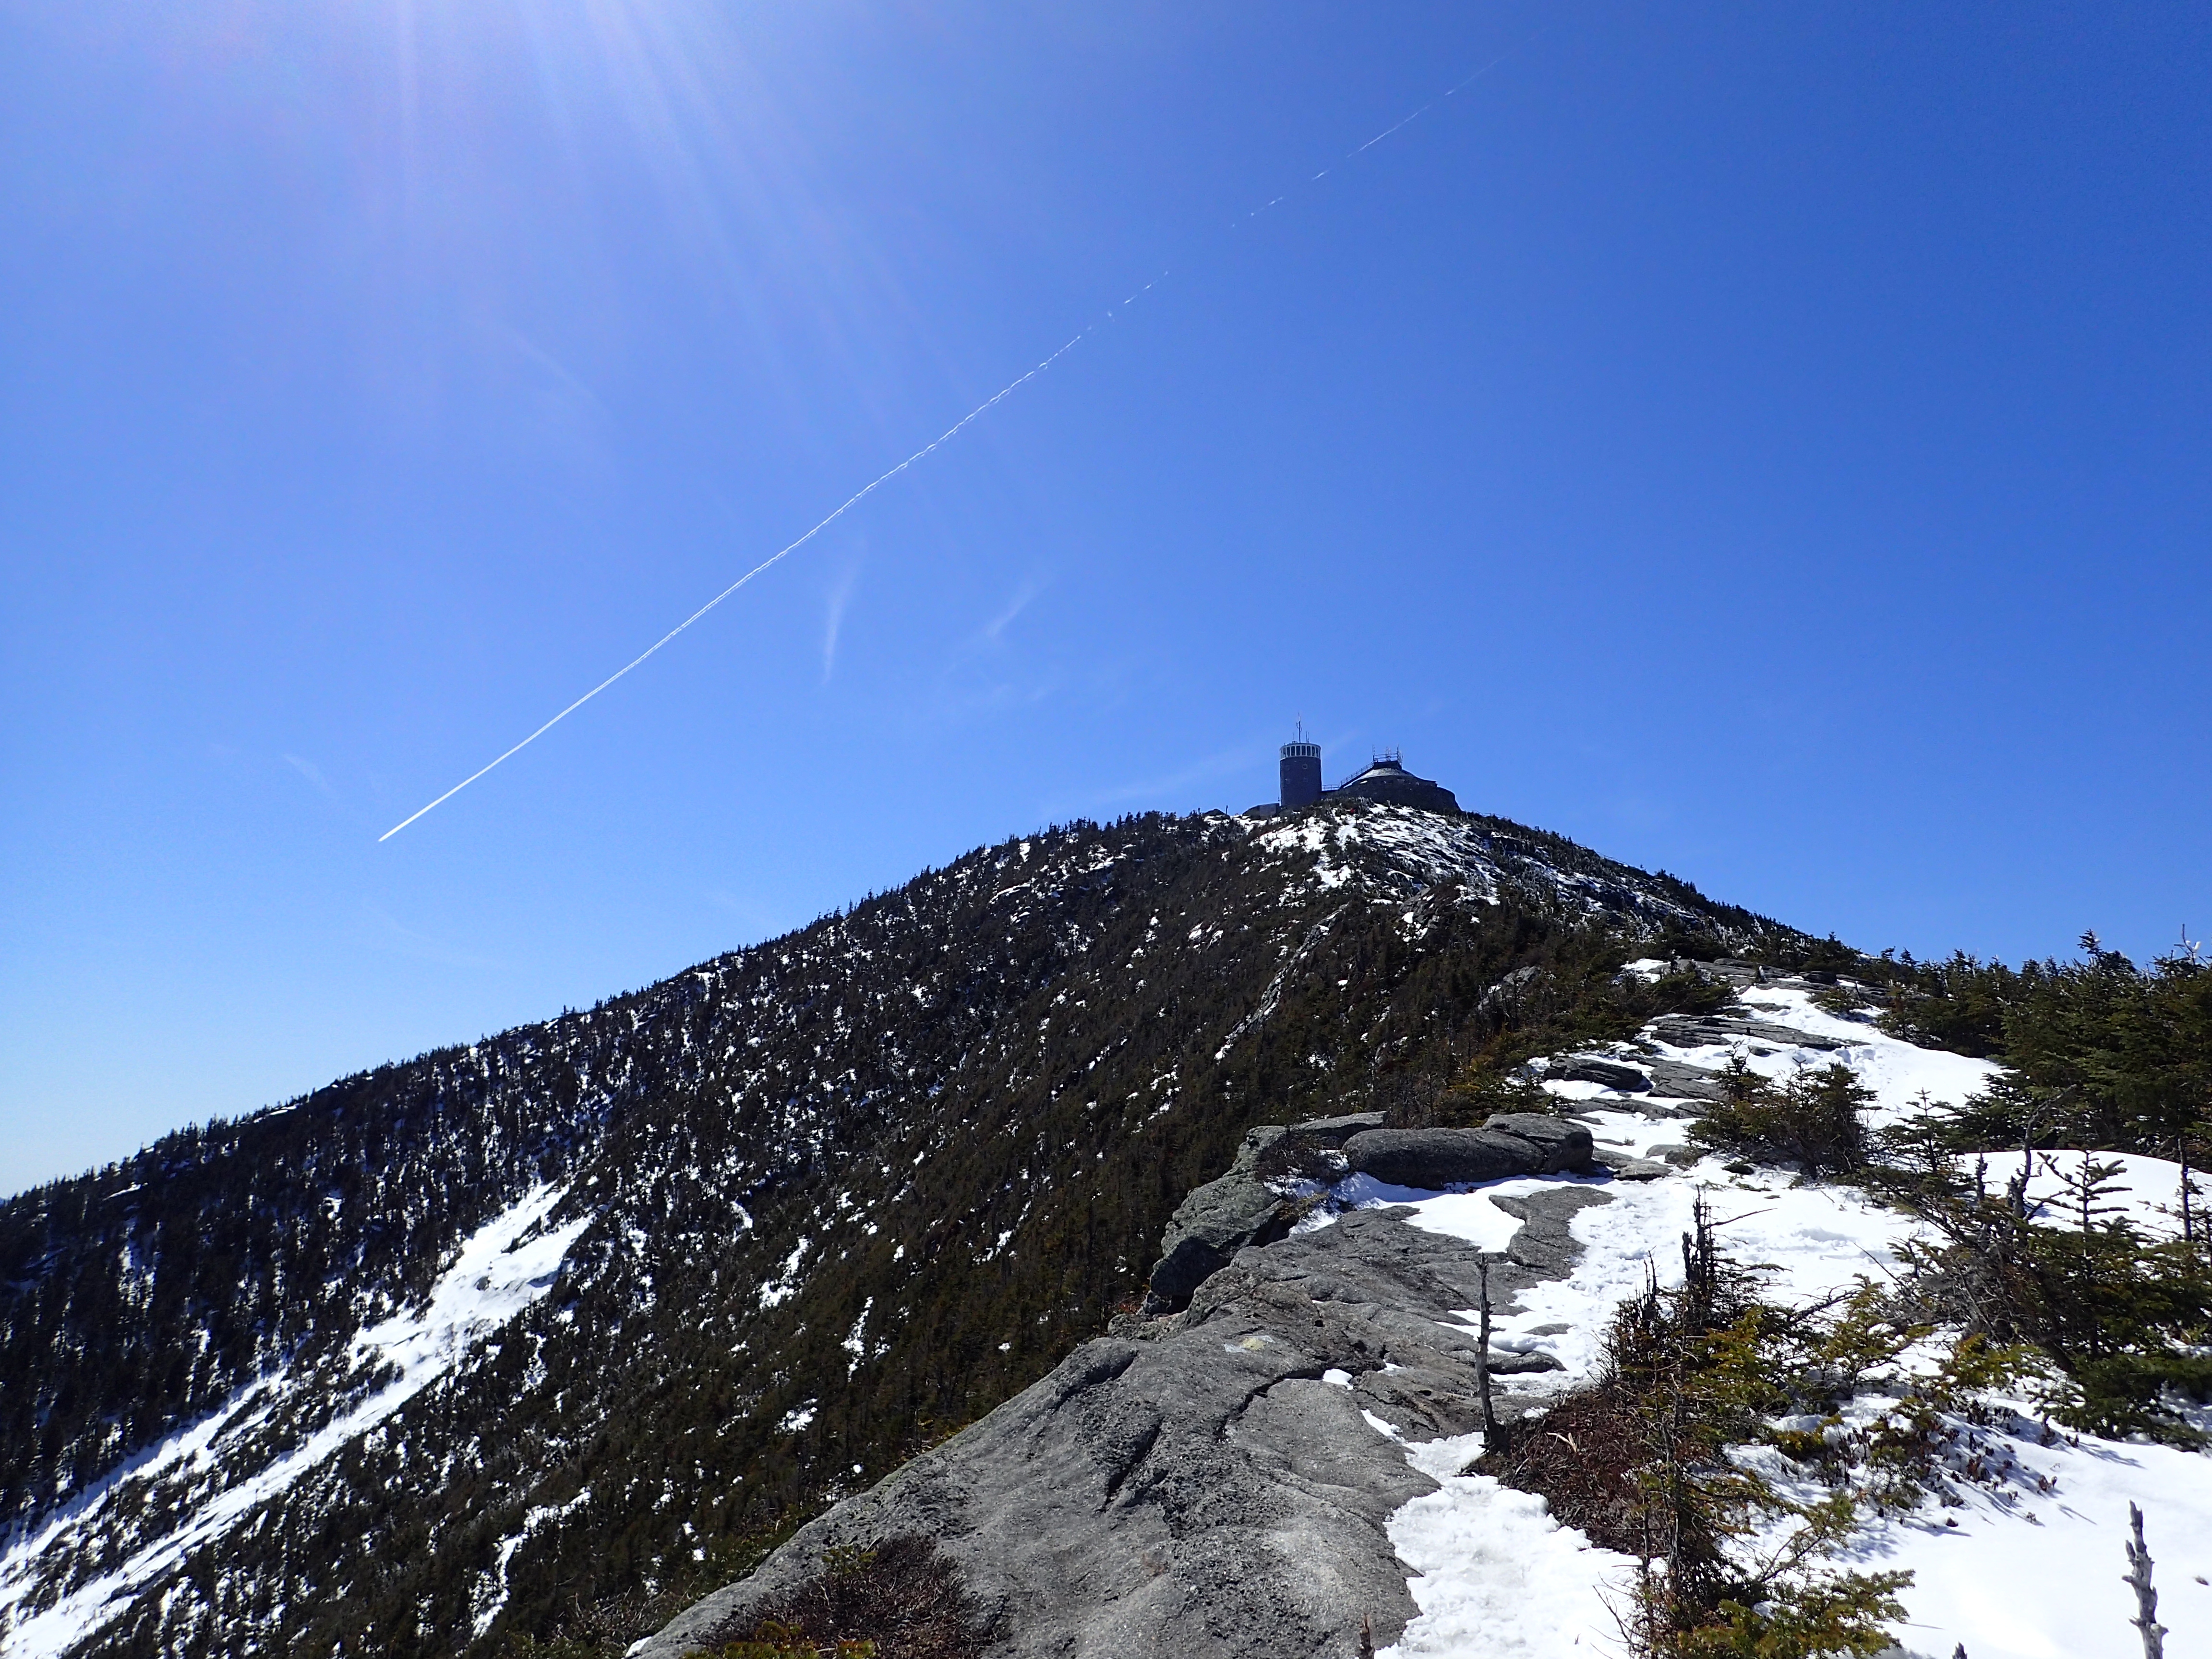
Looking up towards the summit and the final short ridge line.
Looking back the way we had come with Esther in the distance.
The hike across the ridge is short but the views are fantastic and the experience is pretty unique for most of the peaks in the area. Before too long we found ourselves at the buildings on the summit and the sign marking the end of our climb.

Coming up the final few feet around the end of the buildings.
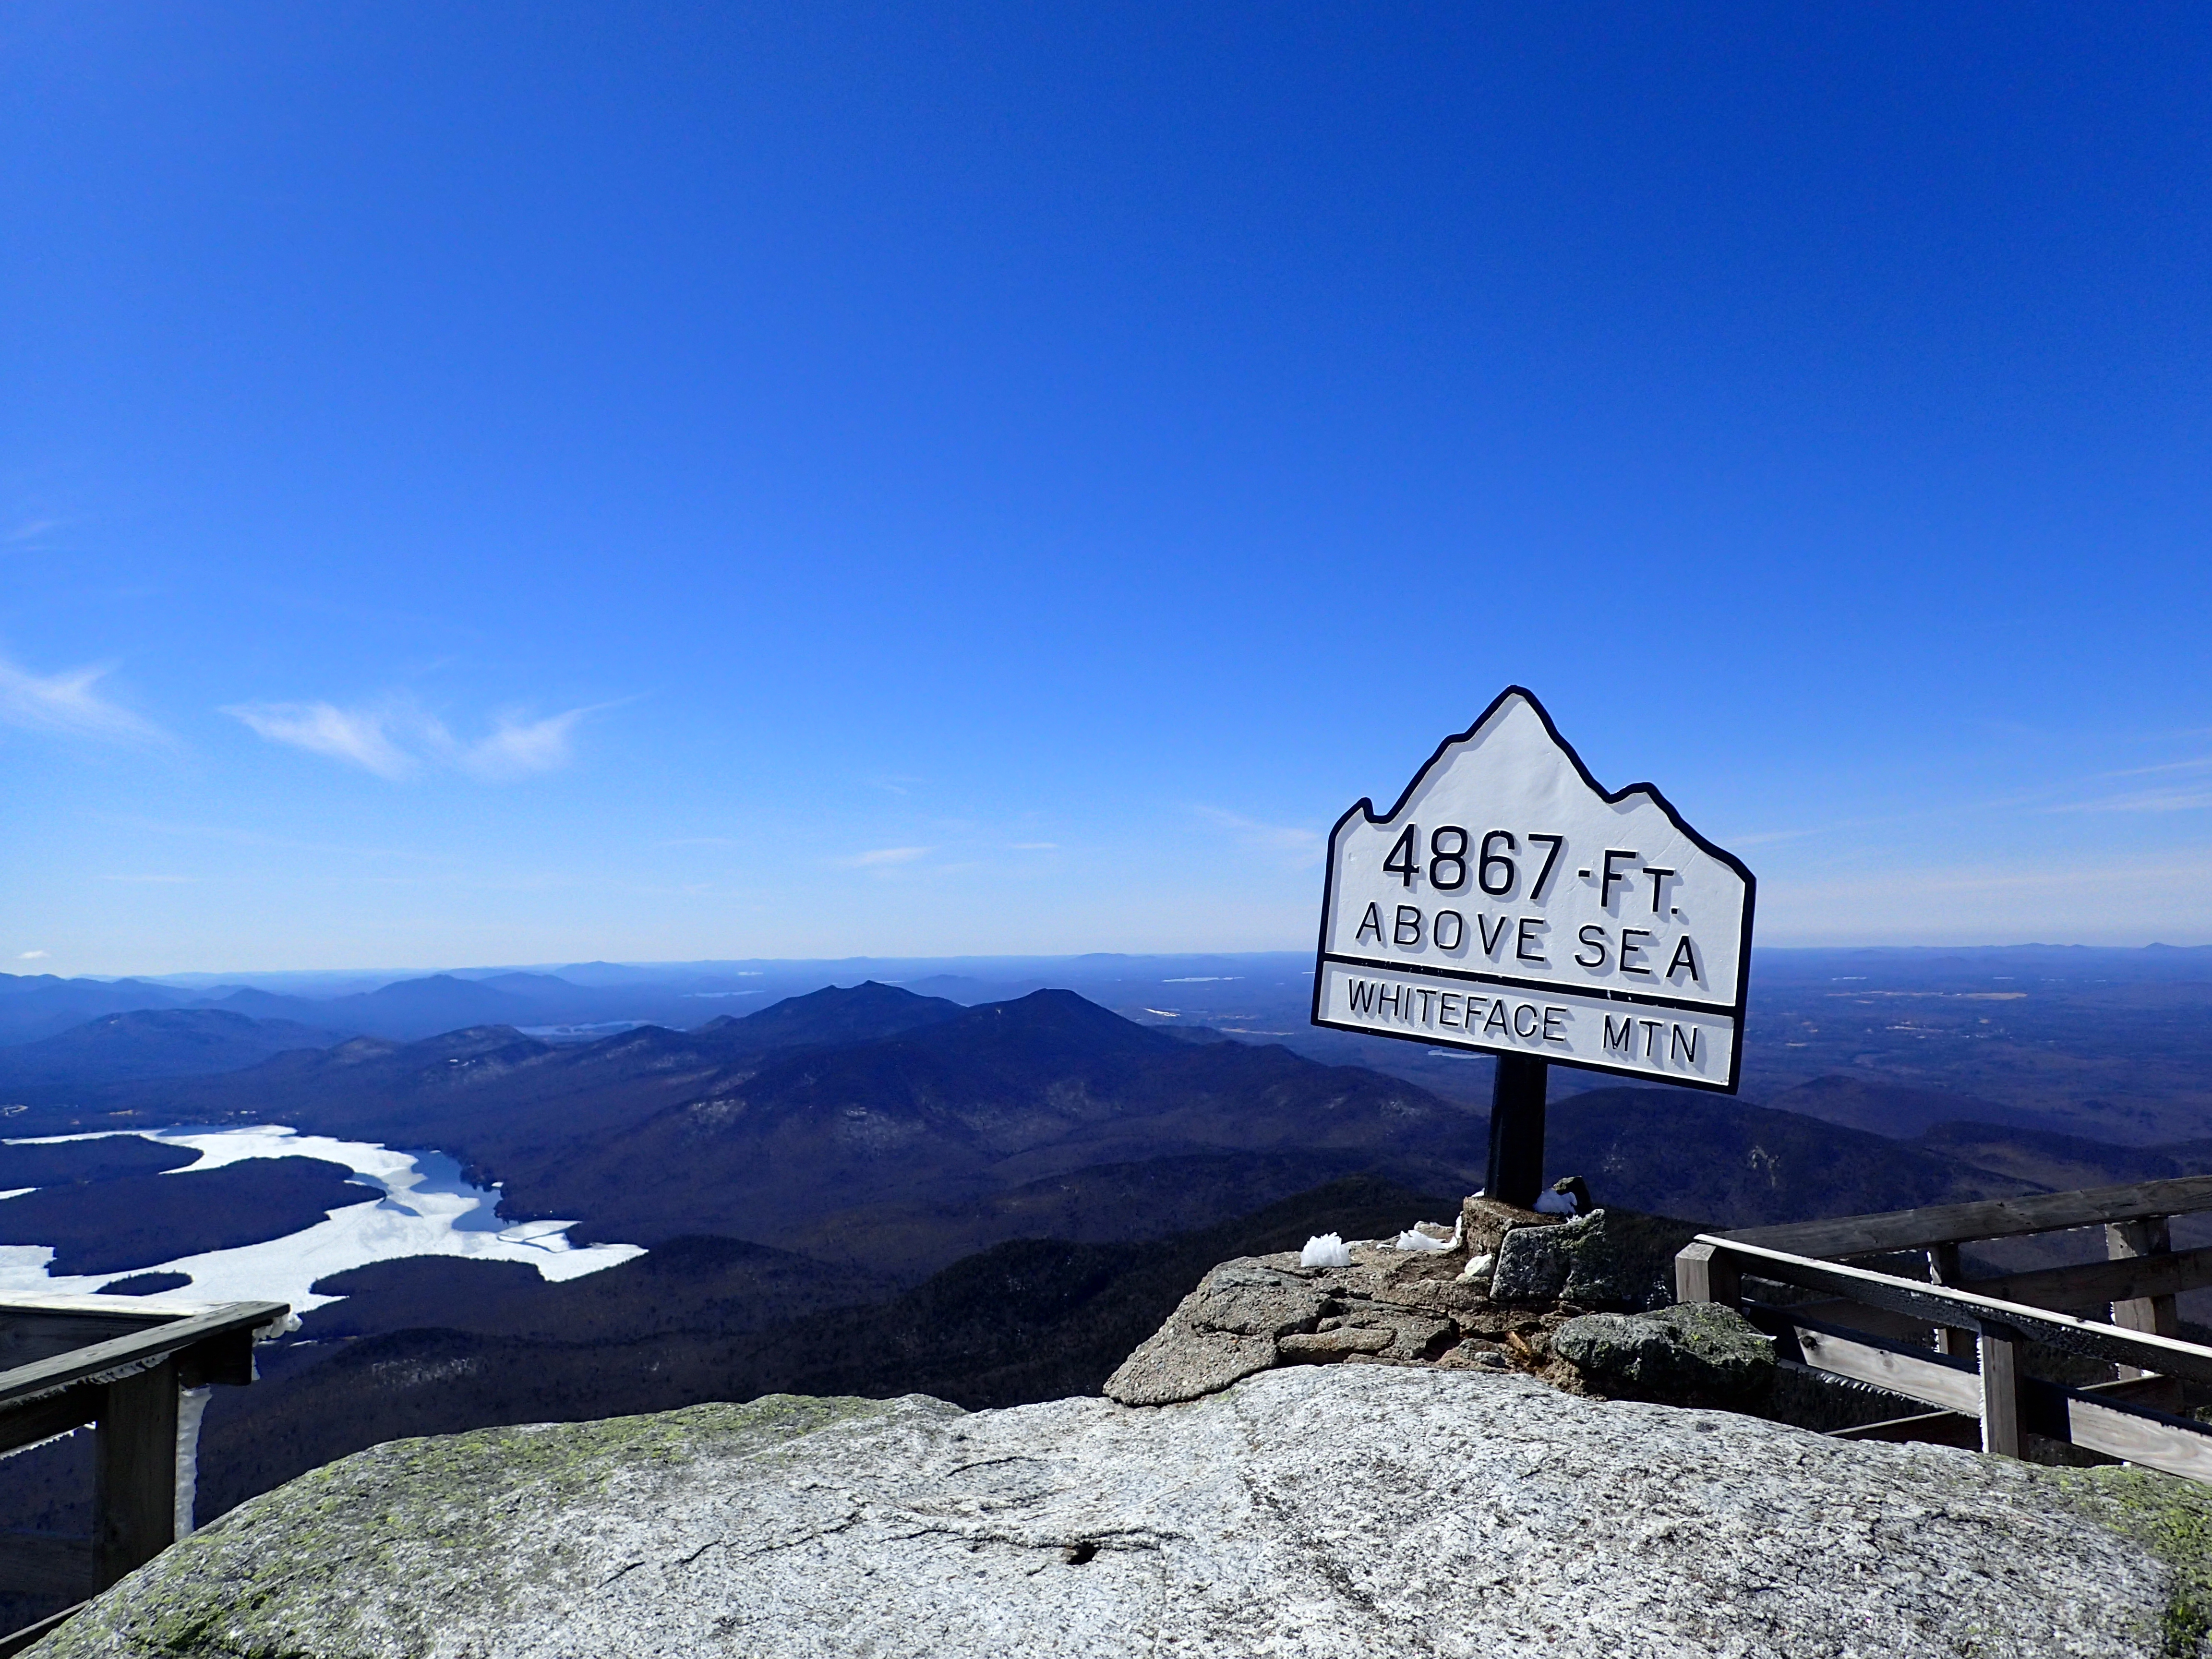
Sign marking the summit of Whiteface Mountain.
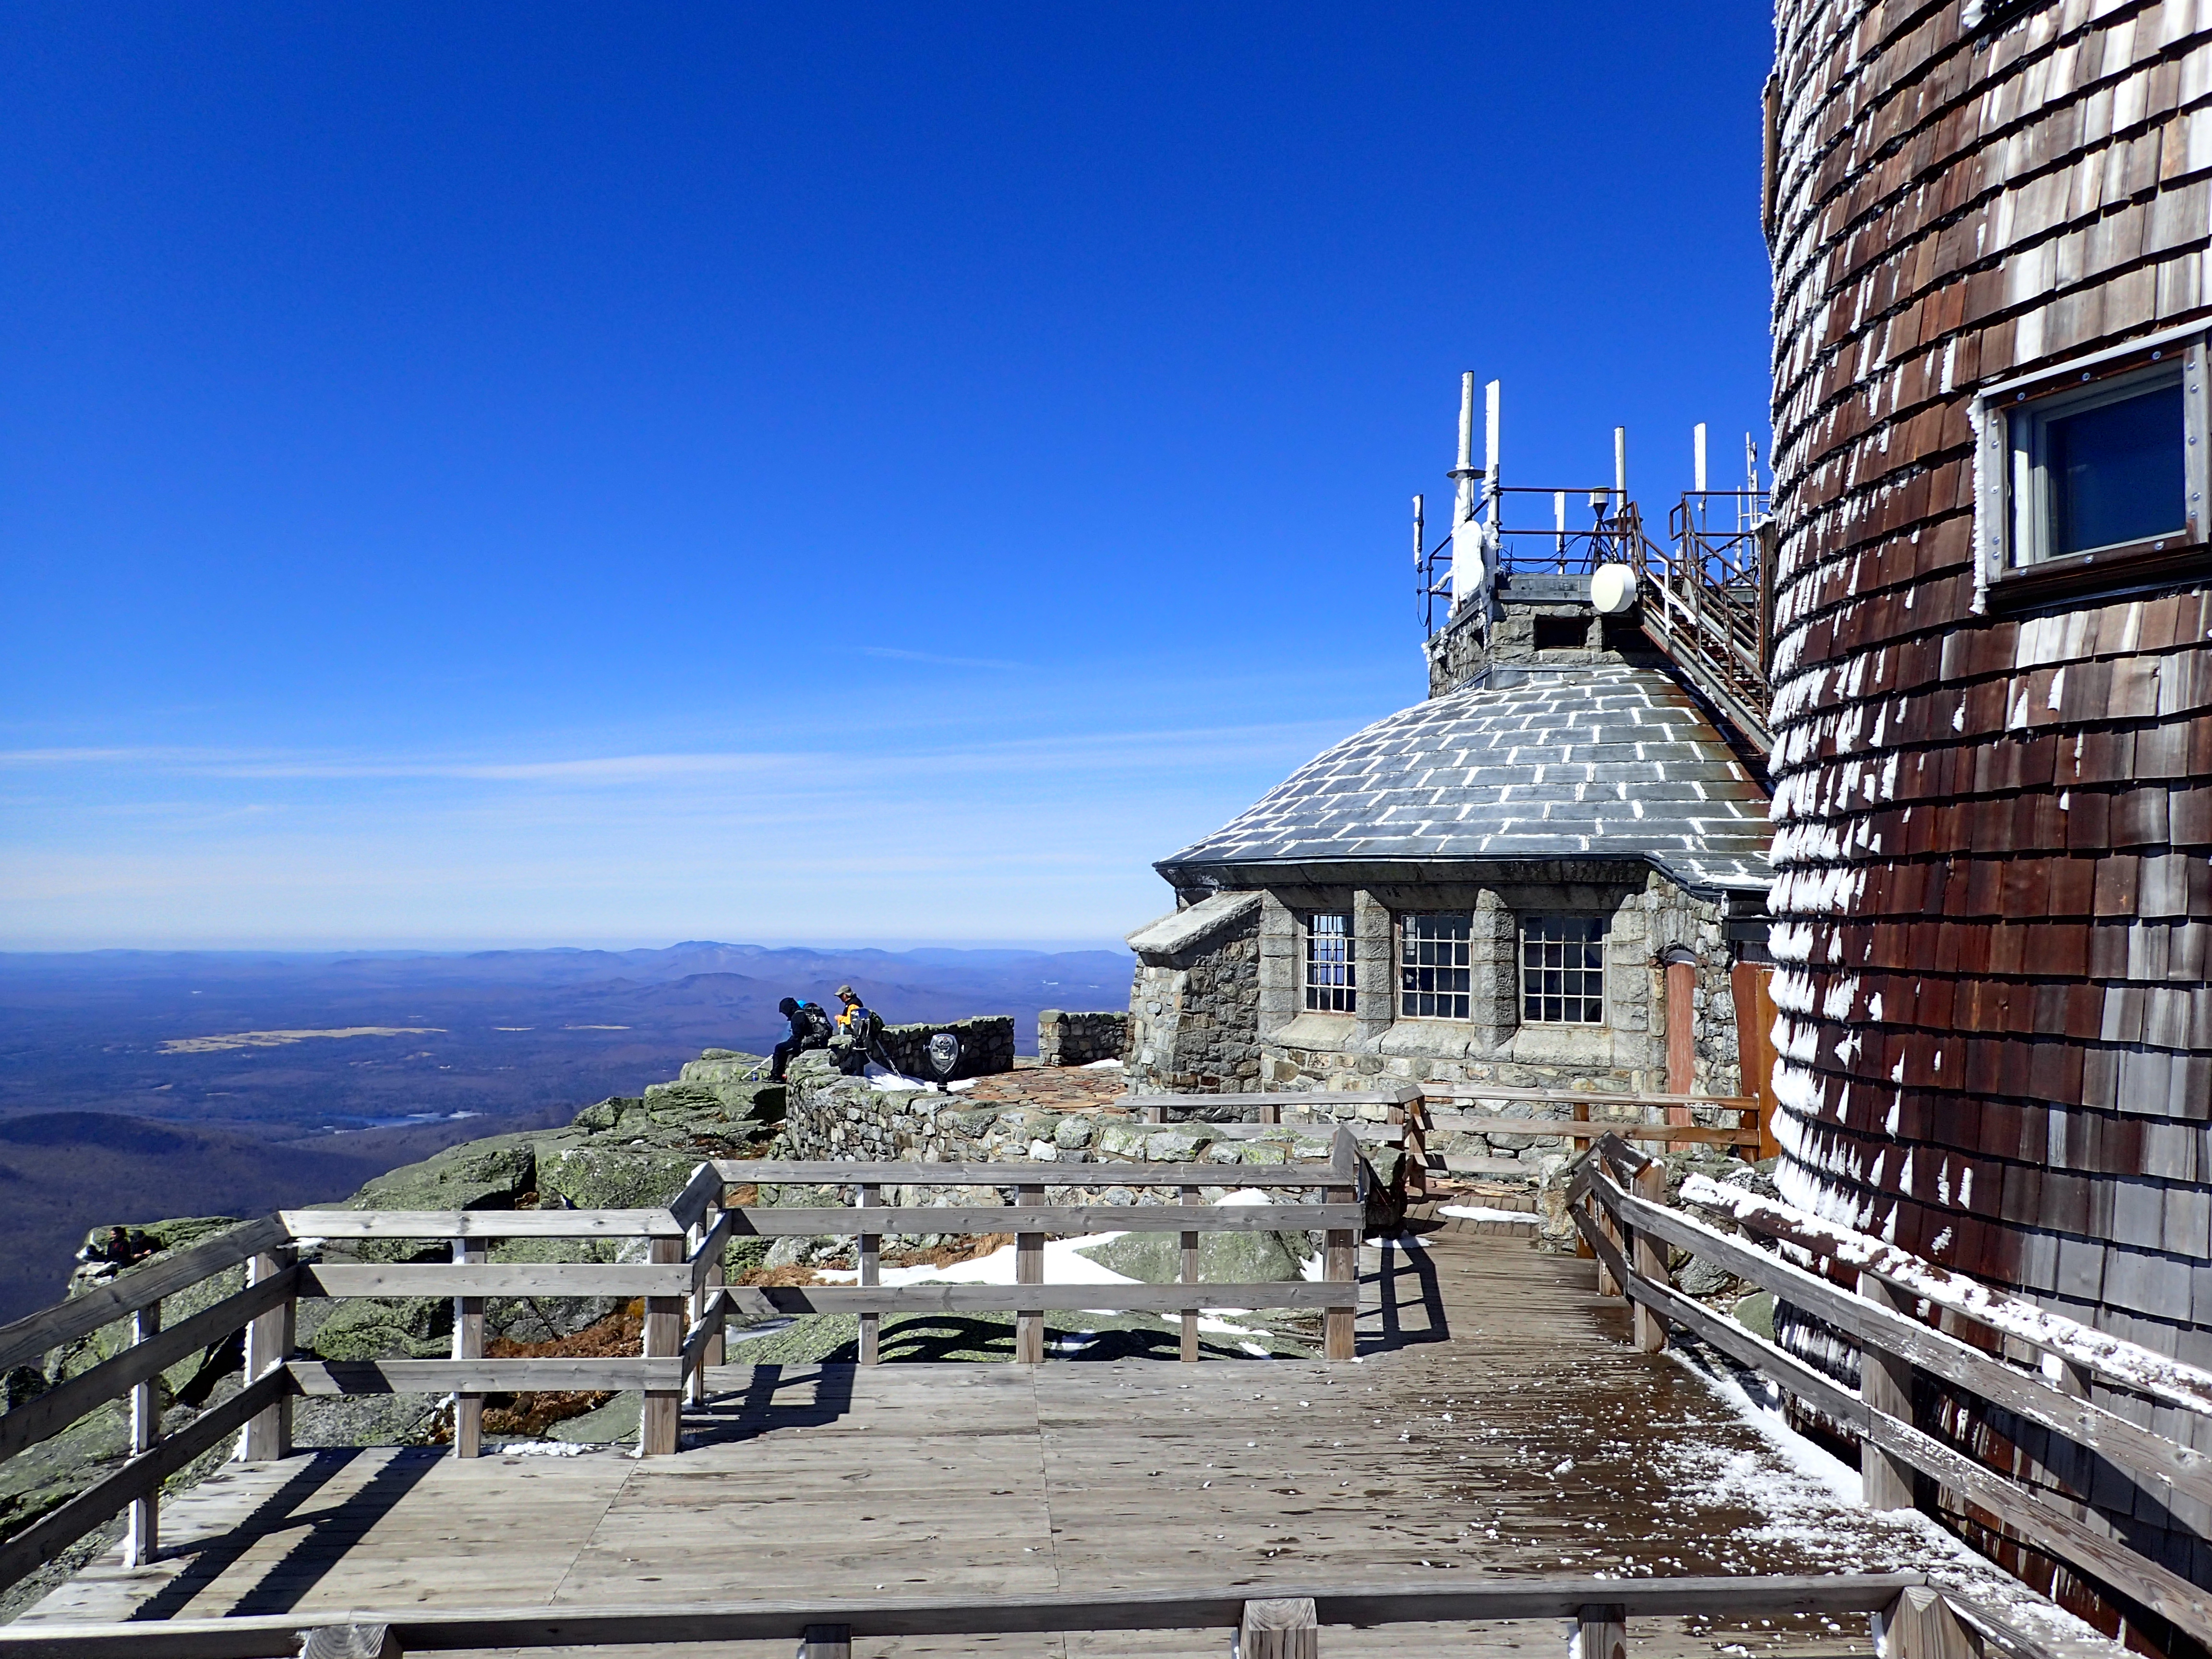
Looking back at the summit buildings.
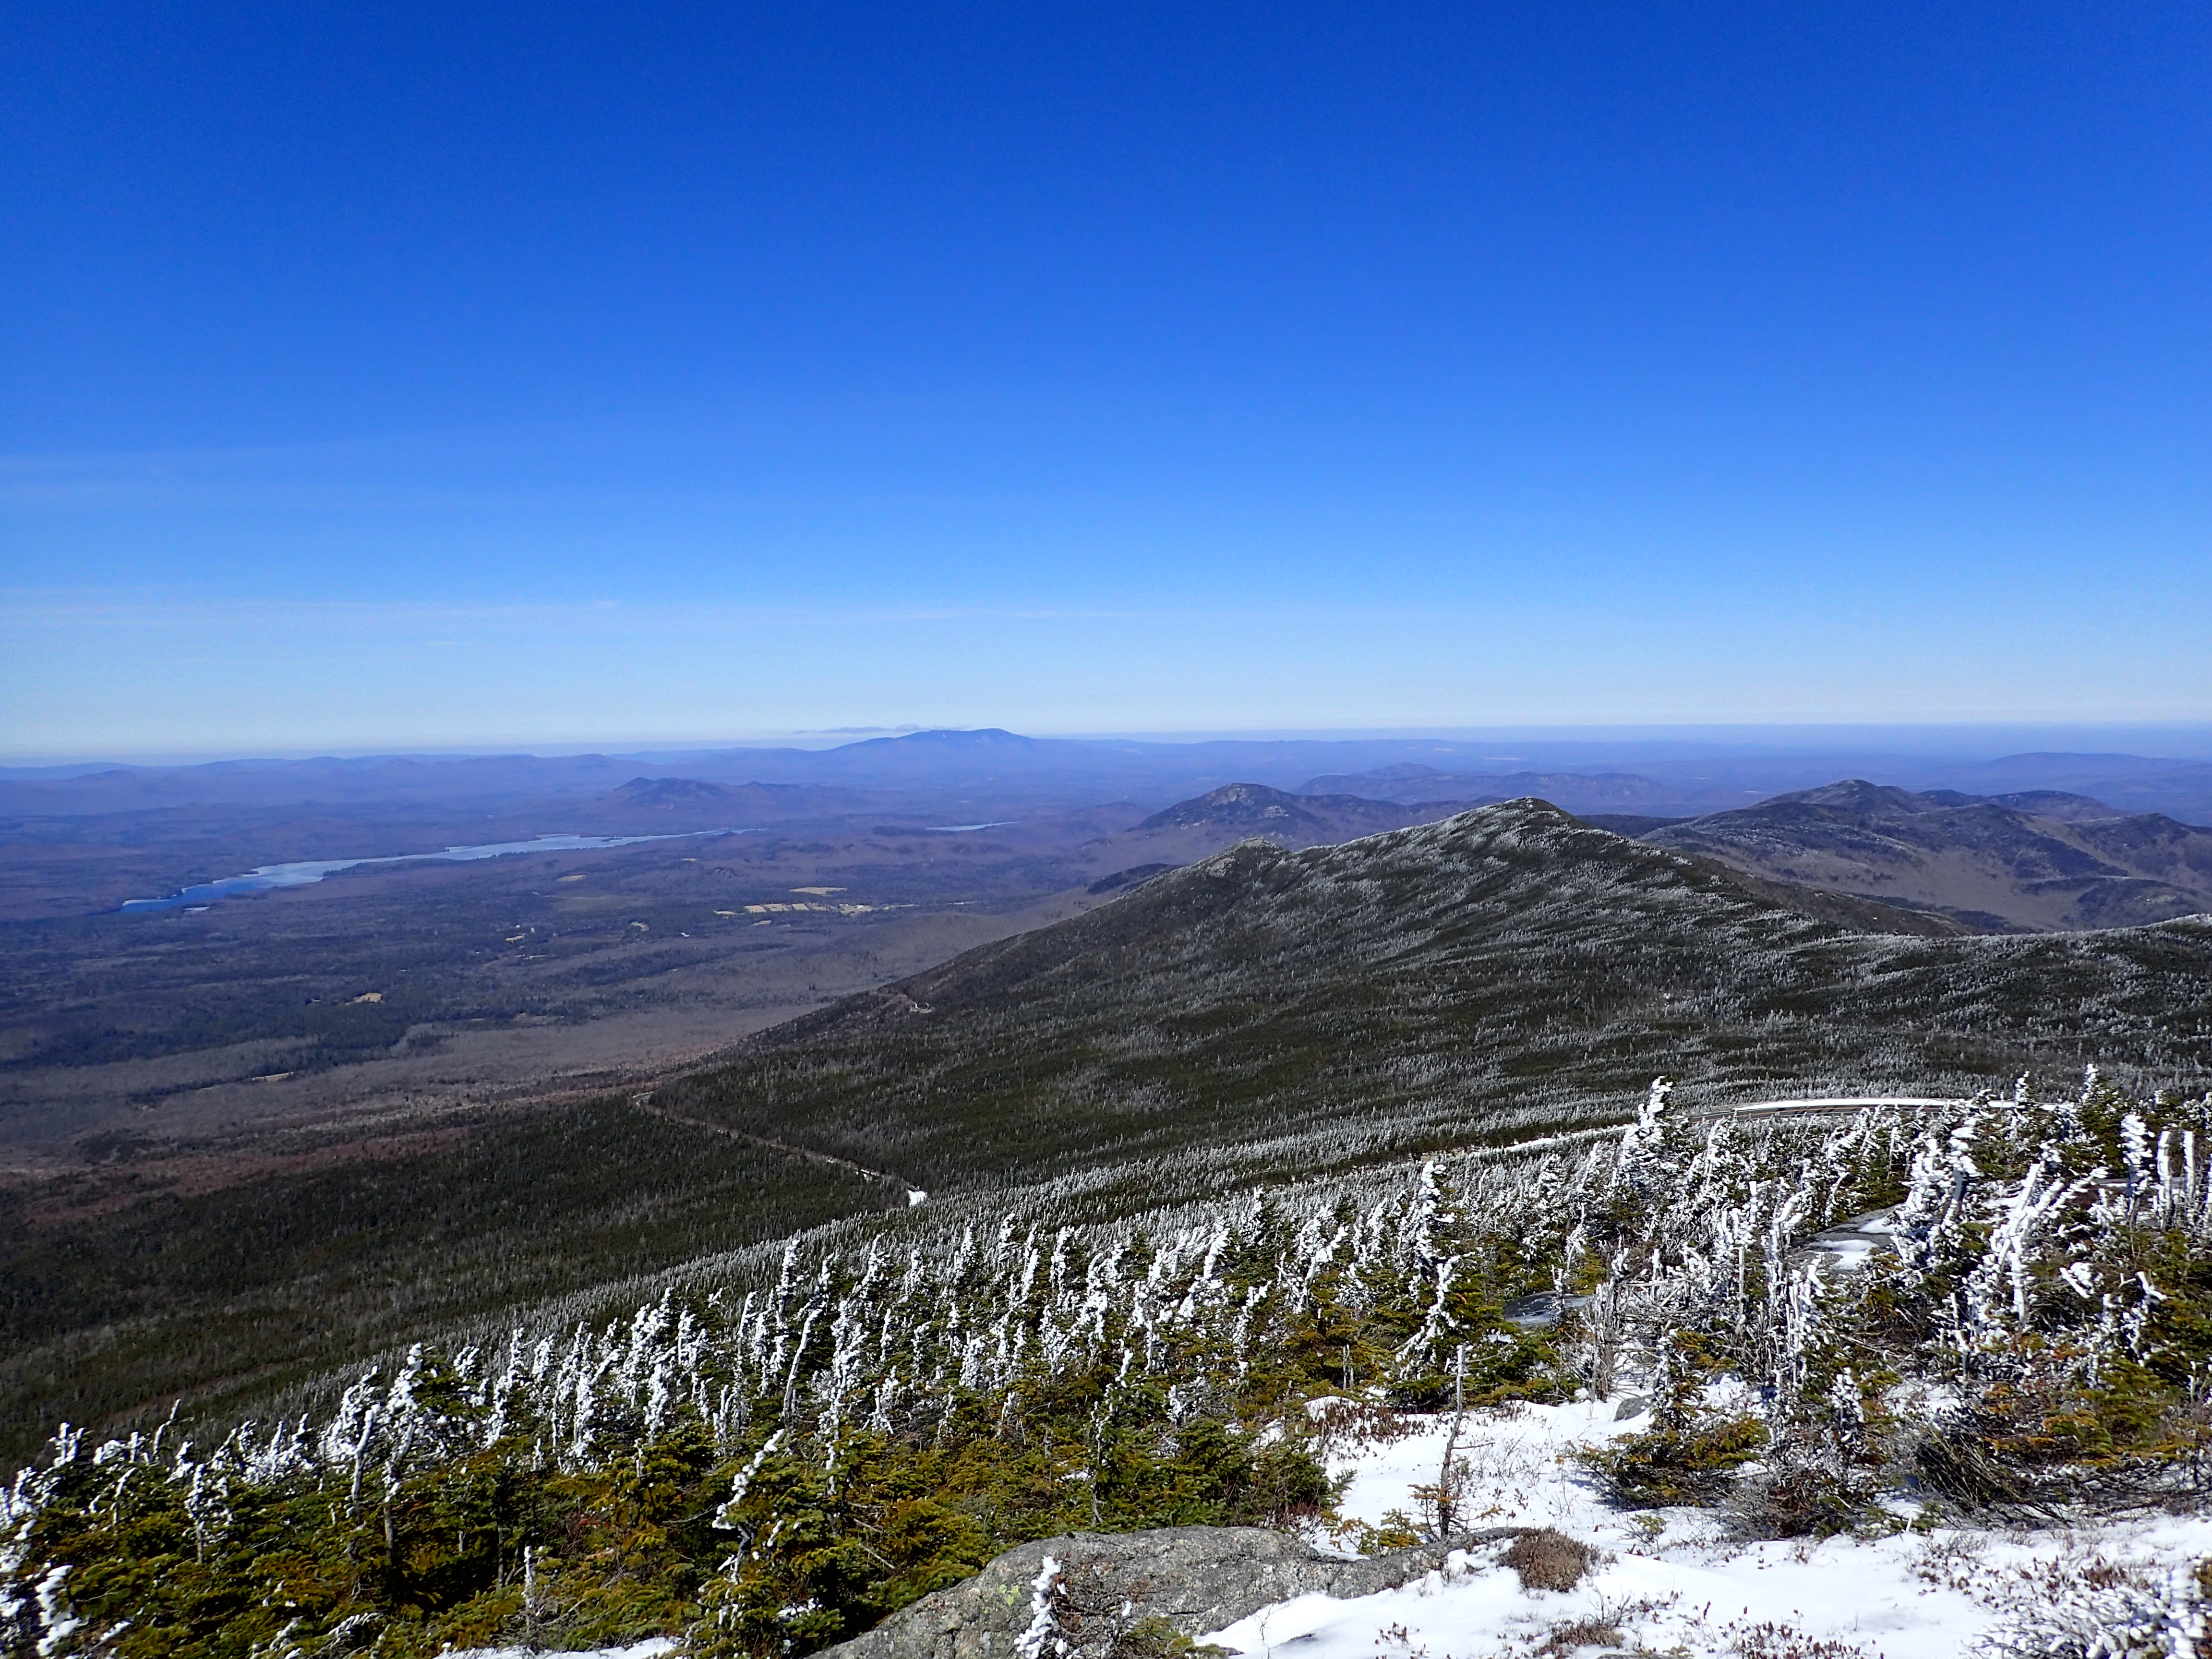
View of the summit area.

View from the summit with Lake Placid in the distance.
There was almost no wind at all on the summit which is completely different from my last experience on the summit of Whiteface. The sun was shining bright and it was warm so we hunkered down on the rocks to eat some sandwiches and take in the views before heading back down the mountain. The summit was pretty empty despite the beautiful weather which made for a nice peaceful experience.
After a while we decided to make our way back down the way we came. The descent took half the time and we made it down very quickly. It also helped that by the time we made our way back a good amount of the ice we encountered in the morning, especially low on the mountain, had melted substantially. We reaching the car at about 4:30pm making for a respectable 8 hr day including our lengthy stop on the summit and other various stops along the way. Whiteface is a great mountain that I would recommend to anyone, especially in the winter/early spring months before the toll road opens and the summit gets swamped with visitors. Esther is less impressive but as it is on the 46er list there is no reason not to tag the summit on your way up.
Categories: Adirondack High Peaks Region, New York, Trip Reports


Can’t wait till the ice is gone up there! Beautiful trip.
LikeLiked by 1 person
Thanks Julie. It was a great day. The ice is definitely on its way out so it shouldn’t be too much longer at this point!
LikeLike
Great trip report. I plan on doing Whiteface in a couple of weeks haven’t Hiked this yet and your report definitely helps much appreciated!
LikeLike
Thanks Mike. I am glad you found it helpful! If you have any other specific questions feel free to ask here or send me an e-mail. Good luck with your hike, Whiteface is a fun one.
LikeLike